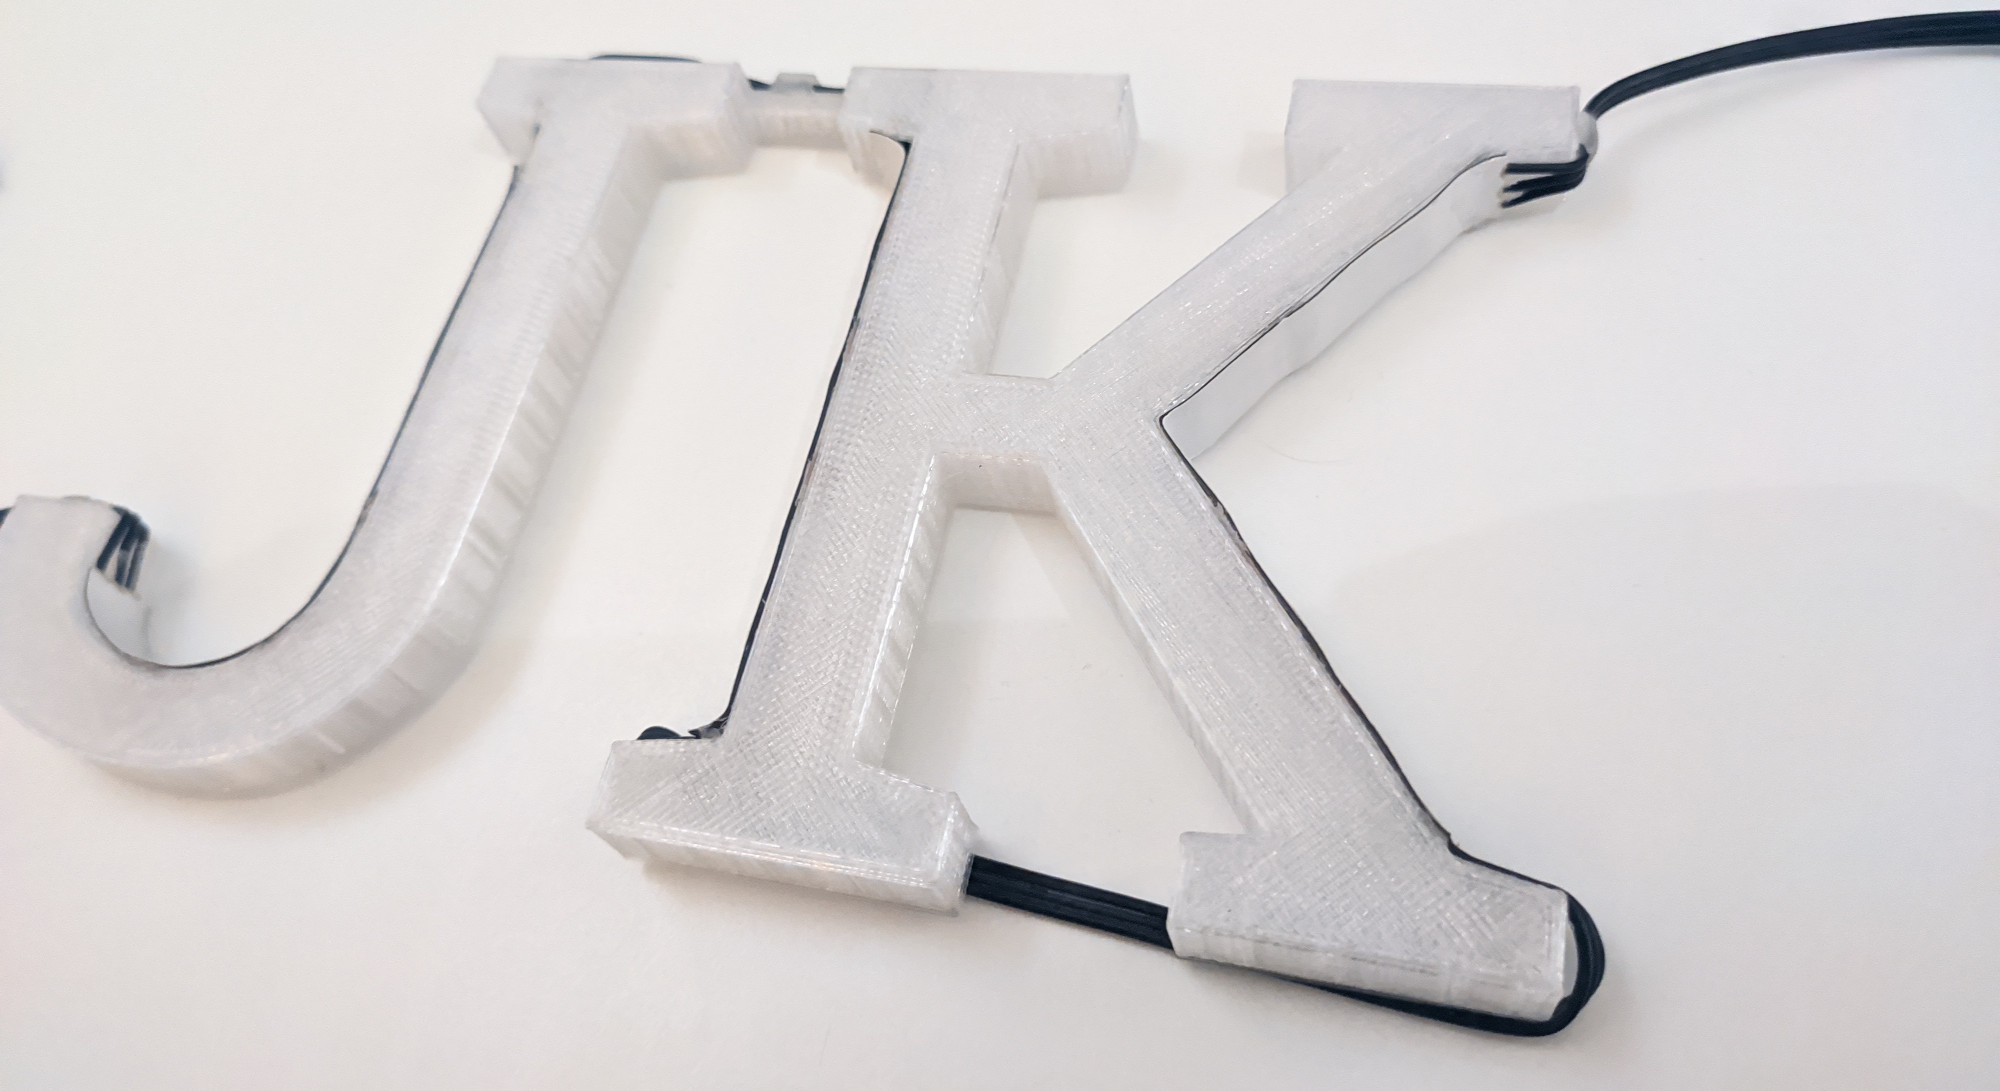
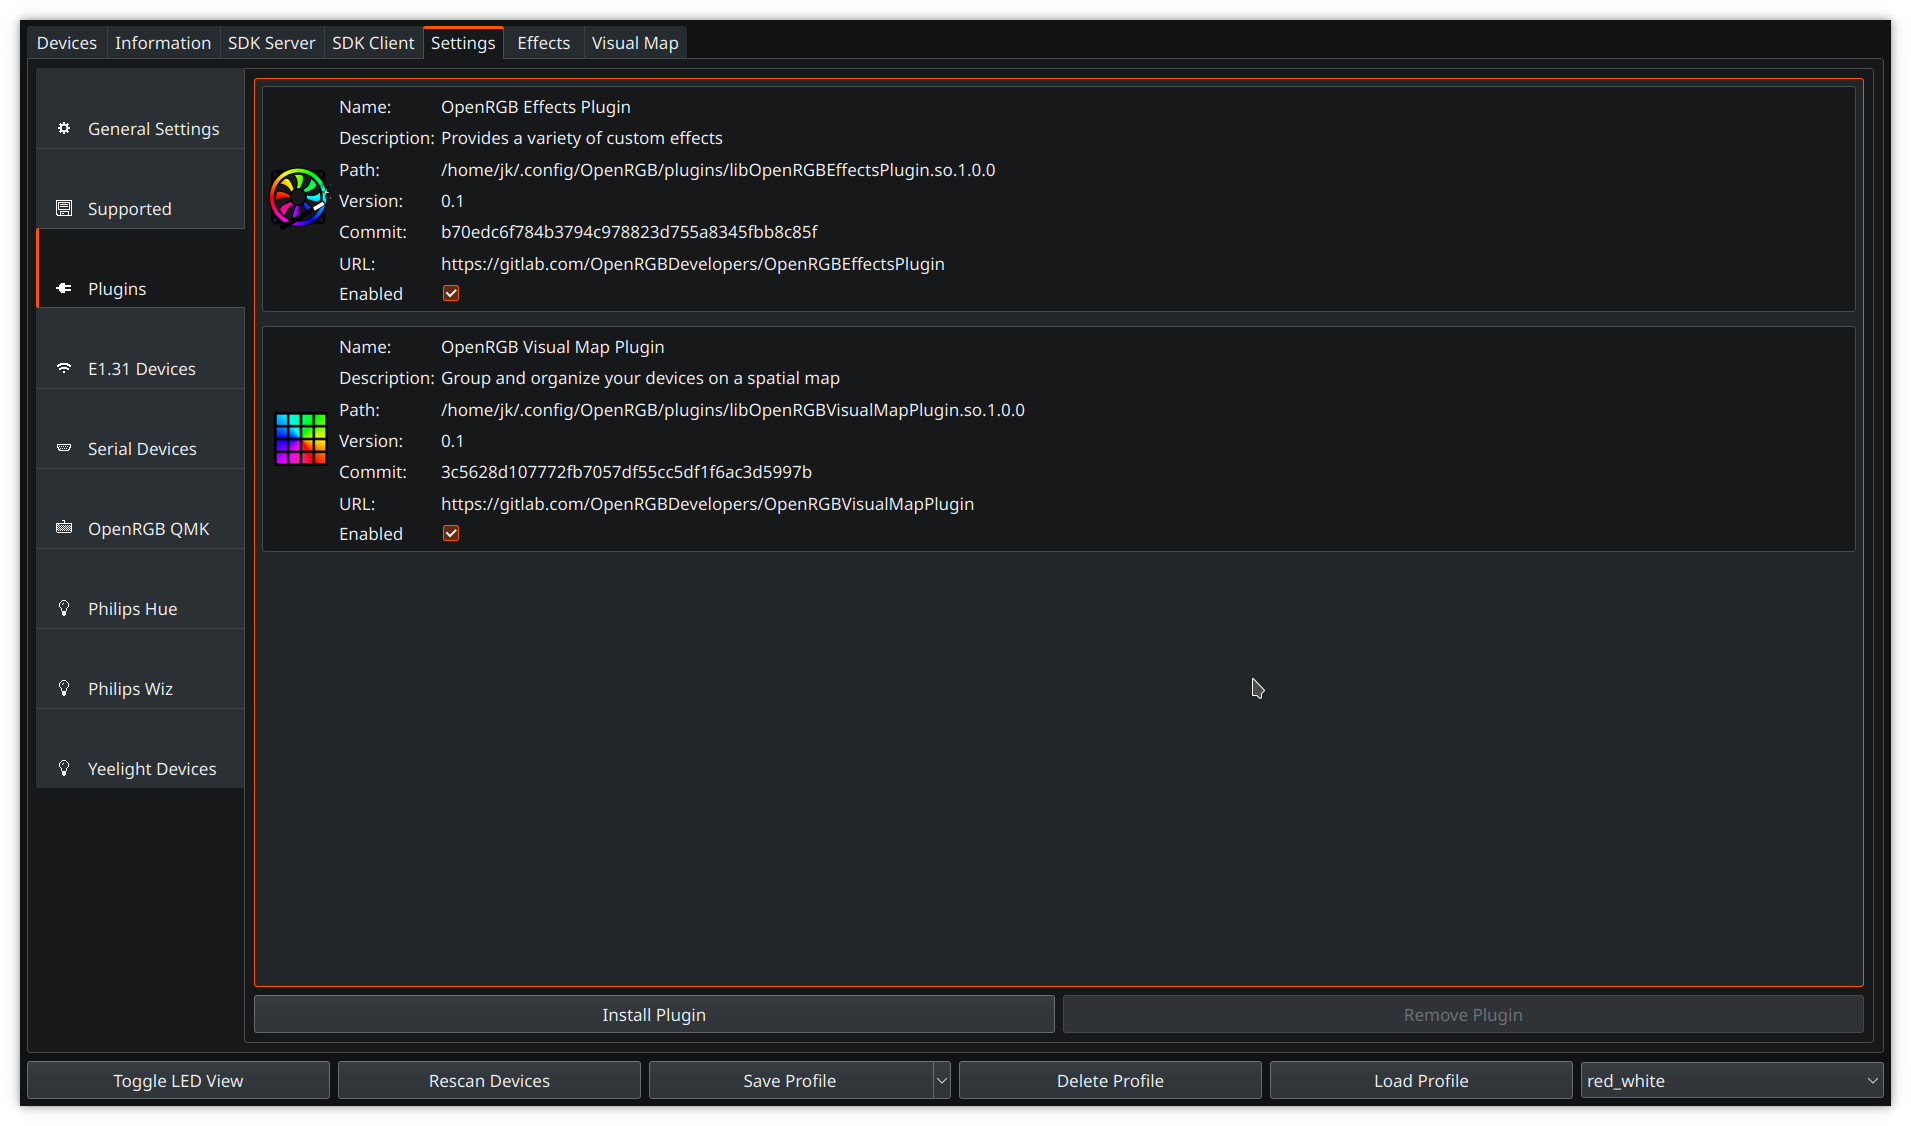
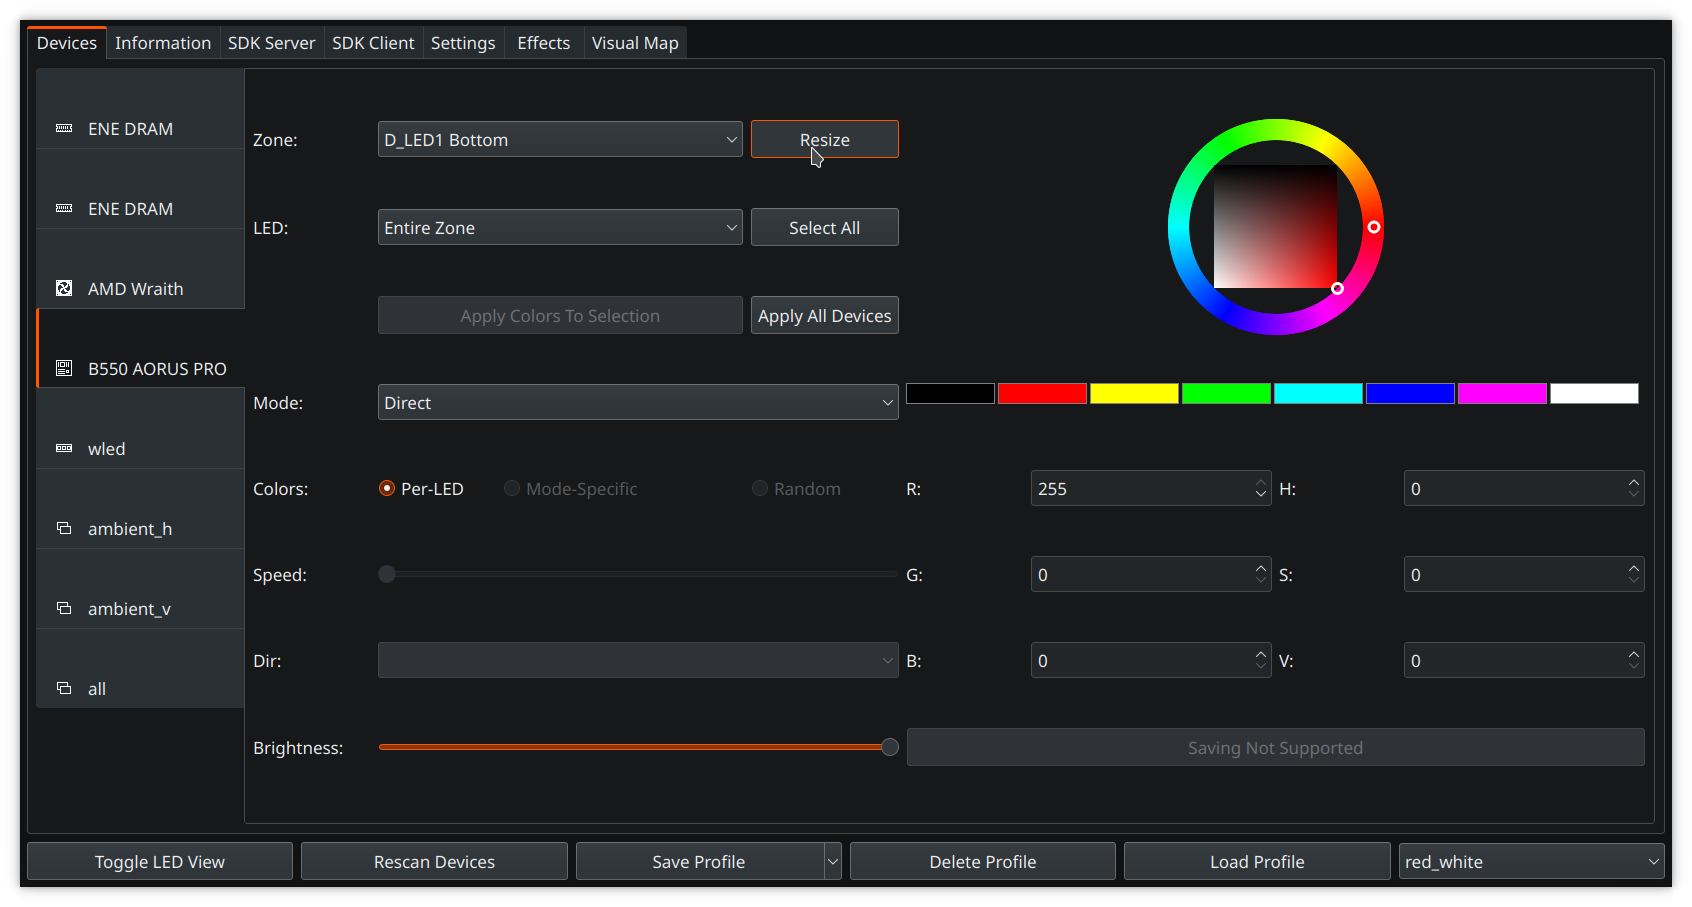
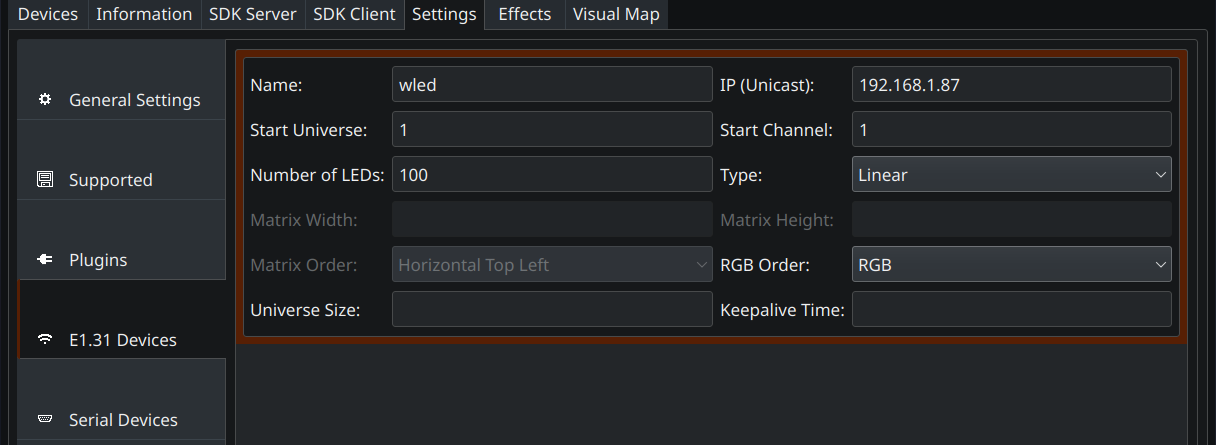
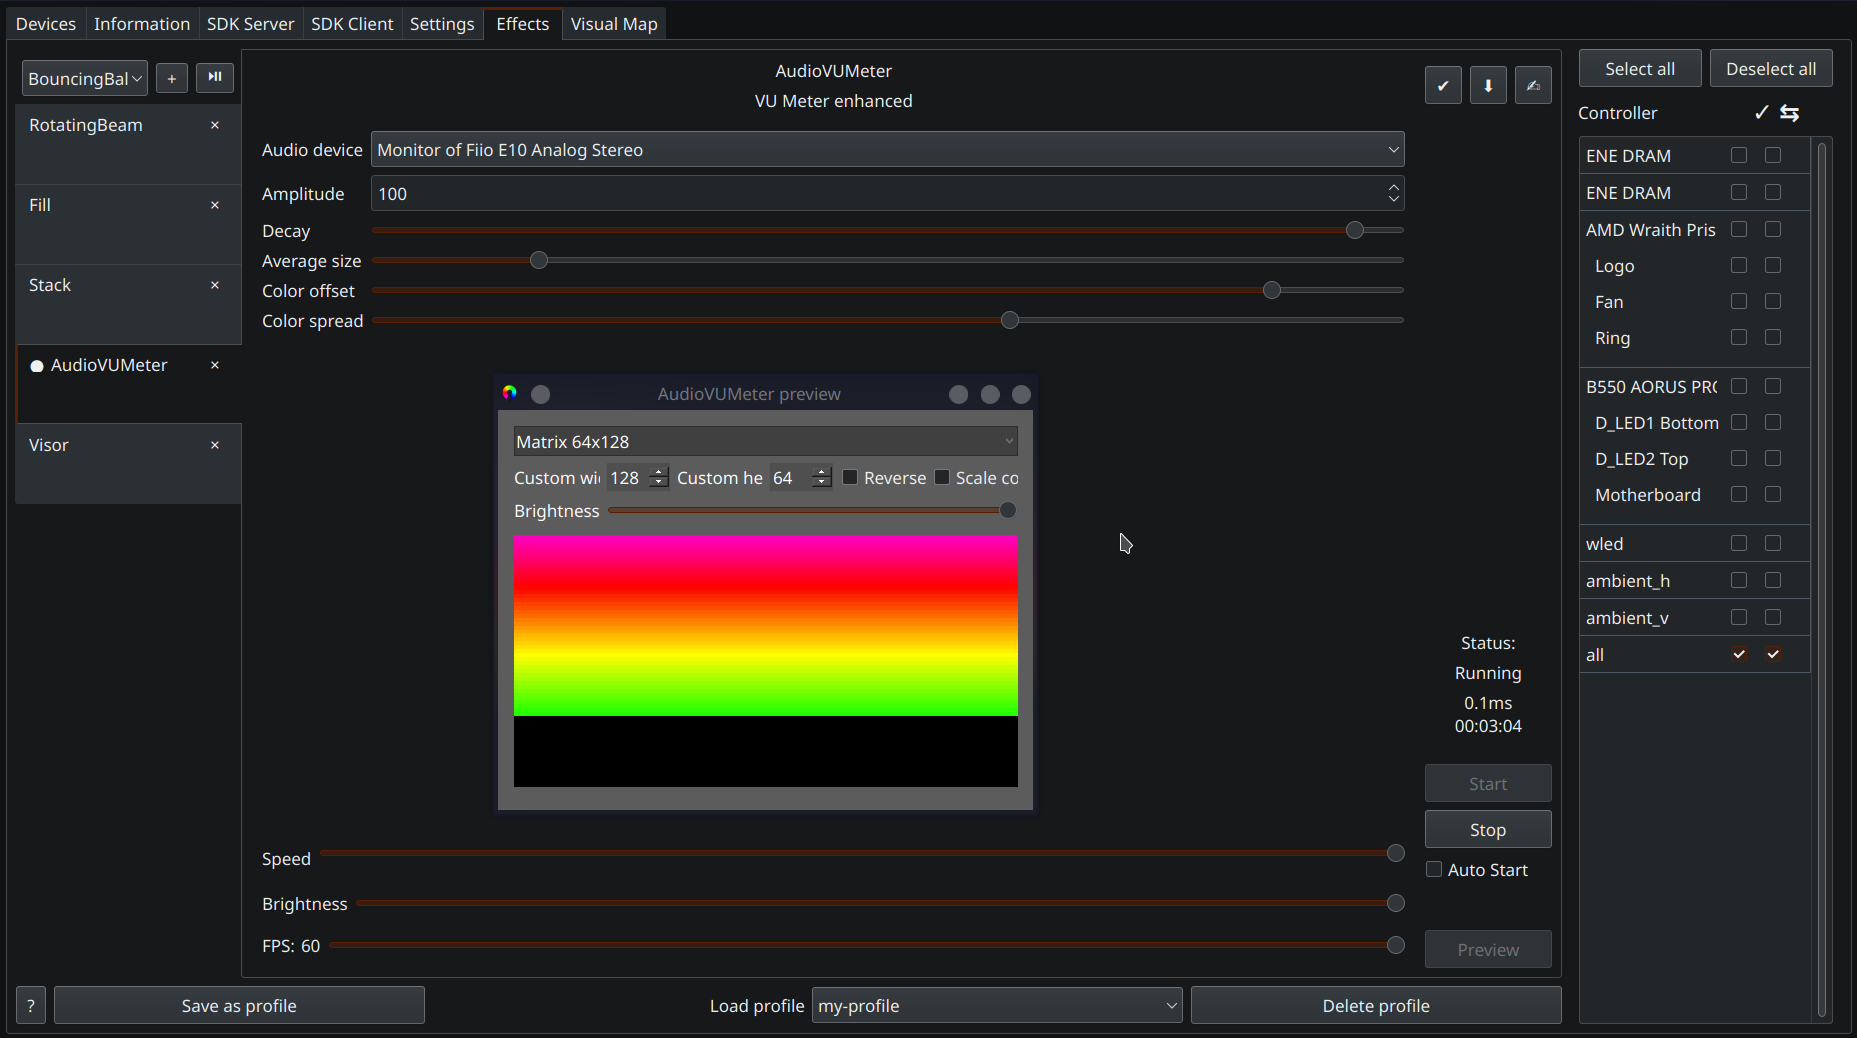
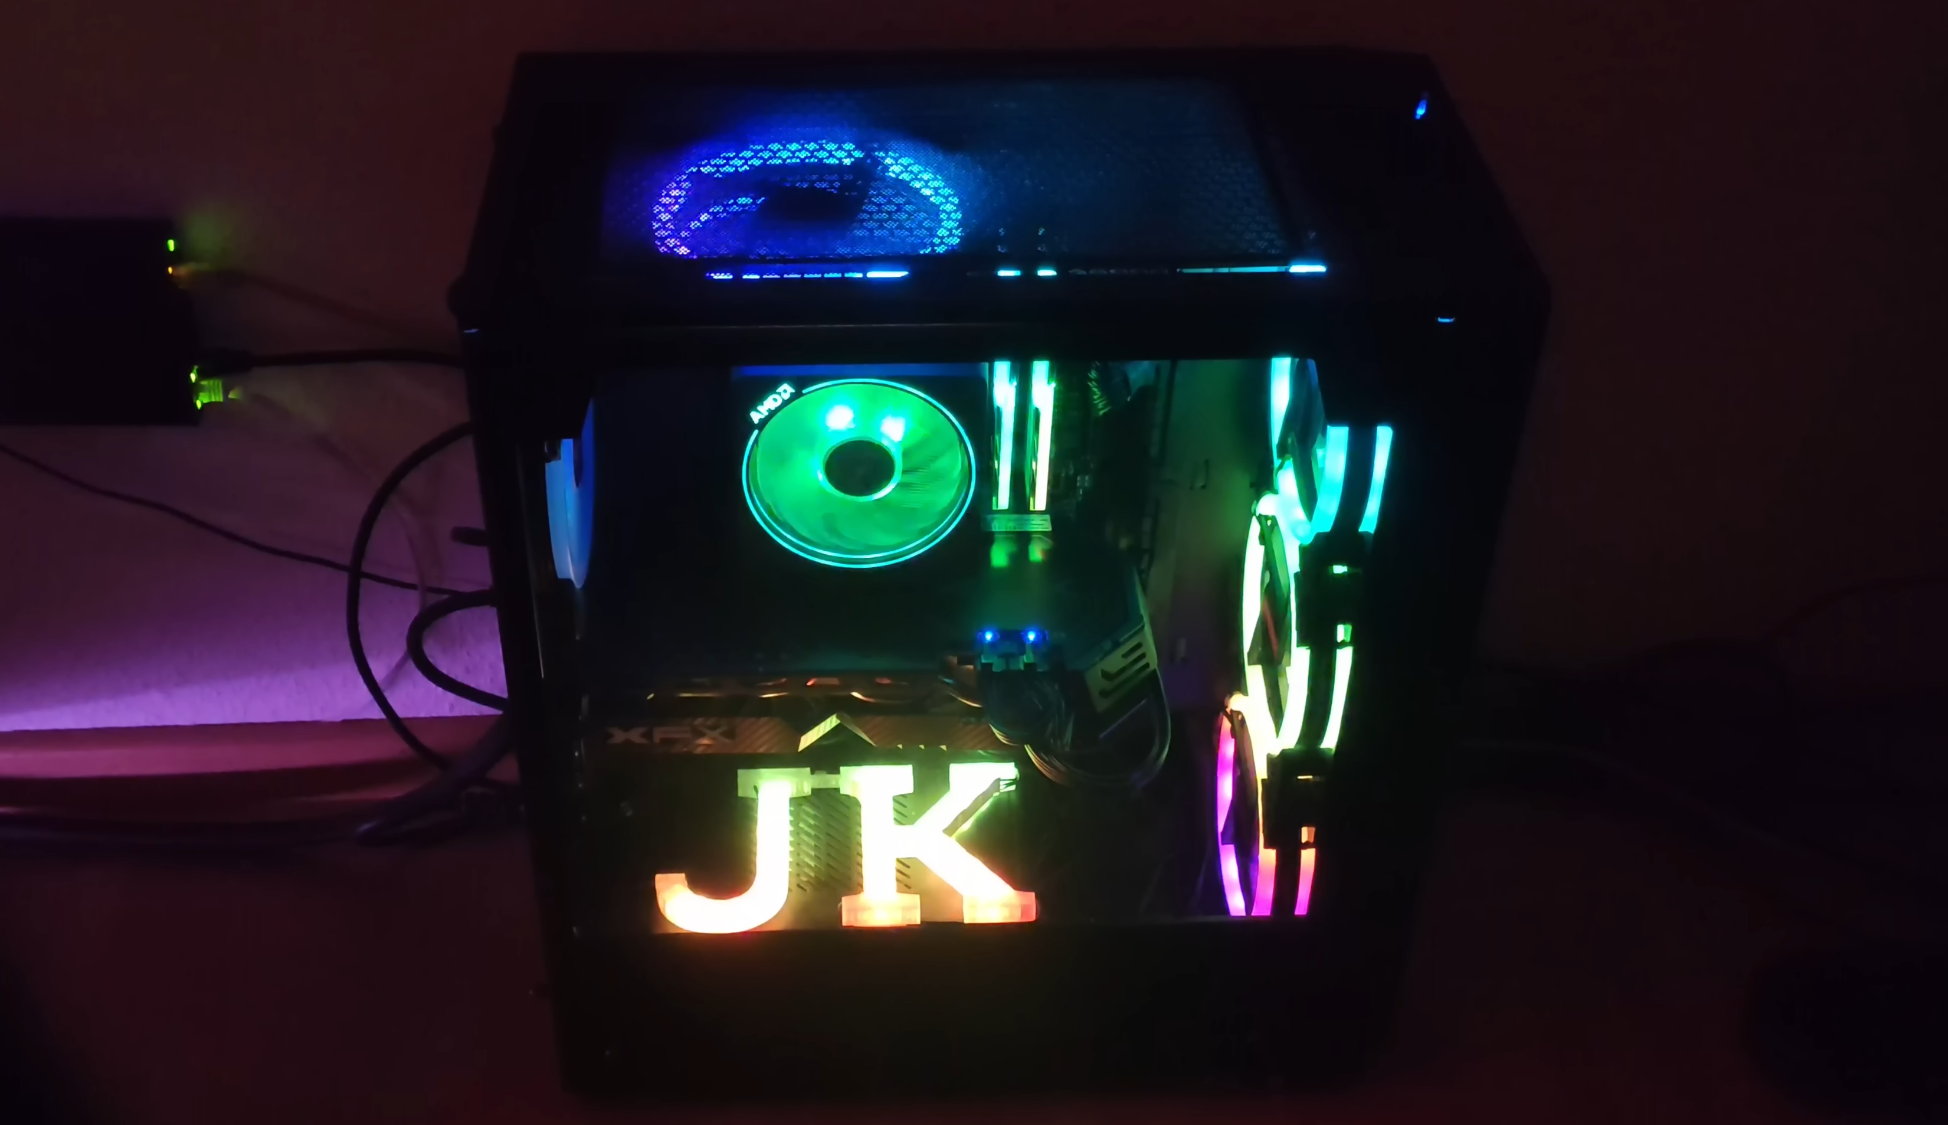
<?xml version="1.0" encoding="utf-8" standalone="yes"?><rss version="2.0" xmlns:atom="http://www.w3.org/2005/Atom"><channel><title>Jake's Blog</title><link>https://blog.jklr.org/index.html</link><description>Recent content on Jake's Blog</description><generator>Hugo</generator><language>en</language><lastBuildDate>Sat, 19 Mar 2022 00:00:00 +0000</lastBuildDate><atom:link href="https://blog.jklr.org/feed.xml" rel="self" type="application/rss+xml"/><item><title>Mainboard RGB Fan Control with OpenRGB</title><link>https://blog.jklr.org/2022/03/19/openrgb-fans.html</link><pubDate>Sat, 19 Mar 2022 00:00:00 +0000</pubDate><guid>https://blog.jklr.org/2022/03/19/openrgb-fans.html</guid><description>&lt;p&gt;Finally following up on my previous &lt;a href="https://blog.jklr.org/2019/06/11/re-coolmoon-rgb-controller.html"&gt;post about the coolmoon controller mod&lt;/a&gt;, this post shows how to connect it with a mainboard header and do cool (pun intended) animations with OpenRGB.&lt;/p&gt;
&lt;h1 id="hardware-setup"&gt;Hardware Setup&lt;/h1&gt;
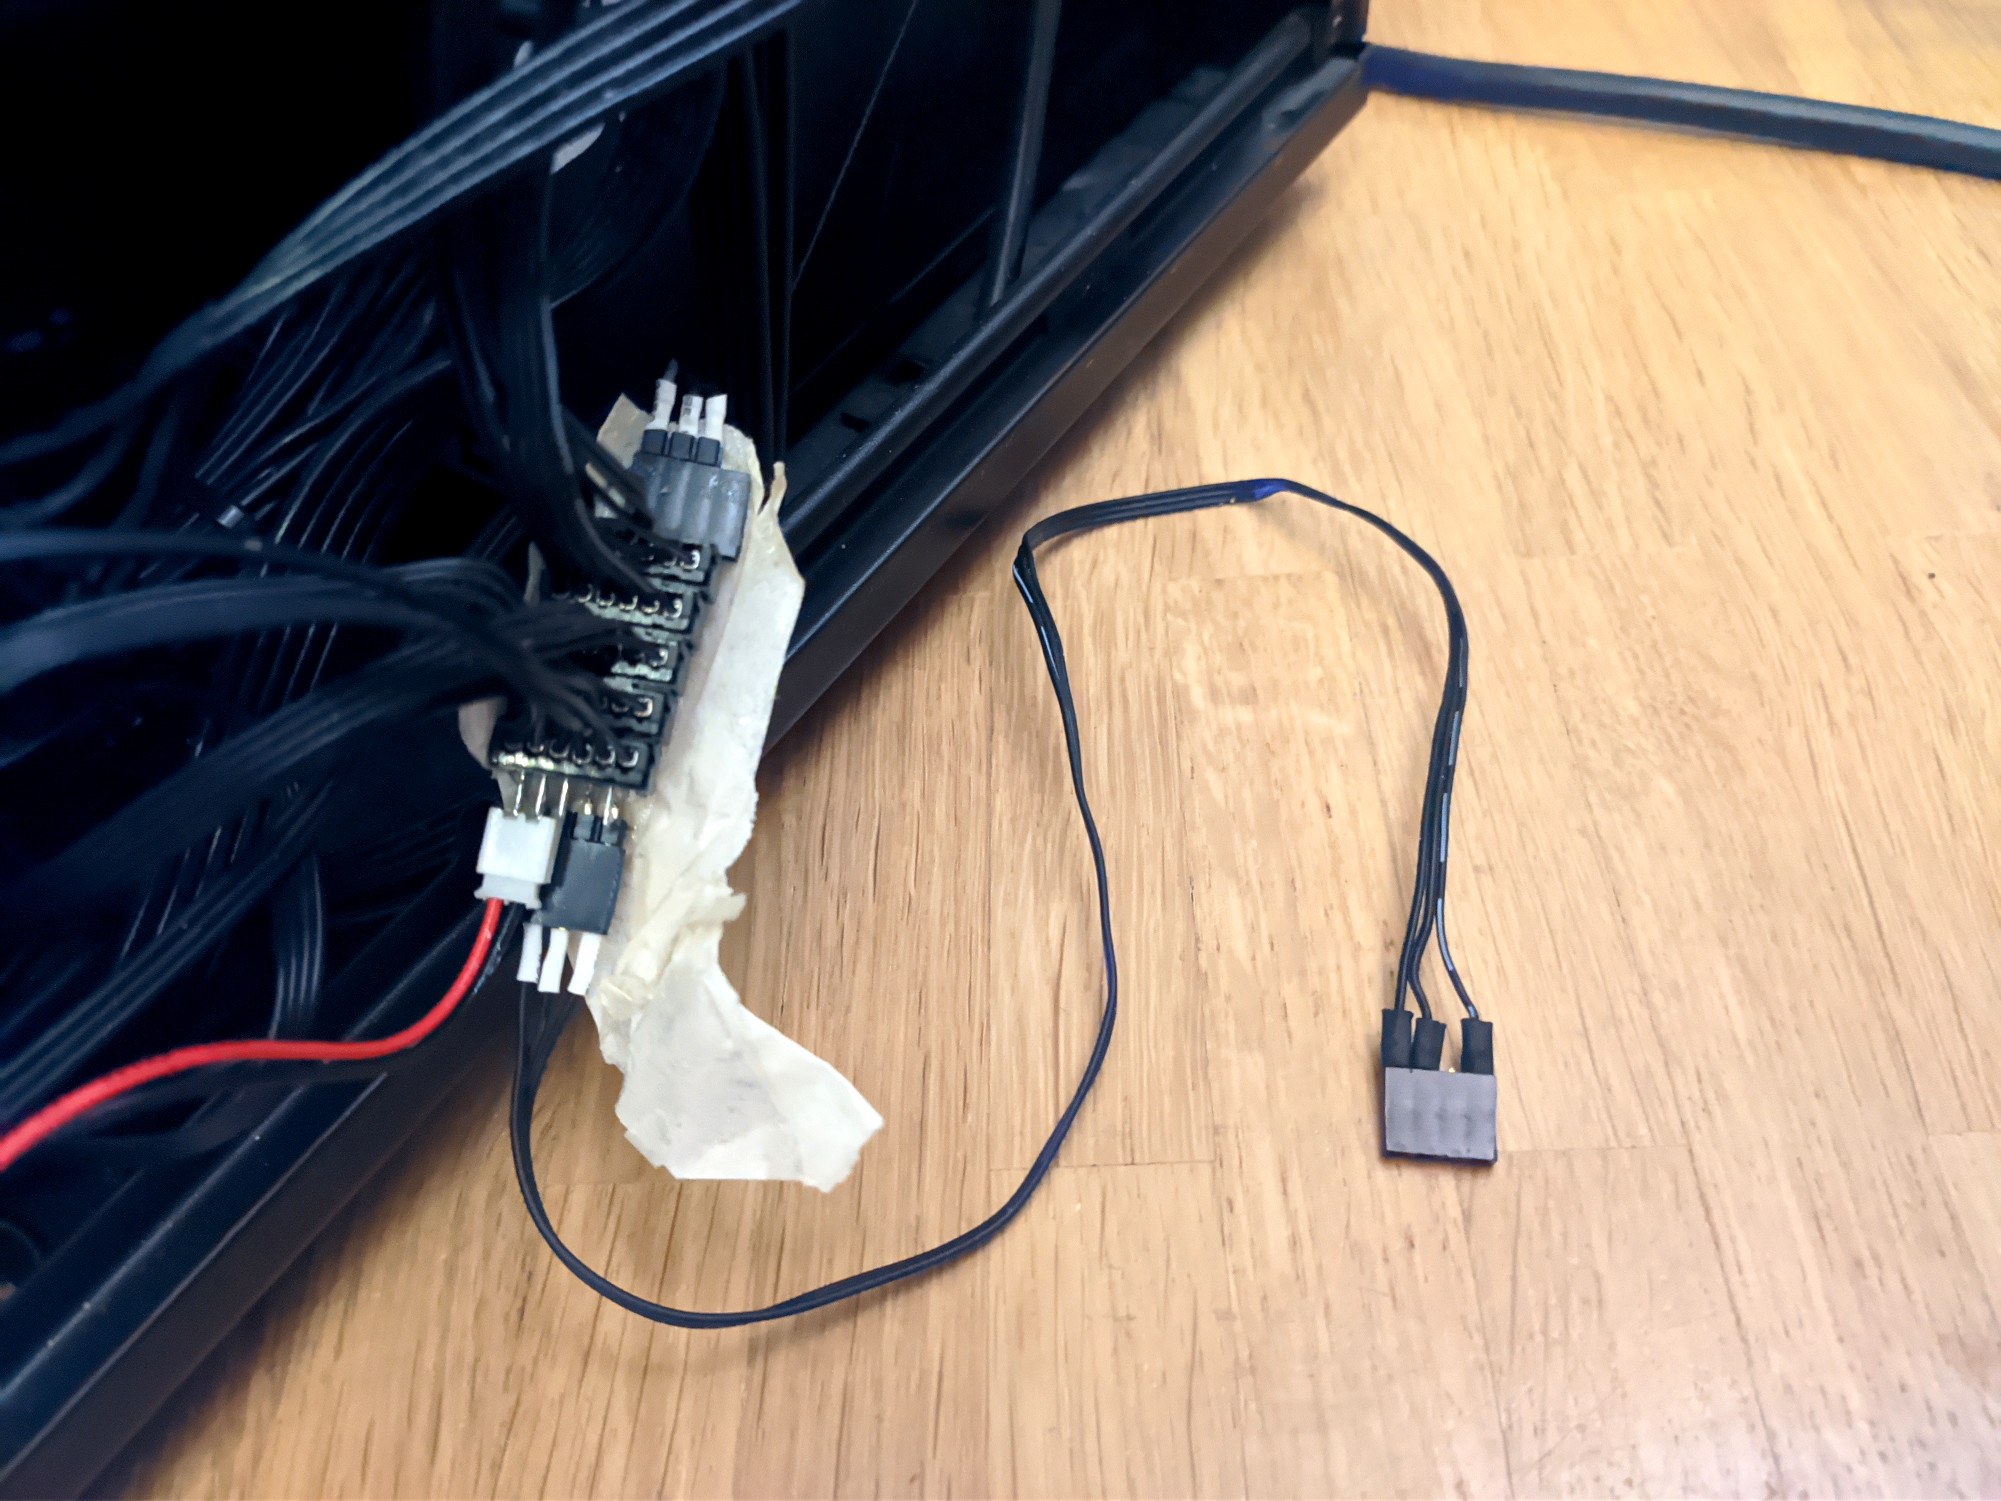
&lt;p&gt;First of all a mainboard is required that has at least one header for 5V addressable RGB LEDs. I upgraded to an Gigabyte B550 Aorus Pro V2 and that what I am using for this project, it can provide up to 5A and control 1000 LEDs.
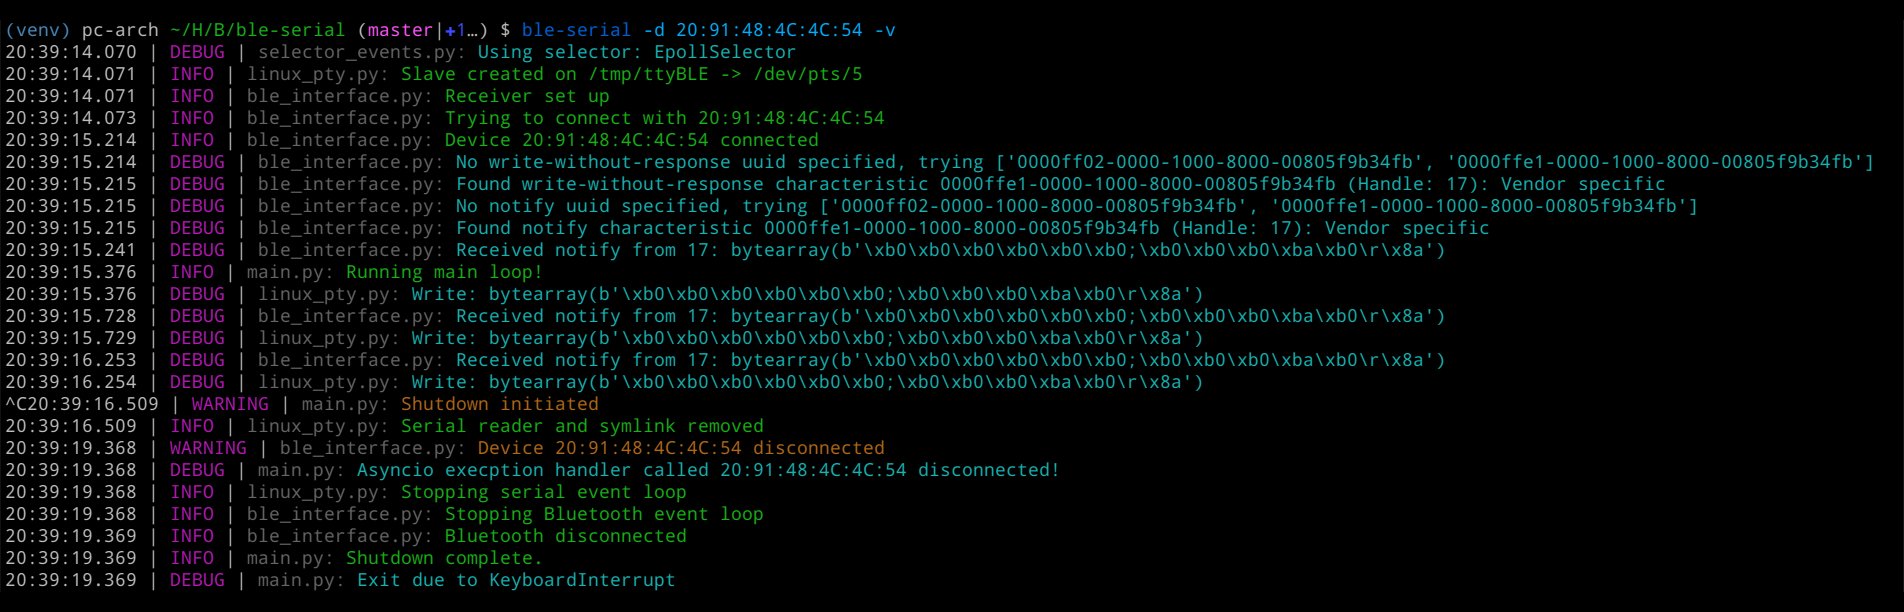
As case I have a Fractal Design Meshify C Dark.&lt;/p&gt;</description></item><item><title>BLE Serial 2.0 Update</title><link>https://blog.jklr.org/2021/04/22/ble-serial-2.html</link><pubDate>Thu, 22 Apr 2021 00:00:00 +0000</pubDate><guid>https://blog.jklr.org/2021/04/22/ble-serial-2.html</guid><description>&lt;p&gt;This is a detailed description of the major 2.0.0 release of BLE Serial. It is a tool to connect Bluetooth low energy 4. and 5.x (BLE) UART modules to virtual serial ports on Linux and now also COM ports on Windows.&lt;/p&gt;
&lt;h1 id="backend-change"&gt;Backend Change&lt;/h1&gt;
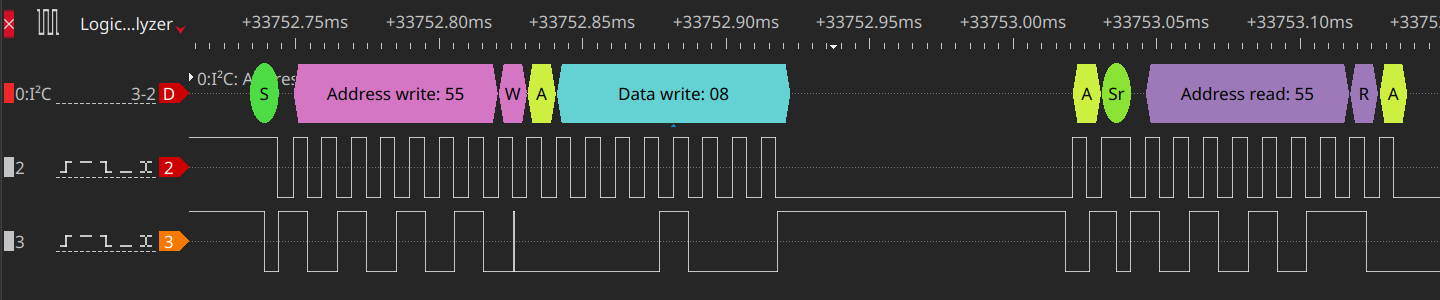
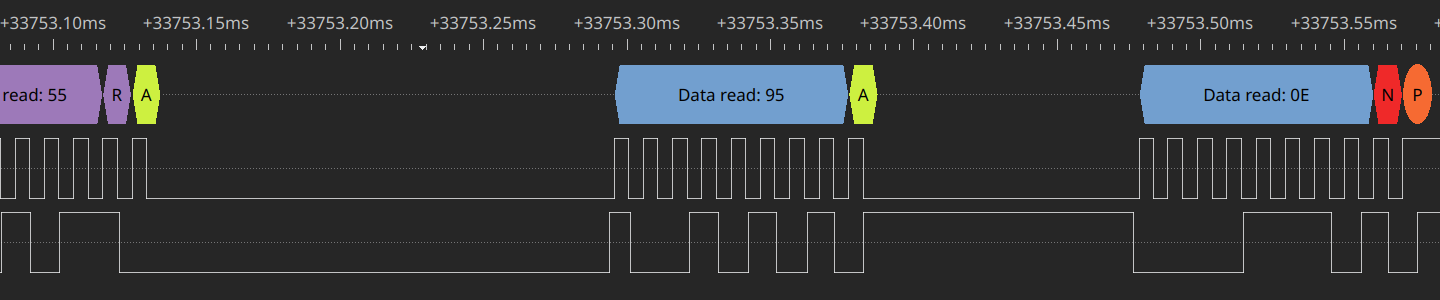
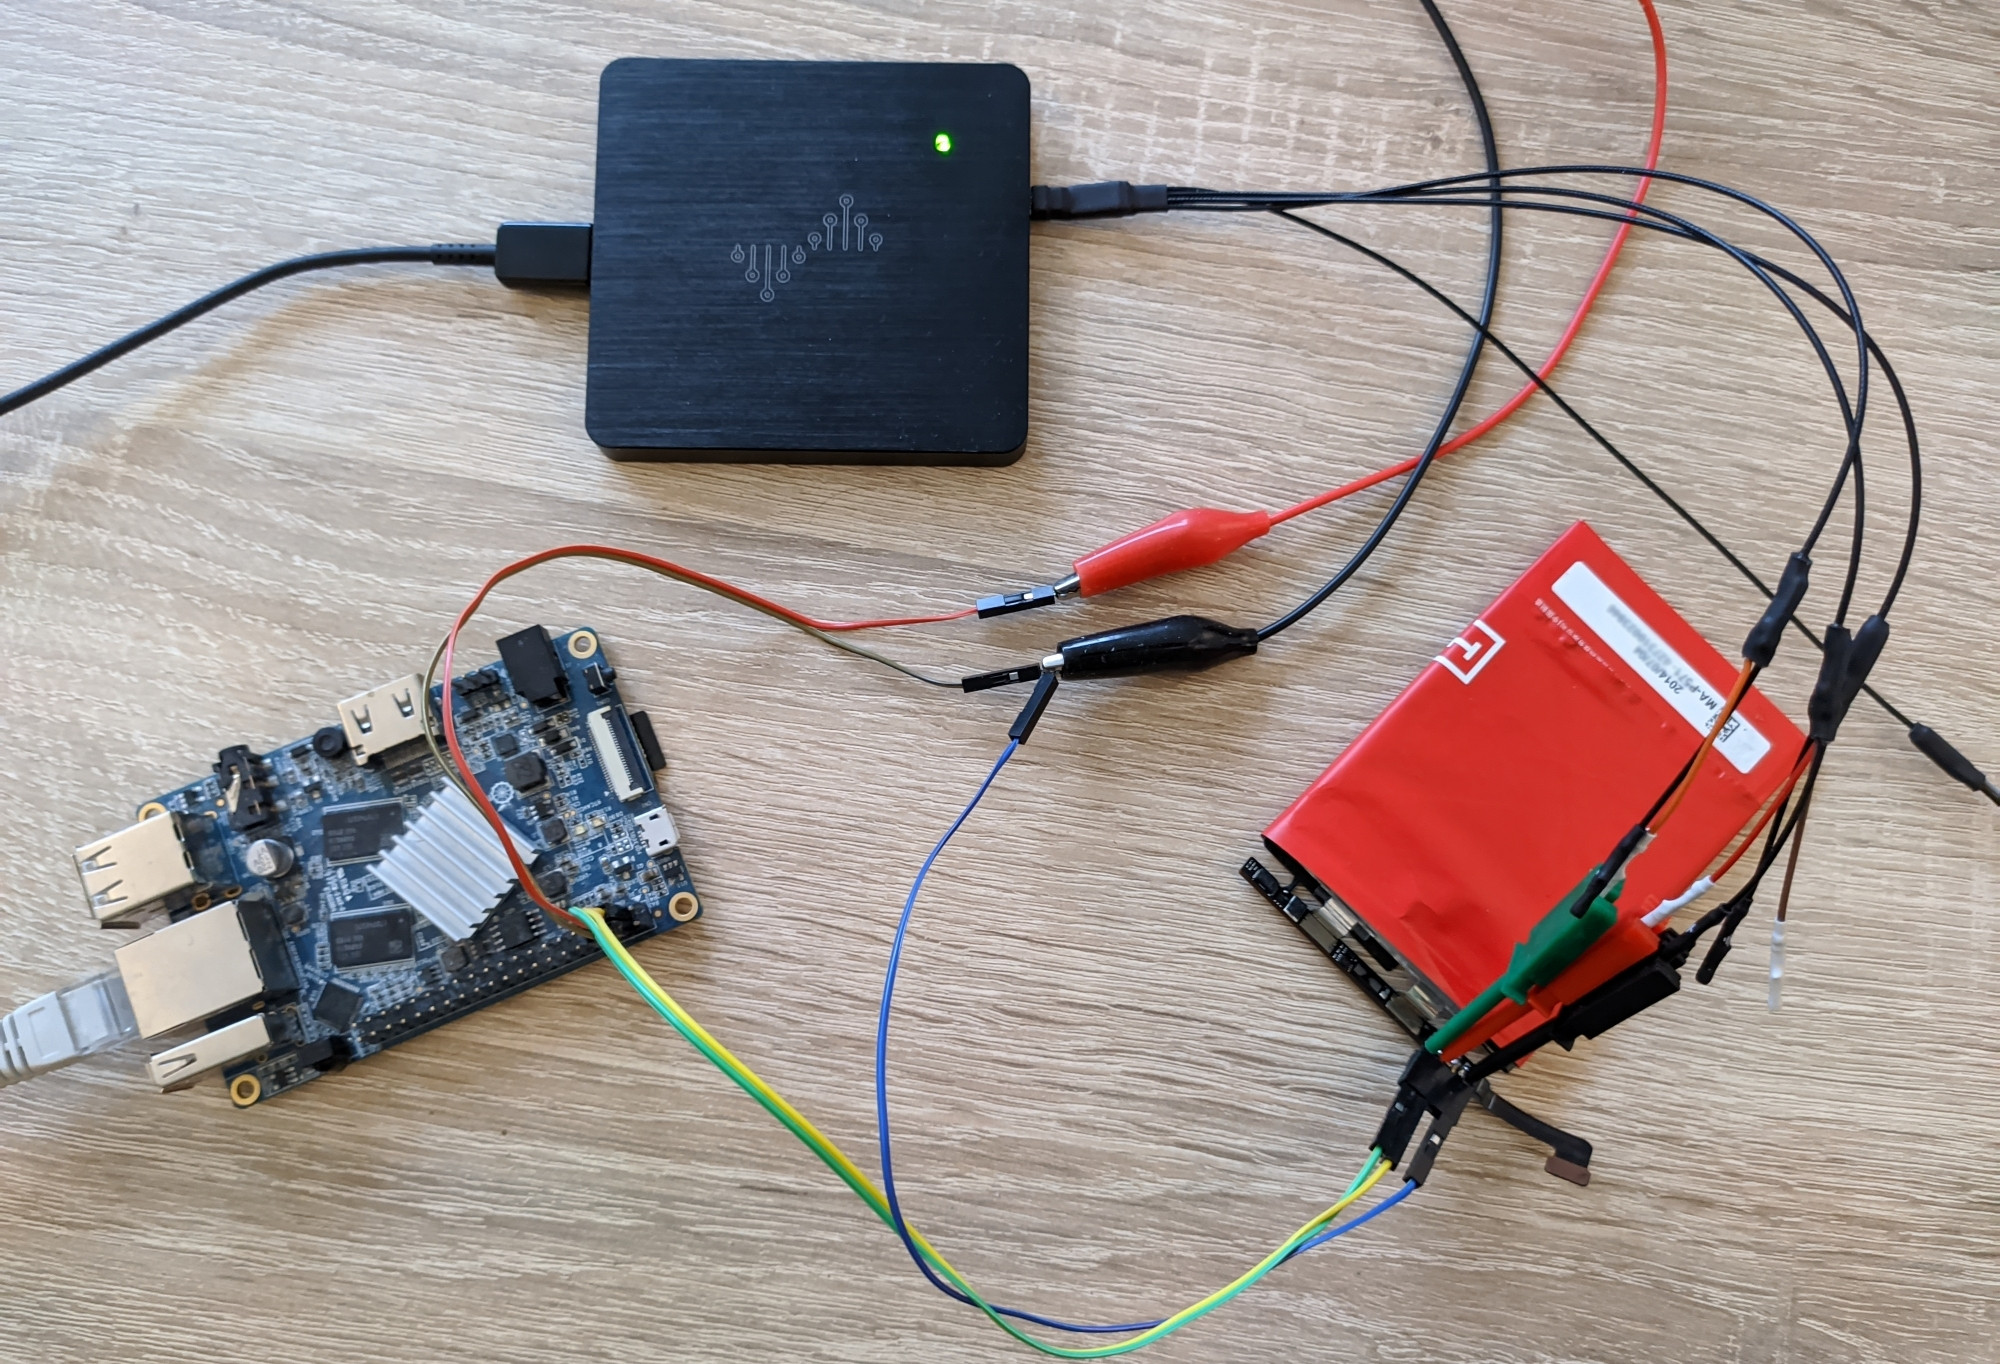
&lt;p&gt;In the first BLE Serial versions (1.0 up to 1.3) it used &lt;a href="https://github.com/IanHarvey/bluepy"&gt;bluepy&lt;/a&gt; as bluetooth backend library. Problem with it was an open issue that required the manual installation of a fork, like described in the &lt;a href="https://blog.jklr.org/2019/12/18/ble-serial.html"&gt;previous post about it&lt;/a&gt;. Now over the course of 2020 some PRs got merged, but unfortunately there are many open issues and the version on PyPI is still more than 2 years old.&lt;/p&gt;</description></item><item><title>I2C Communication Protocol of a Smartphone Battery</title><link>https://blog.jklr.org/2021/03/25/oneplus-battery-protection.html</link><pubDate>Thu, 25 Mar 2021 00:00:00 +0000</pubDate><guid>https://blog.jklr.org/2021/03/25/oneplus-battery-protection.html</guid><description>&lt;p&gt;In this post I investigate how a typical Oneplus smartphone battery communicates the current voltage, state of charge etc. to the main device.
This can be also useful for repurposing these batteries on a Raspberry or Orange Pi, to power portable projects.&lt;/p&gt;
&lt;h1 id="hardware-dismantling"&gt;Hardware Dismantling&lt;/h1&gt;
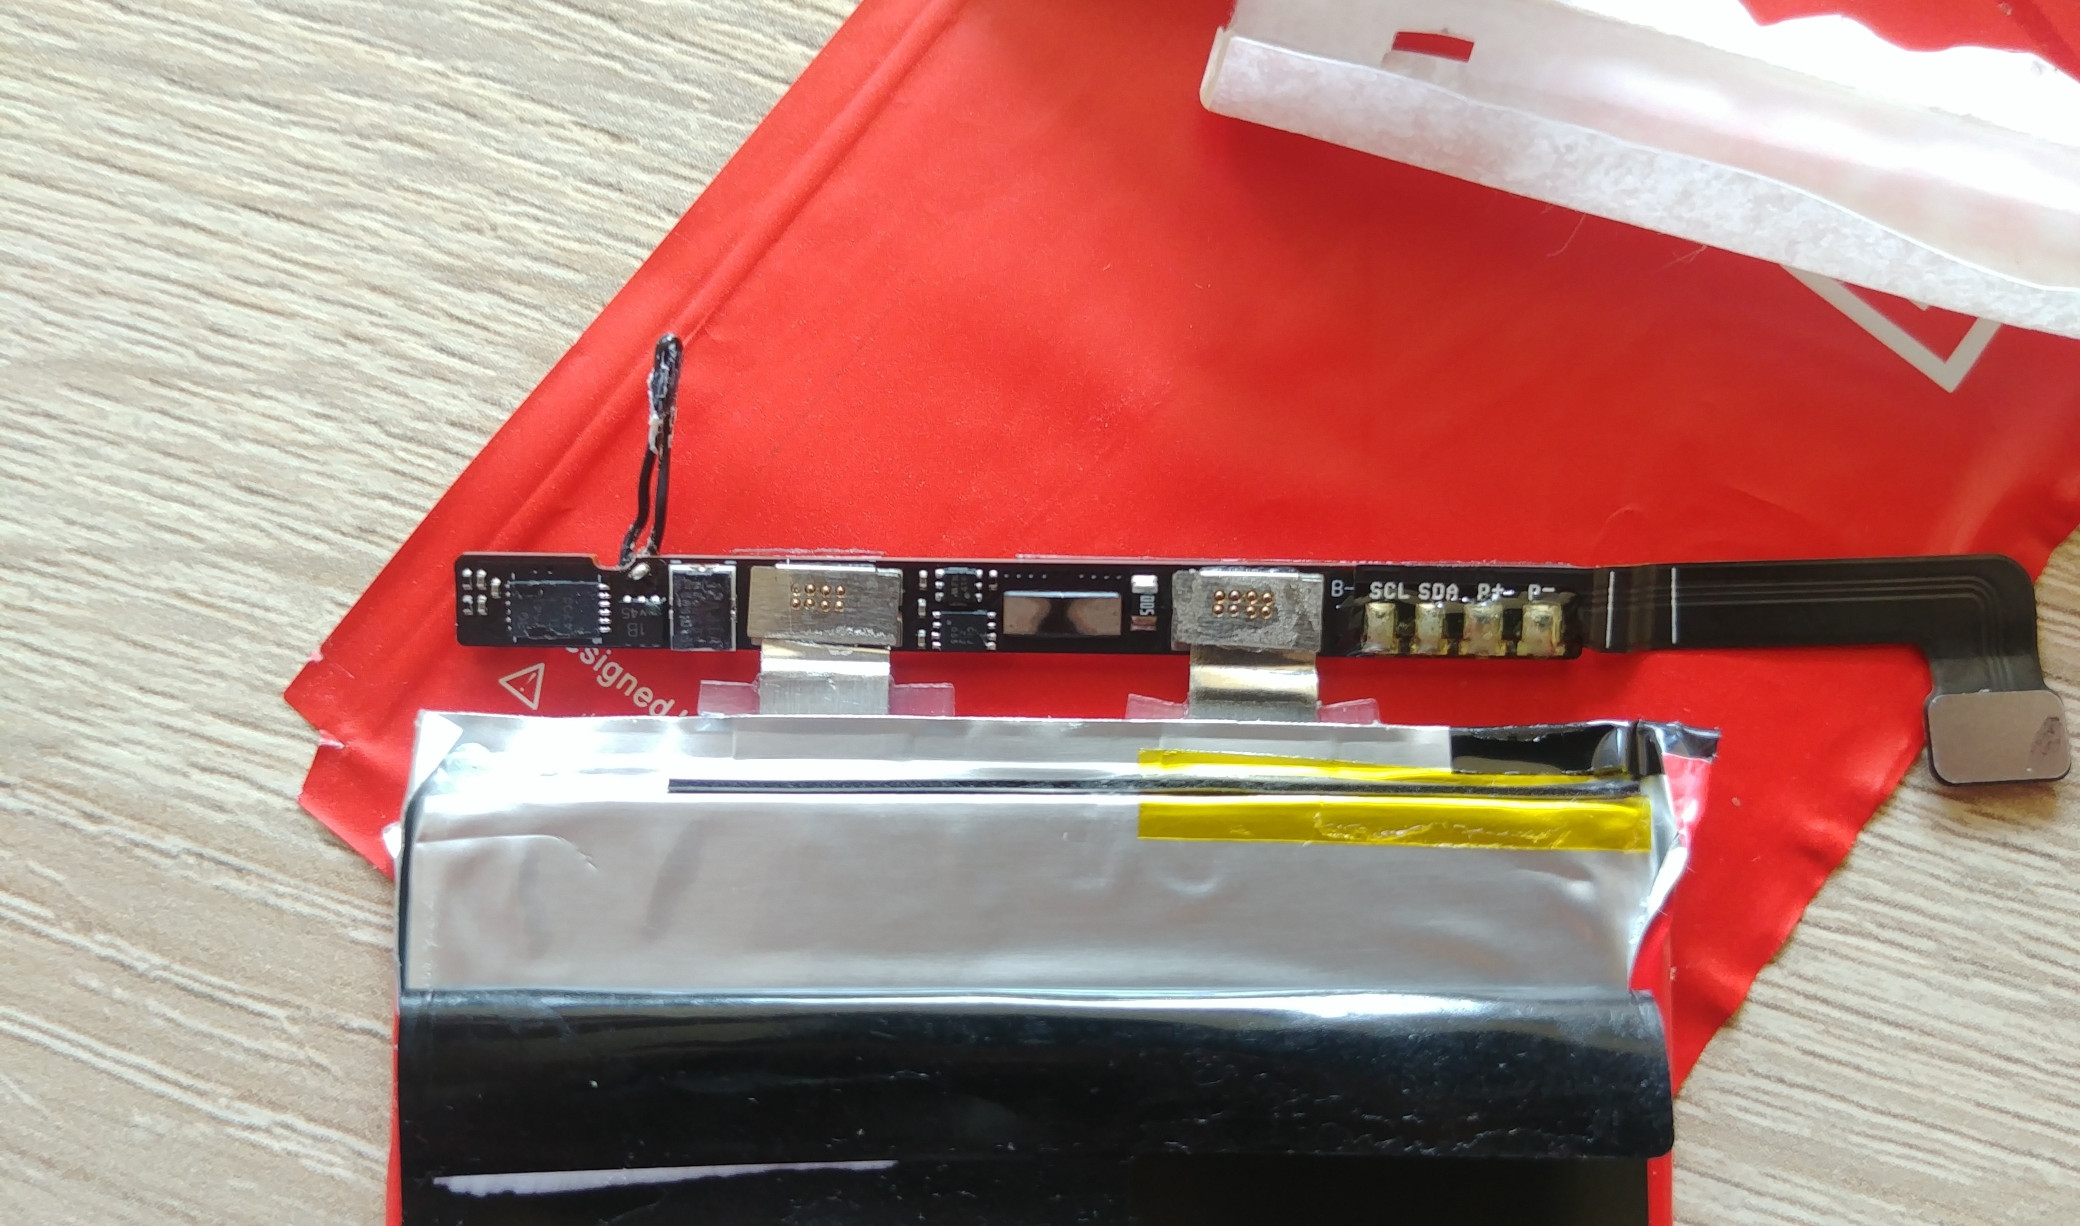
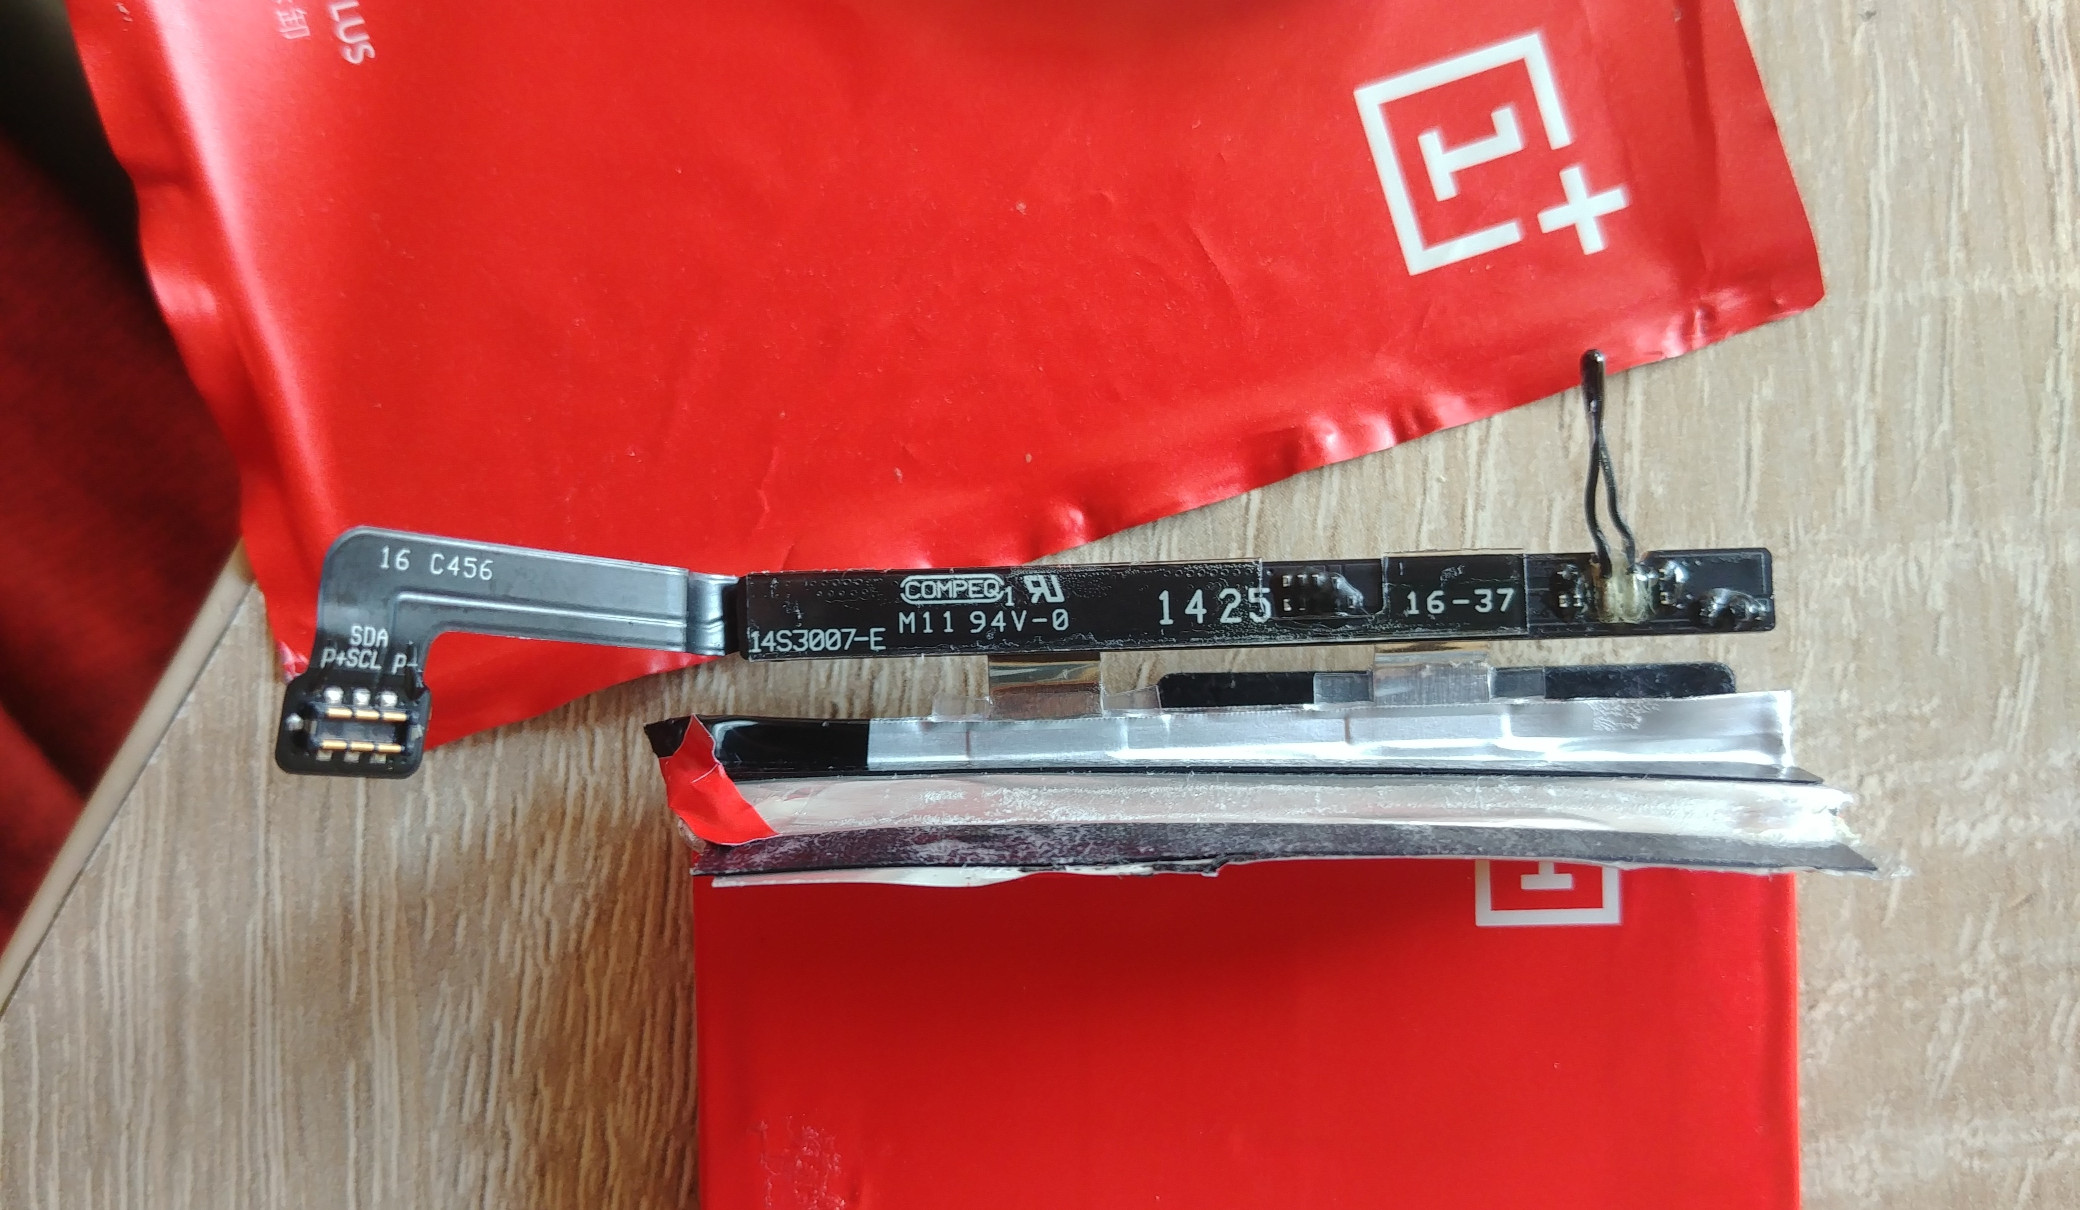
&lt;p&gt;I had the battery already removed from the Oneplus One (and replaced with a new third party part).
First the outer wrap has to be removed, I need to see the bare cell and protection PCB. It reveals another (paper?) wrap at the top and a small temperature probe sticking out:
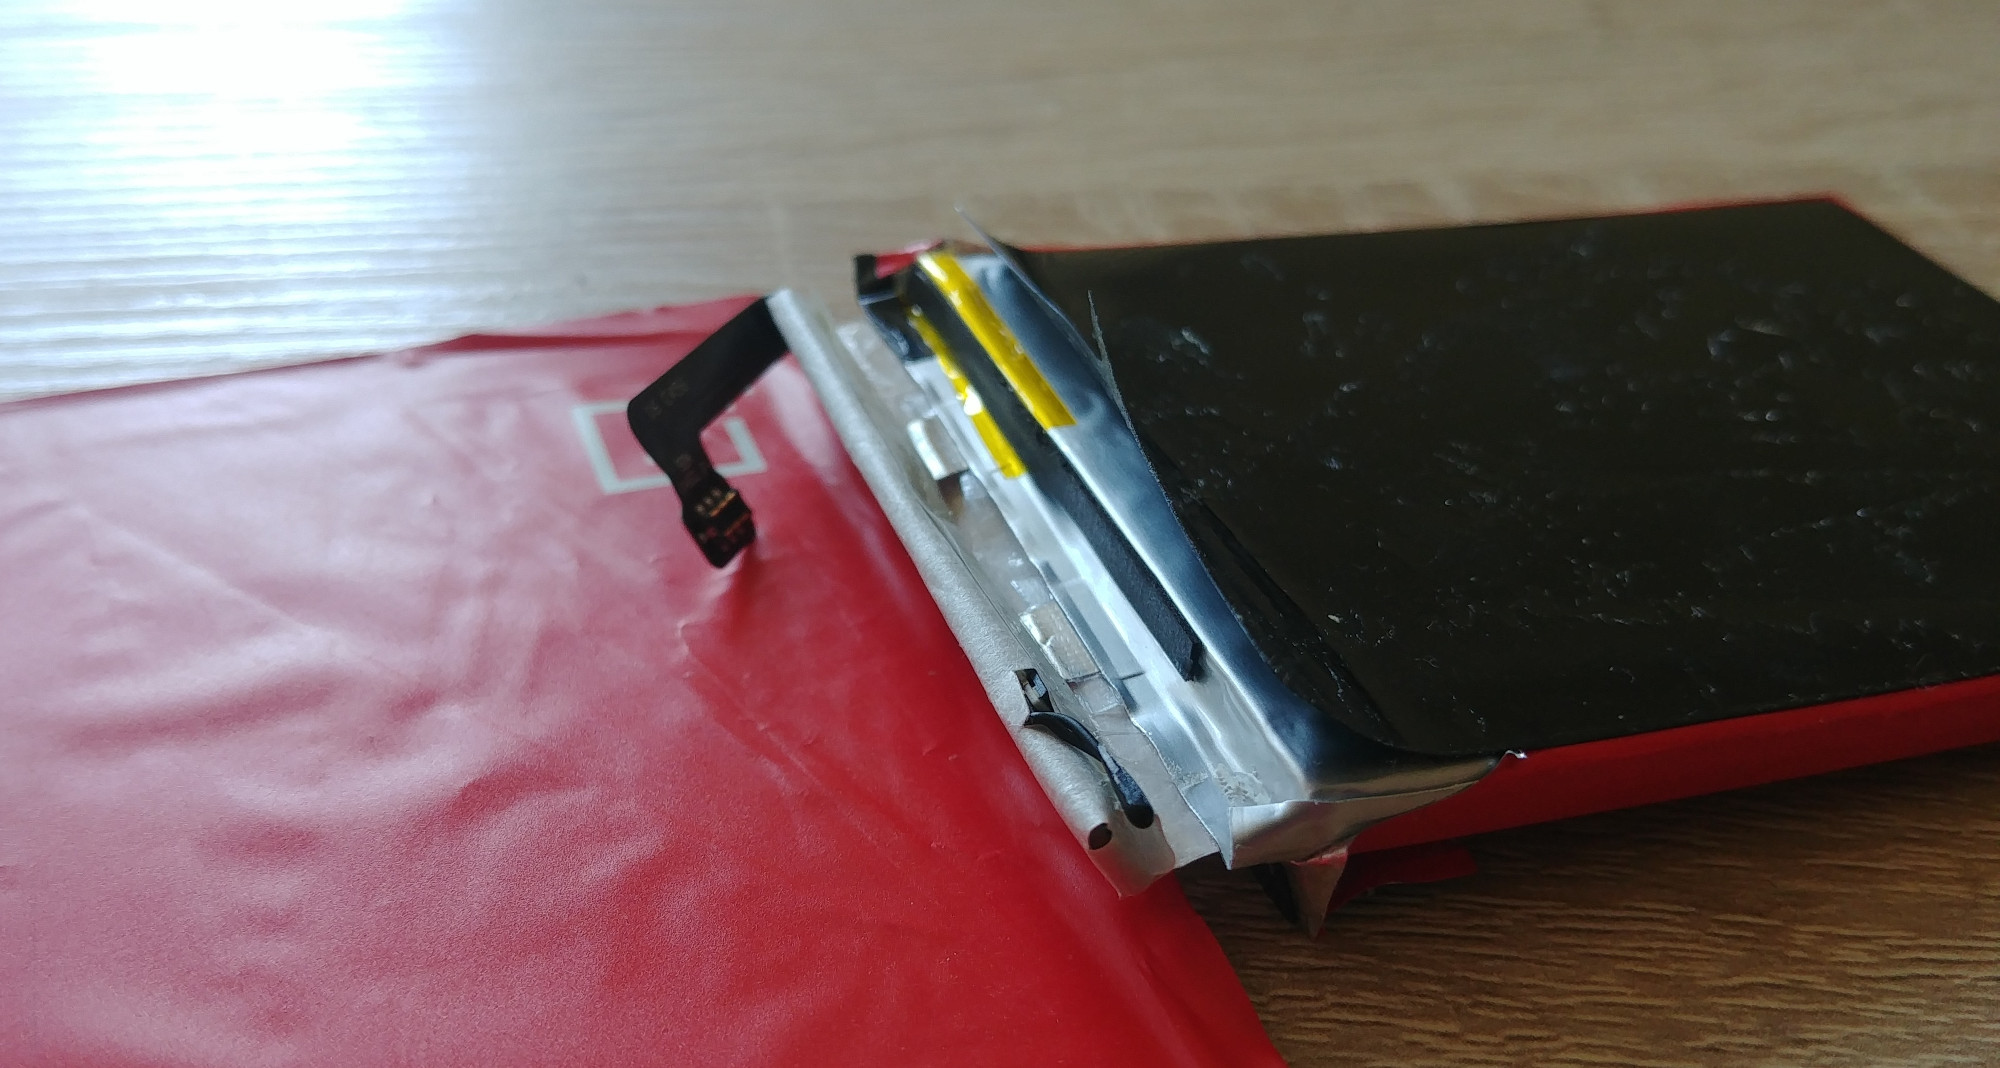
&lt;img src="https://blog.jklr.org/assets/i2c-phone-battery/disass.jpg" alt="battery wrap removed"&gt;&lt;/p&gt;</description></item><item><title>UT61E Toolkit: Update 1.4 with Temperature Measurement</title><link>https://blog.jklr.org/ut61e/android/2021/03/12/UT61E-toolkit-update-1_4.html</link><pubDate>Fri, 12 Mar 2021 00:00:00 +0000</pubDate><guid>https://blog.jklr.org/ut61e/android/2021/03/12/UT61E-toolkit-update-1_4.html</guid><description>&lt;p&gt;This is another app release that adds new data conversion features.
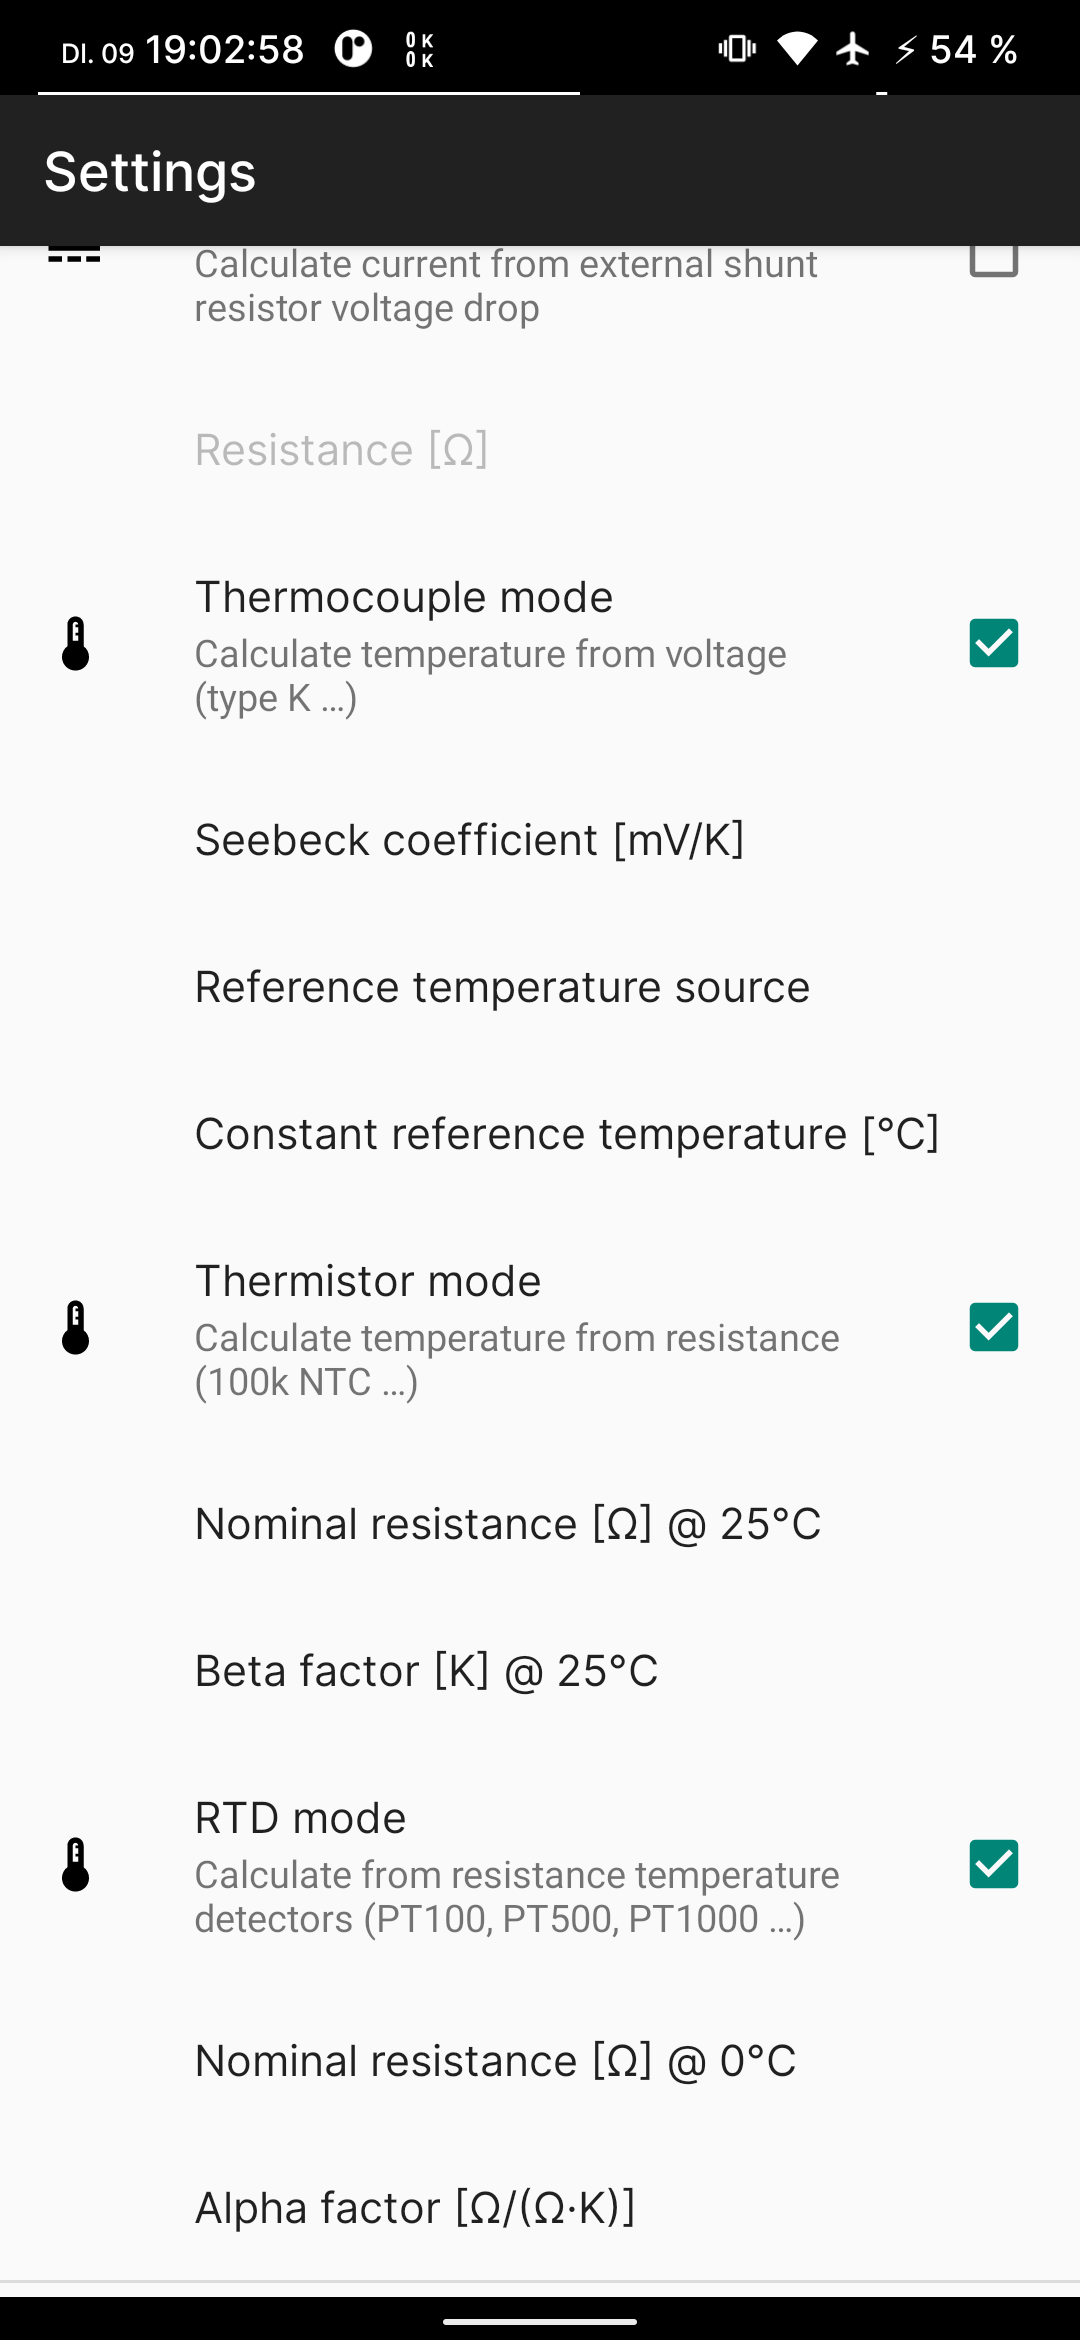
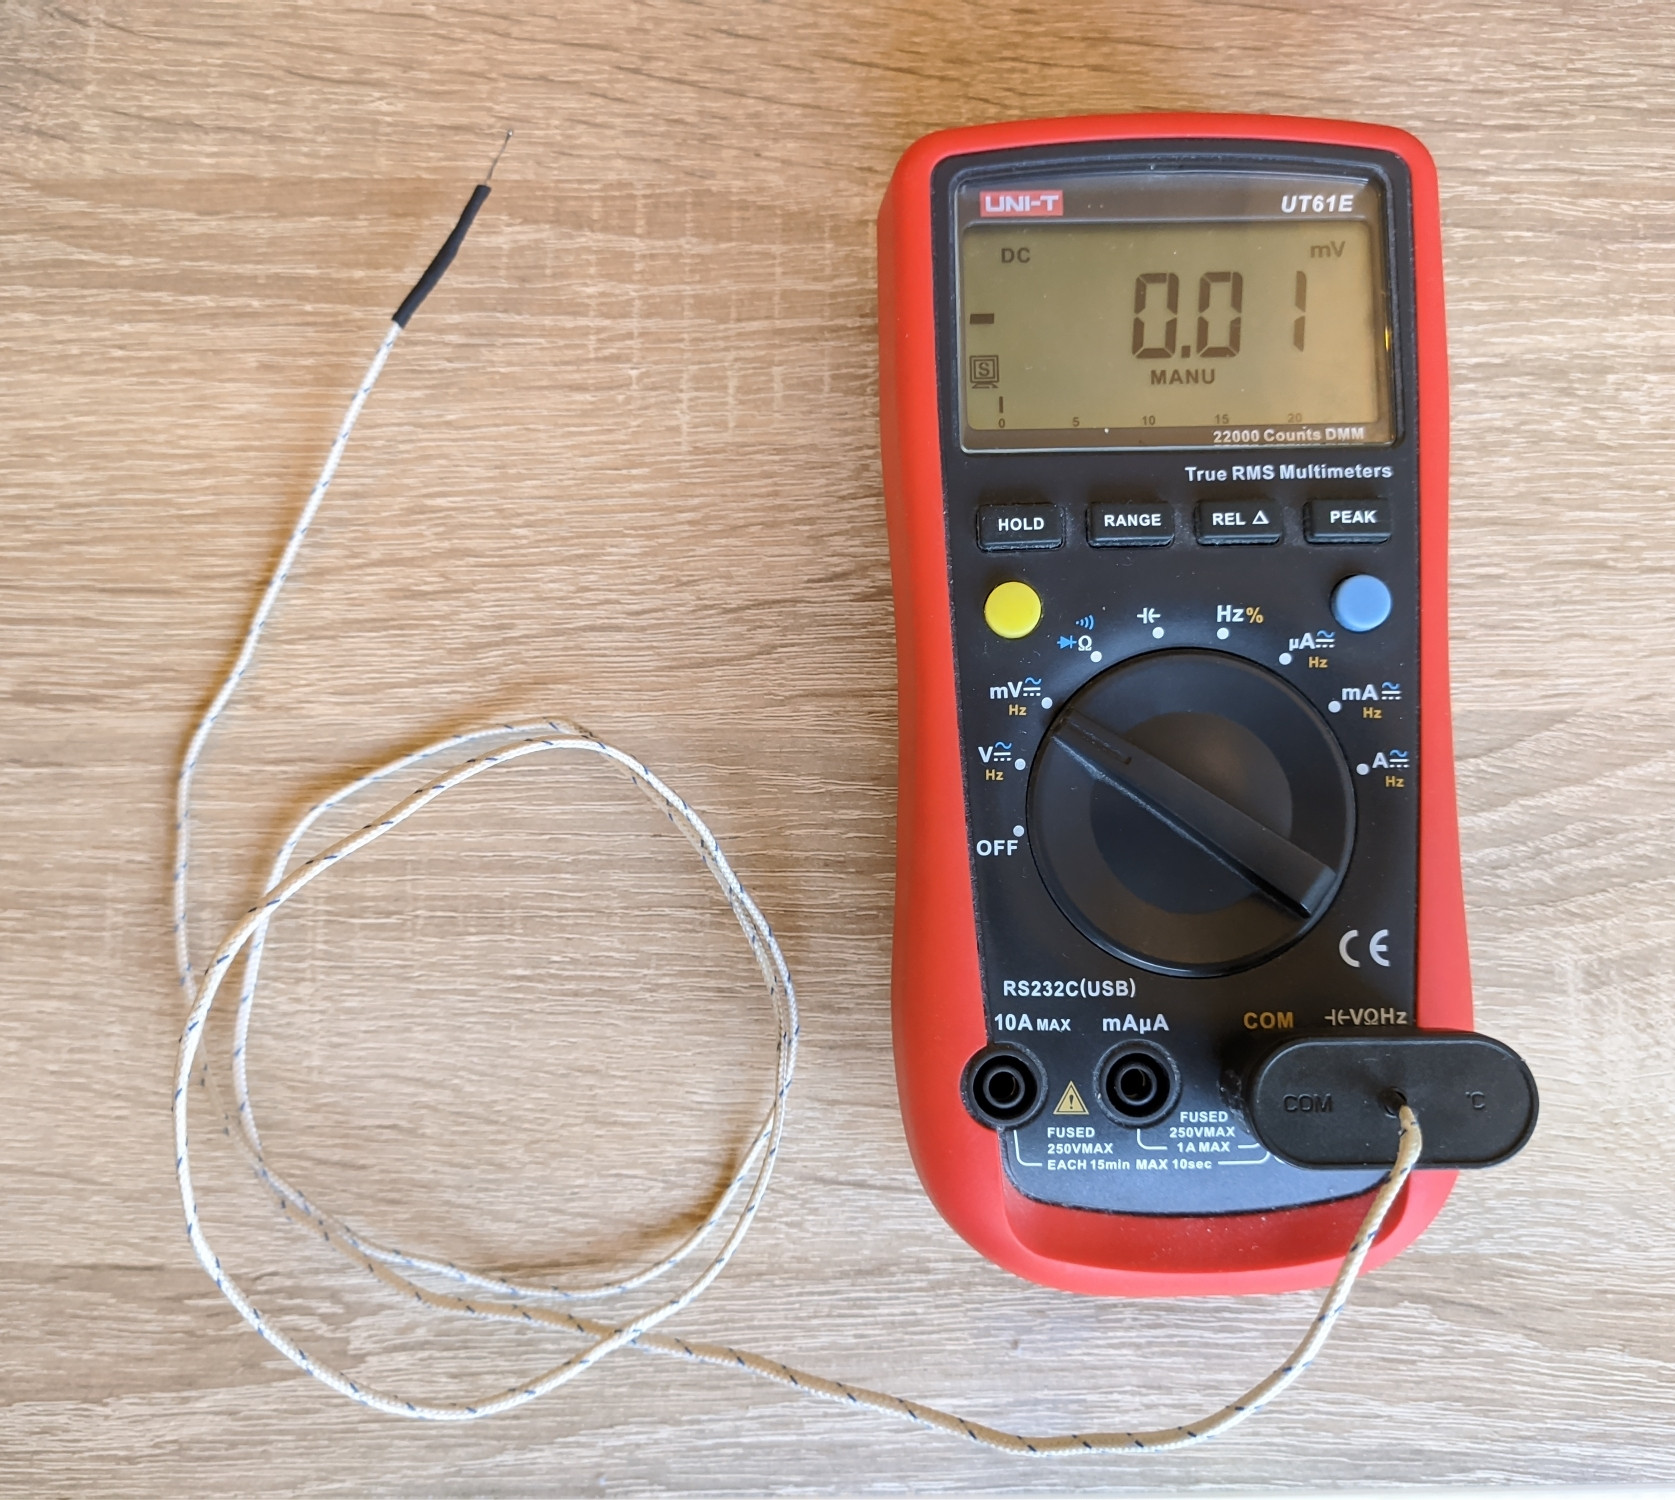
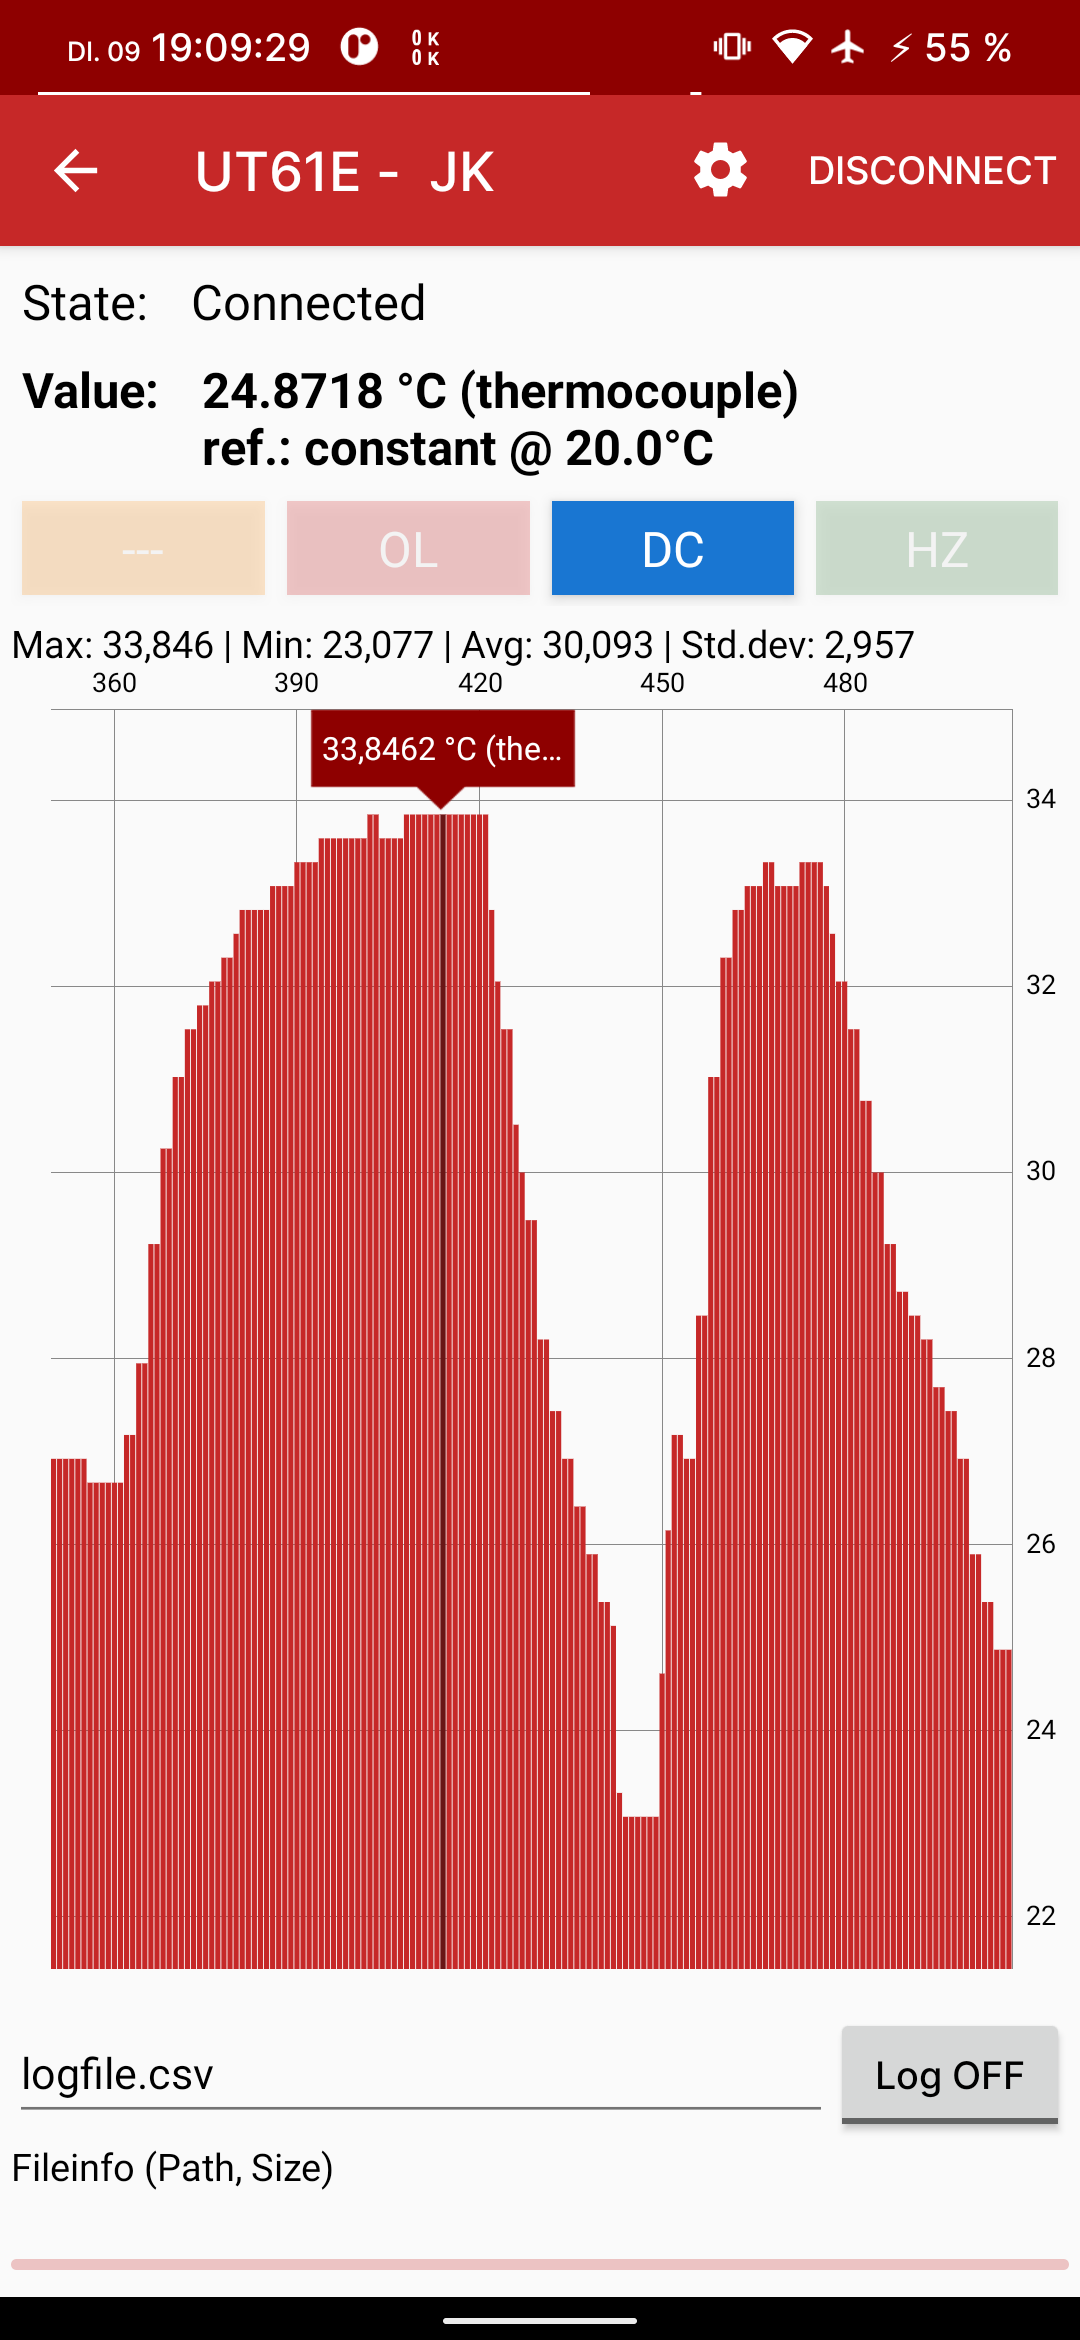
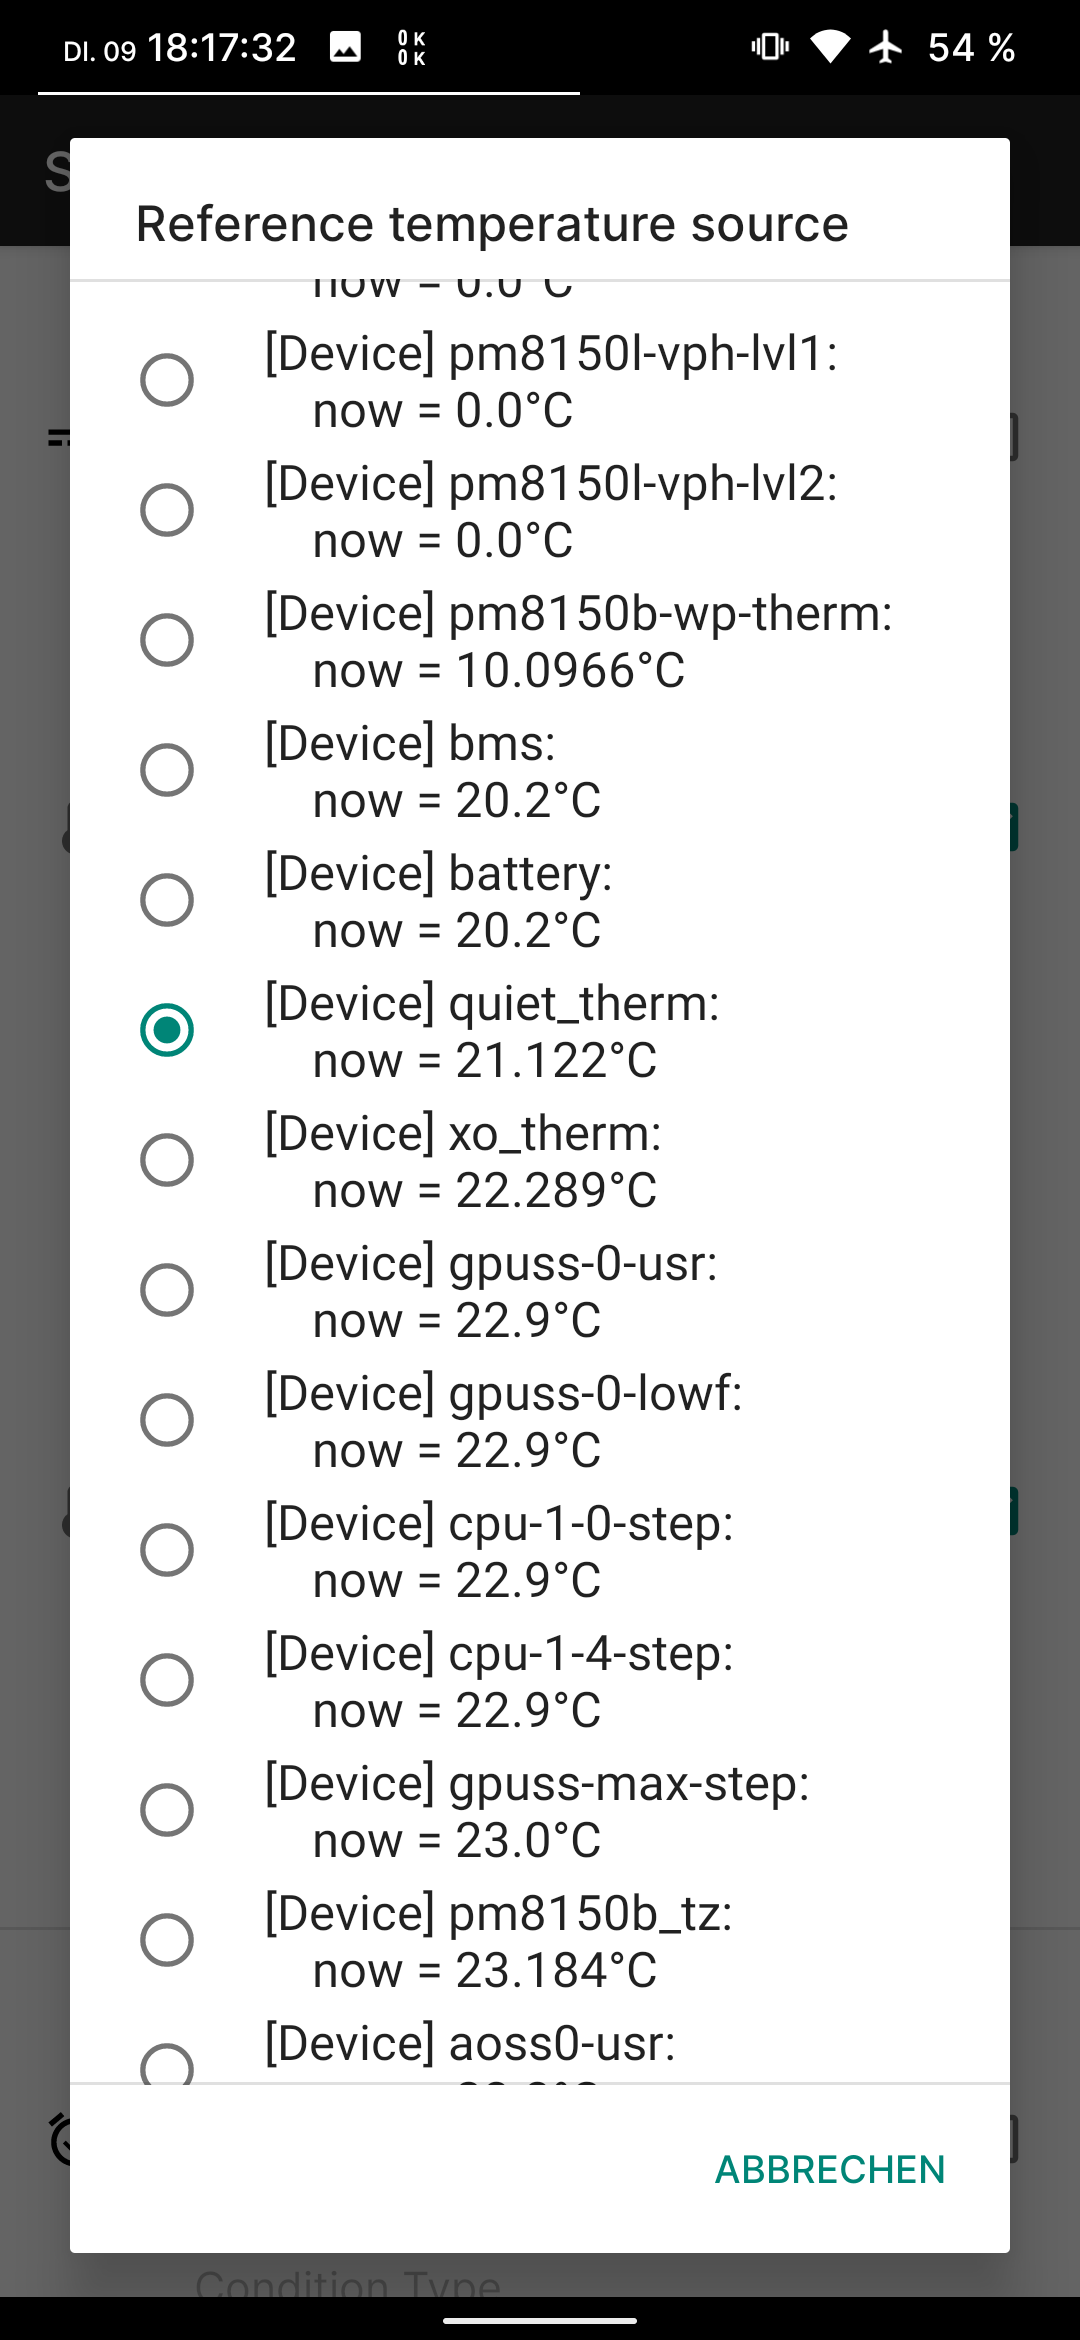
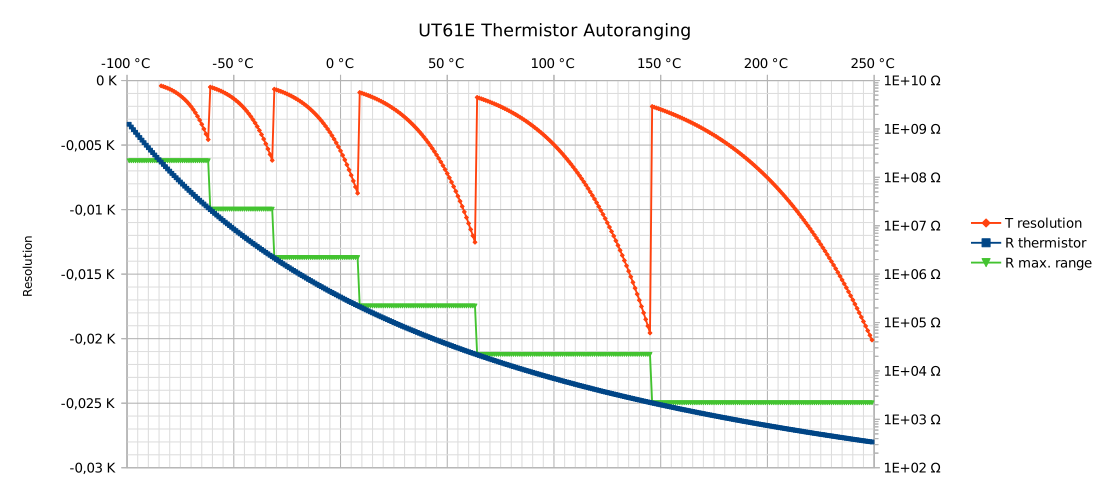
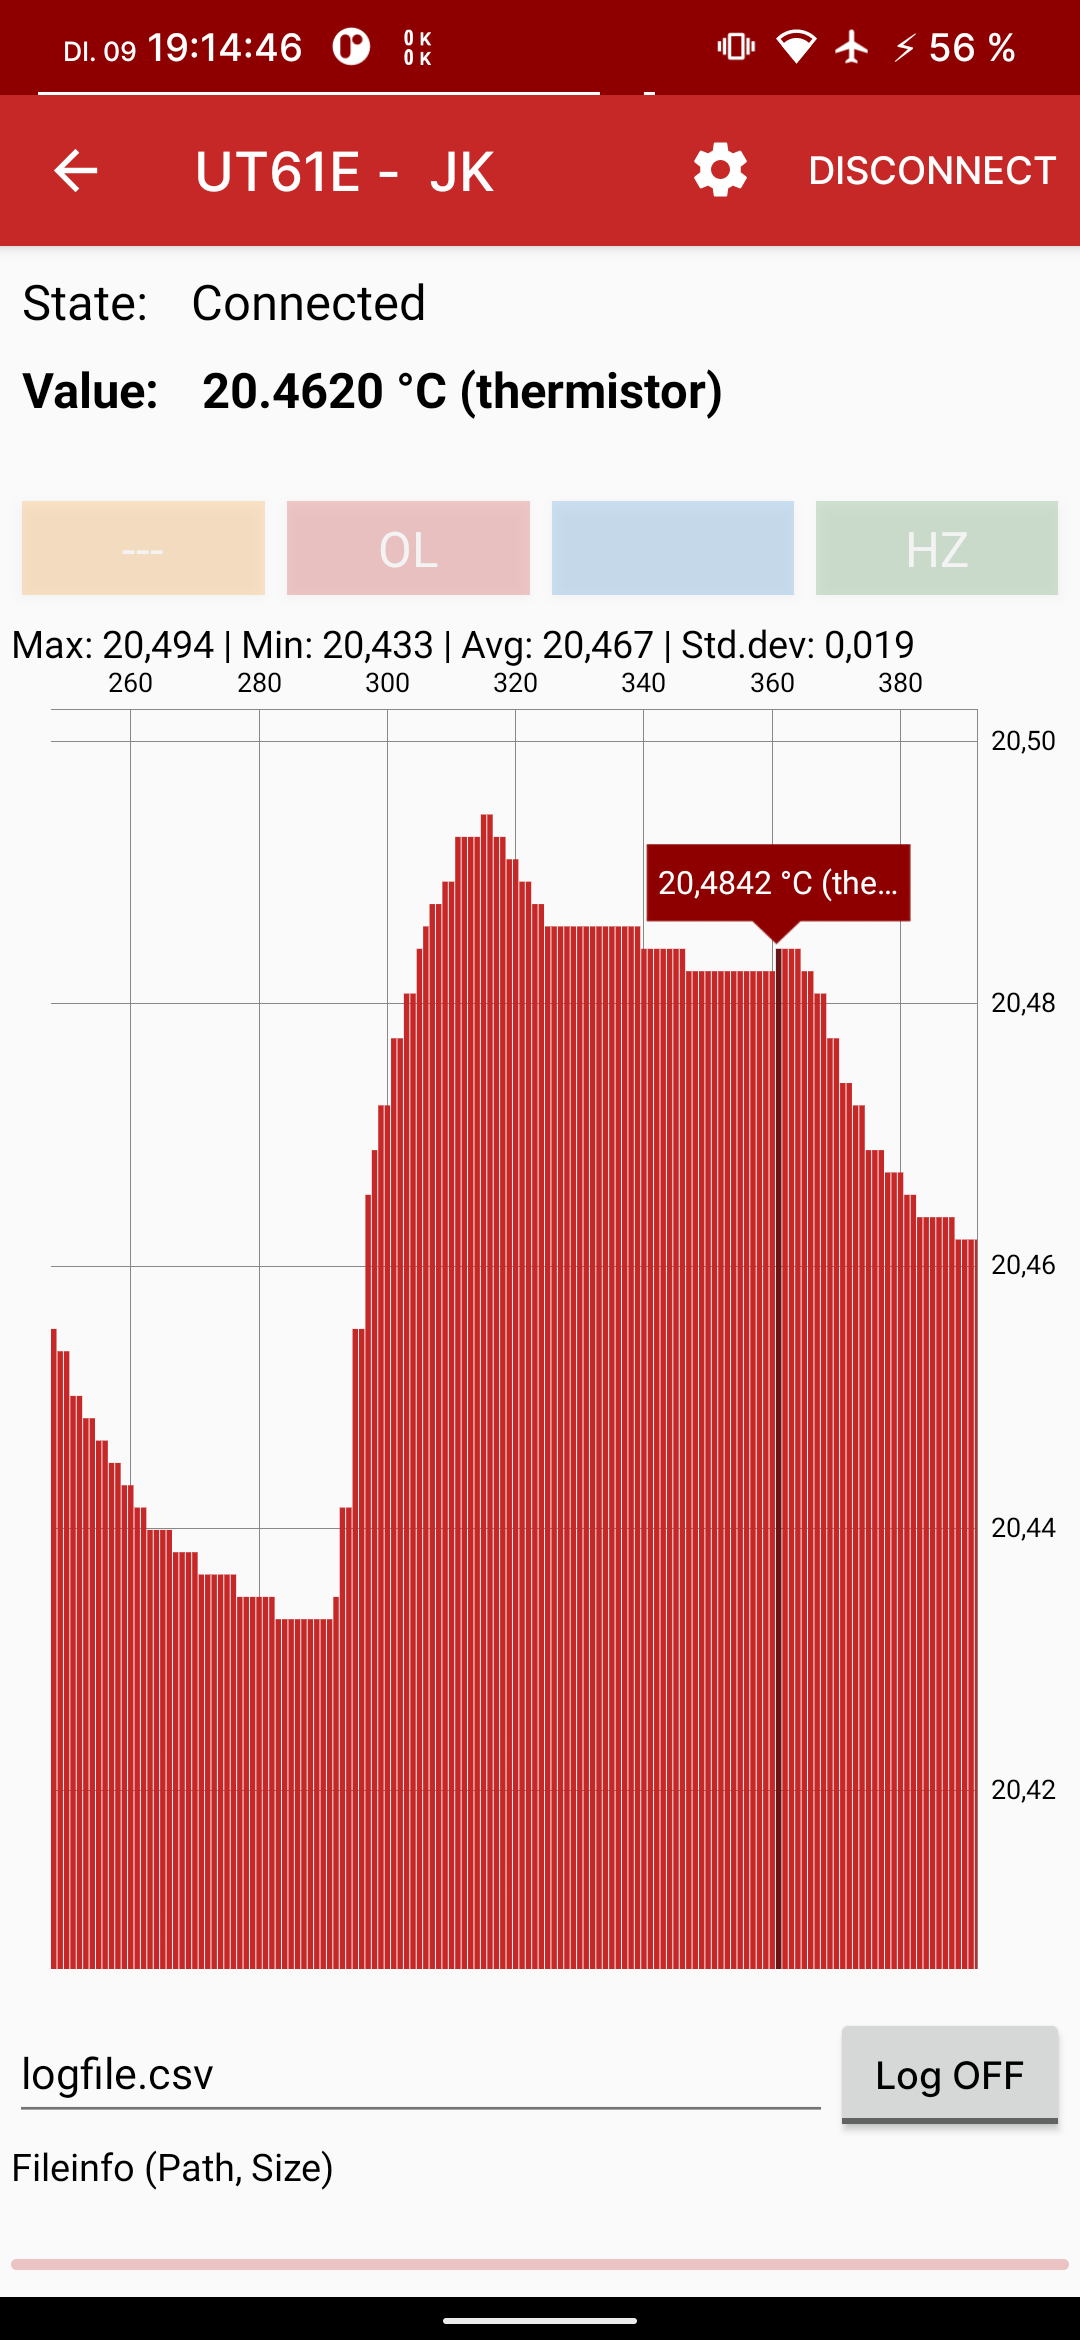
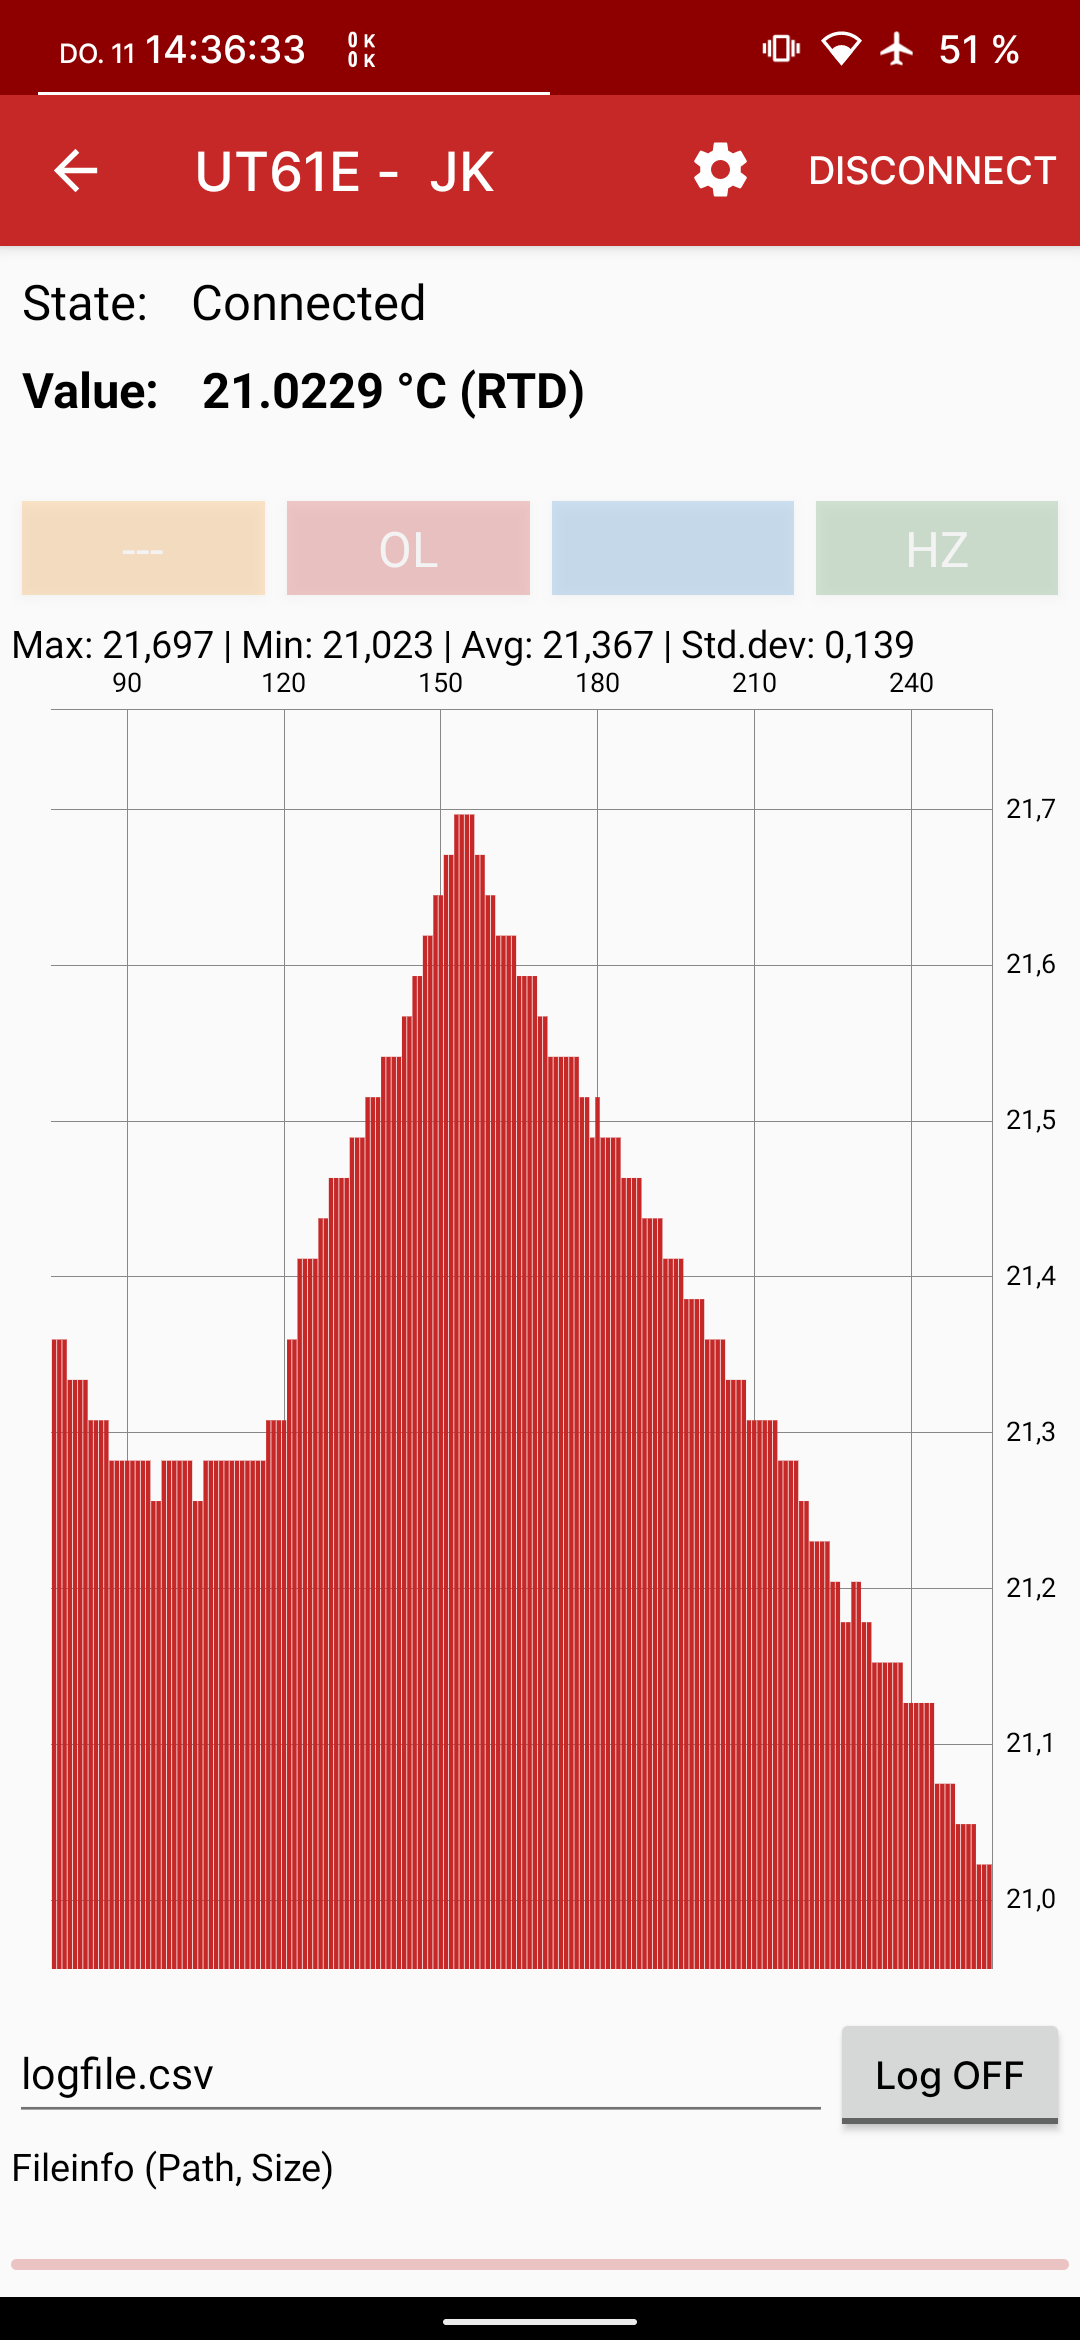
This time: temperature measurement!&lt;/p&gt;
&lt;p&gt;I got the idea after watching Dave&amp;rsquo;s EEVBlog about the new UT61E+, he criticized the unnecessary hFE mode and missing temperature option. He also said that this would be probably just a software change. So I thought: True! This should be even possible with the older UT61E and so I have implemented it in my app.&lt;/p&gt;</description></item><item><title>UT61E Toolkit: Update 1.3</title><link>https://blog.jklr.org/ut61e/android/2021/03/11/UT61E-toolkit-update-1_3.html</link><pubDate>Thu, 11 Mar 2021 00:00:00 +0000</pubDate><guid>https://blog.jklr.org/ut61e/android/2021/03/11/UT61E-toolkit-update-1_3.html</guid><description>&lt;p&gt;After almost 2 years I began working on my app for the UT61E (and others from the UT61 series) again.
This release includes only small visible changes, a lot of work went into updating the Android API, especially the new security features required changes.&lt;/p&gt;
&lt;h2 id="ui-improvements"&gt;UI Improvements&lt;/h2&gt;
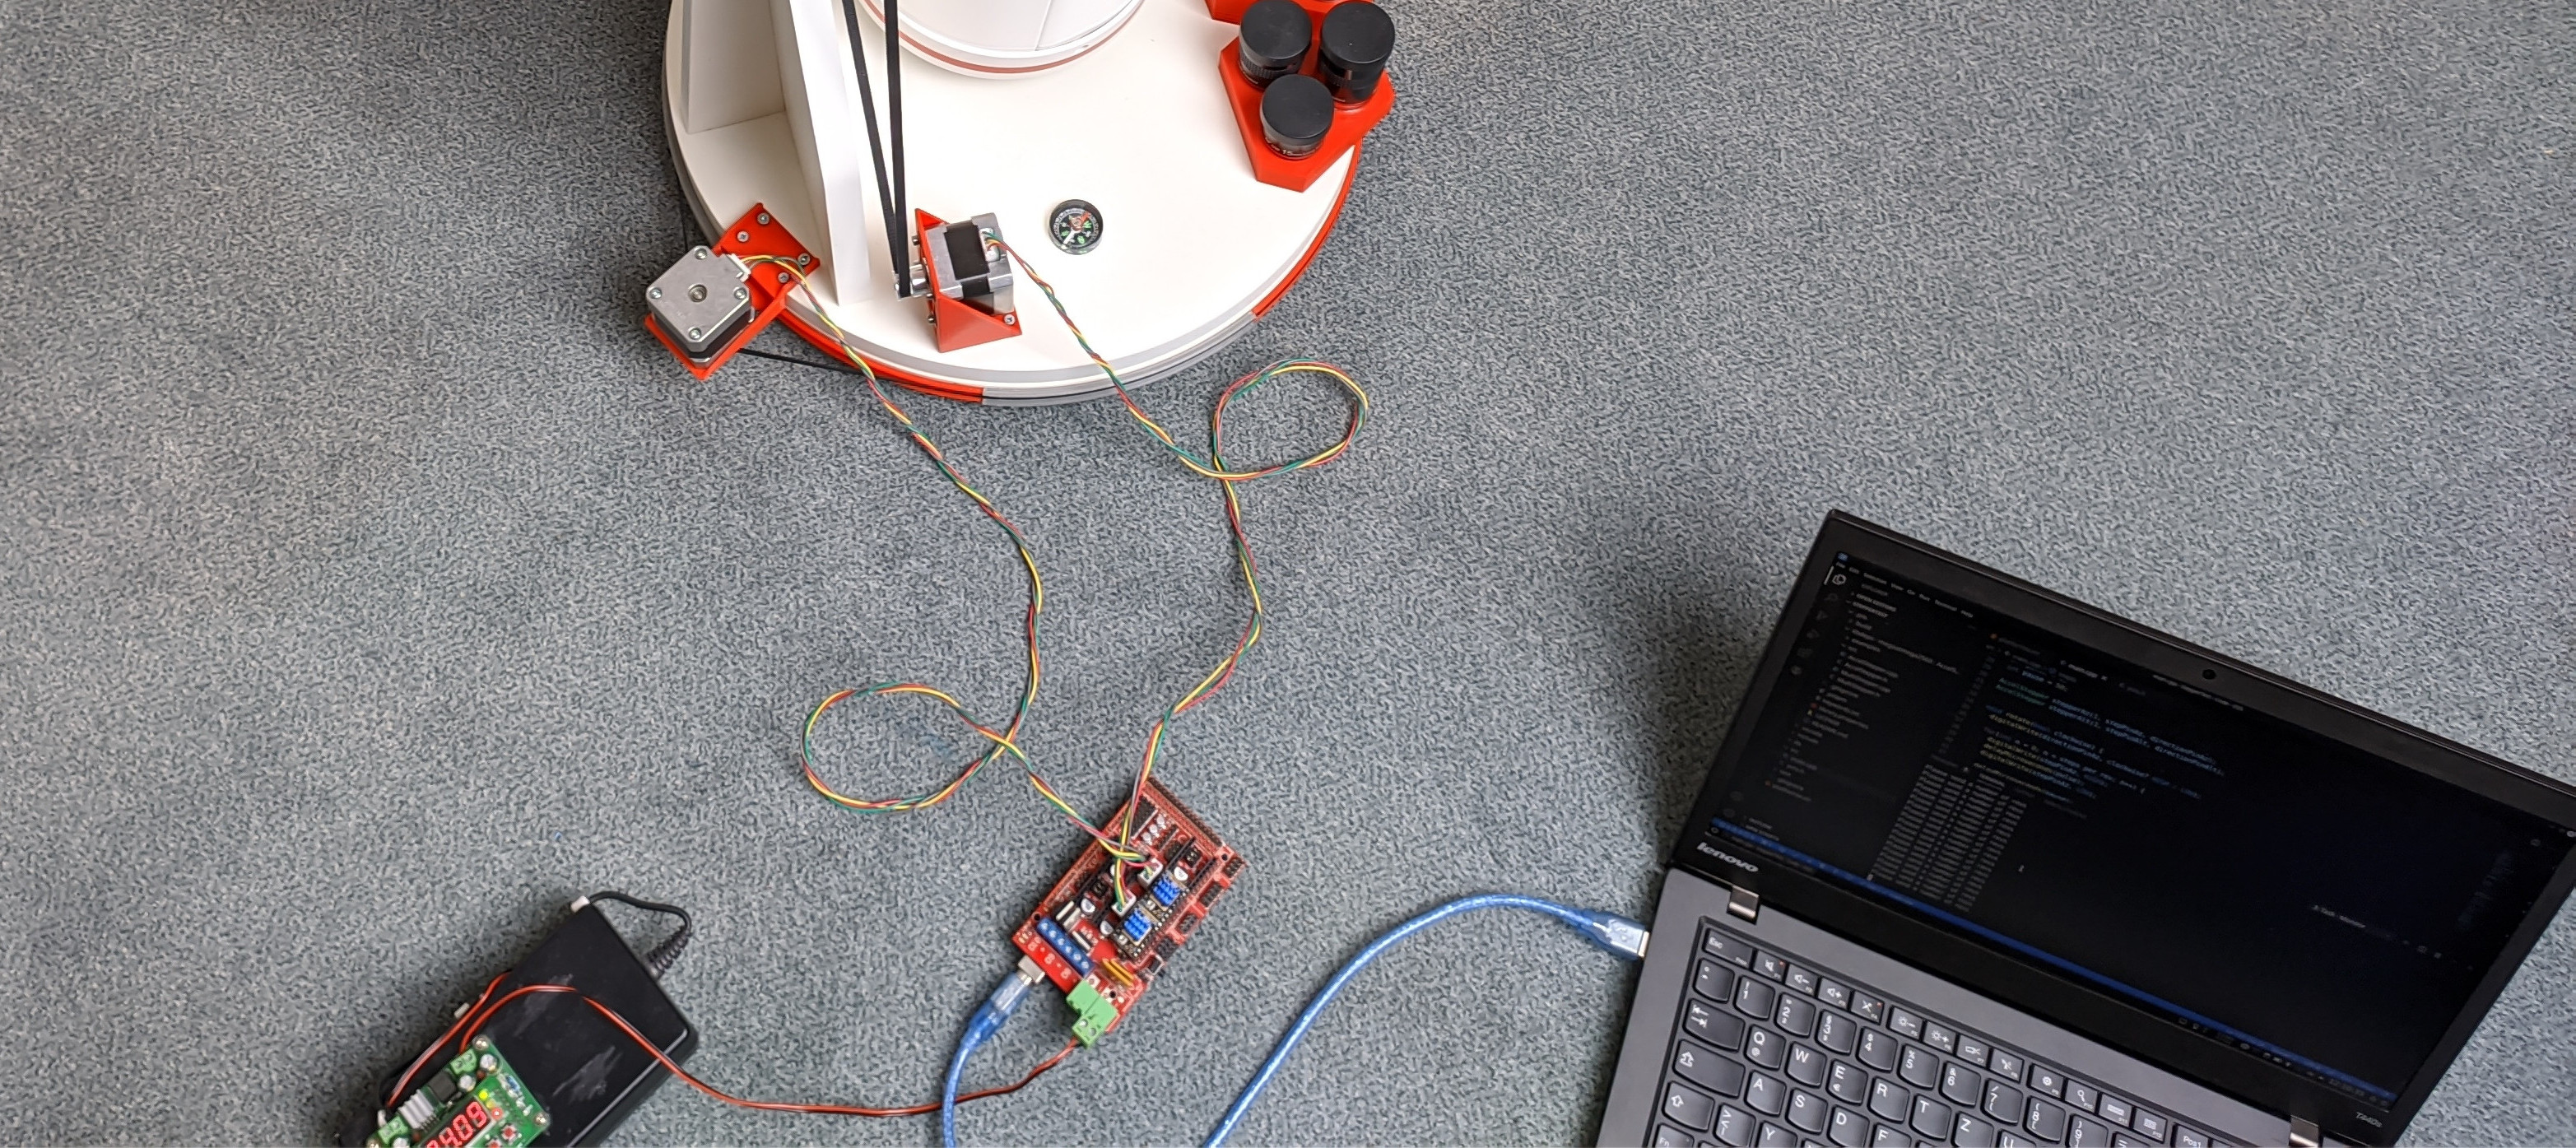
&lt;p&gt;First let&amp;rsquo;s look at the user interface changes. I have adjusted the background and colors for the categories, this should make it easier to read (better contrast):&lt;/p&gt;</description></item><item><title>DIY GoTo Telescope Mount [3] = Electronics for first Stepper Test</title><link>https://blog.jklr.org/2020/11/02/diy-goto-3-stepper-test.html</link><pubDate>Mon, 02 Nov 2020 00:00:00 +0000</pubDate><guid>https://blog.jklr.org/2020/11/02/diy-goto-3-stepper-test.html</guid><description>&lt;p&gt;This is the next part in my telescope series, look at the other posts for more details. In this post I describe how I set up a basic controller to test the mechanical setup.&lt;/p&gt;
&lt;h1 id="electrical-prototype"&gt;Electrical Prototype&lt;/h1&gt;
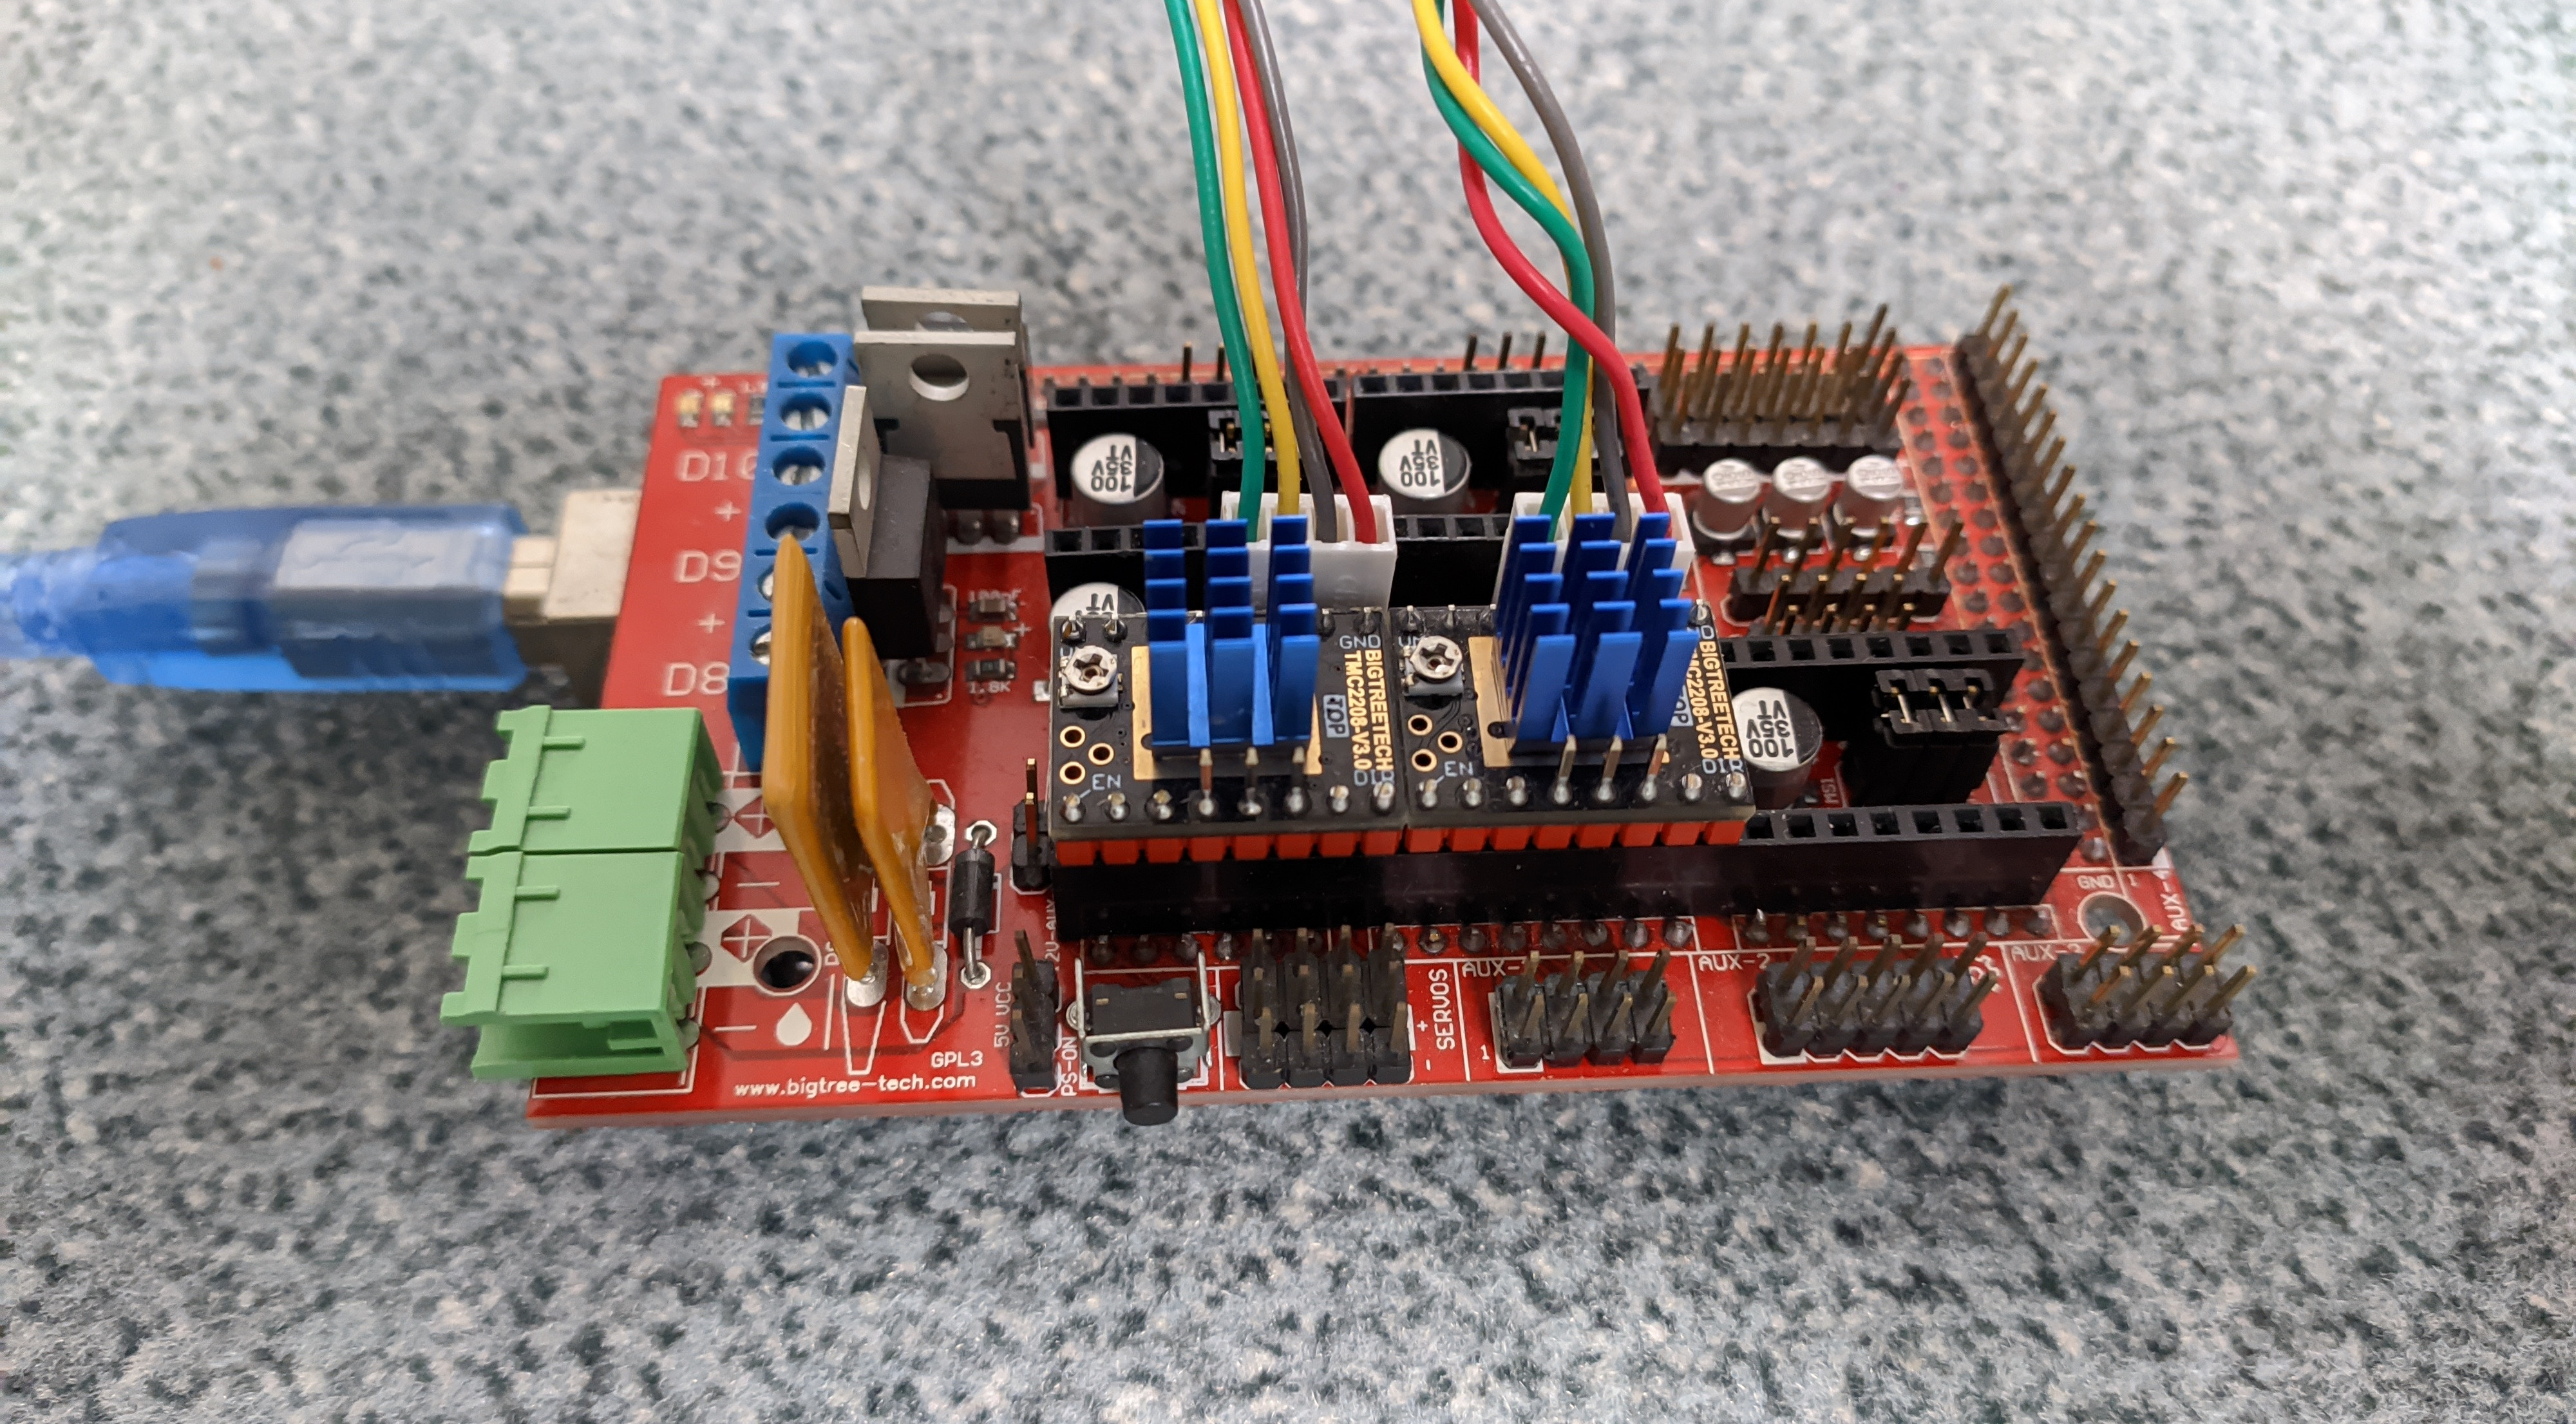
&lt;p&gt;As already mentioned I want to make it as silent as so possible, so I decided to go for TMC2208 in StealthChop mode. First I thought about using breadboard and jumper cables, it is not too complex and the pinout/schematics of my driver breakout modules is available in the &lt;a href="https://github.com/bigtreetech/BIGTREETECH-TMC2208-V3.0"&gt;BigTreeTech GitHub repo&lt;/a&gt;. But because I had a spare RAMPS 1.4 shield from a 3D printer it was easier to just use that.&lt;/p&gt;</description></item><item><title>DIY GoTo Telescope Mount [2] = Azimuth Axis</title><link>https://blog.jklr.org/2020/09/21/diy-goto-2-az-setup.html</link><pubDate>Mon, 21 Sep 2020 00:00:00 +0000</pubDate><guid>https://blog.jklr.org/2020/09/21/diy-goto-2-az-setup.html</guid><description>&lt;p&gt;This post shows the build of the azimuth (horizontal) axis for my GOTO telescope mount.&lt;/p&gt;
&lt;h2 id="large-pulley-profile"&gt;Large Pulley Profile&lt;/h2&gt;
&lt;h3 id="cad-design"&gt;CAD Design&lt;/h3&gt;
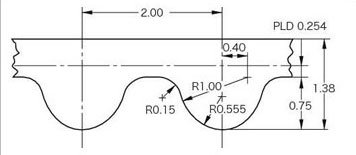
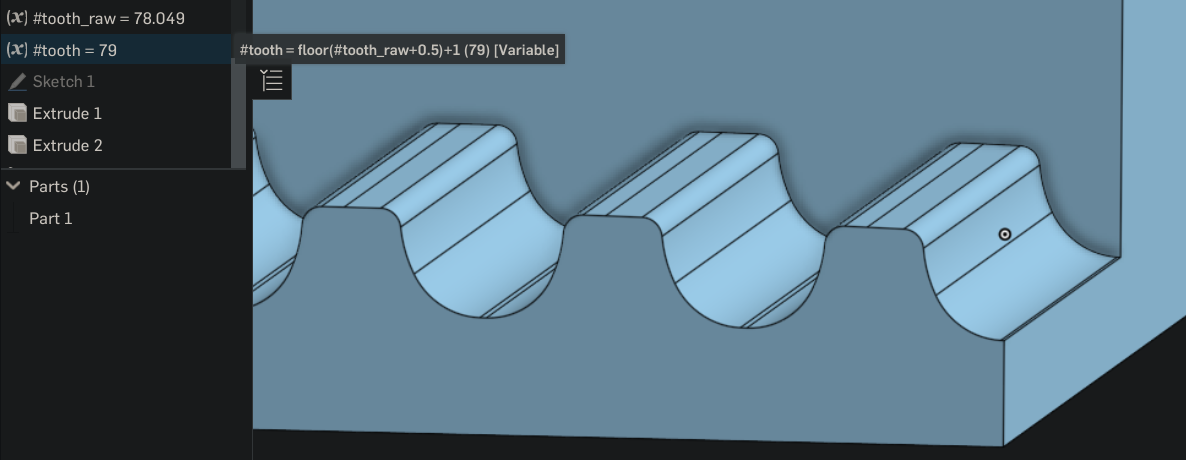
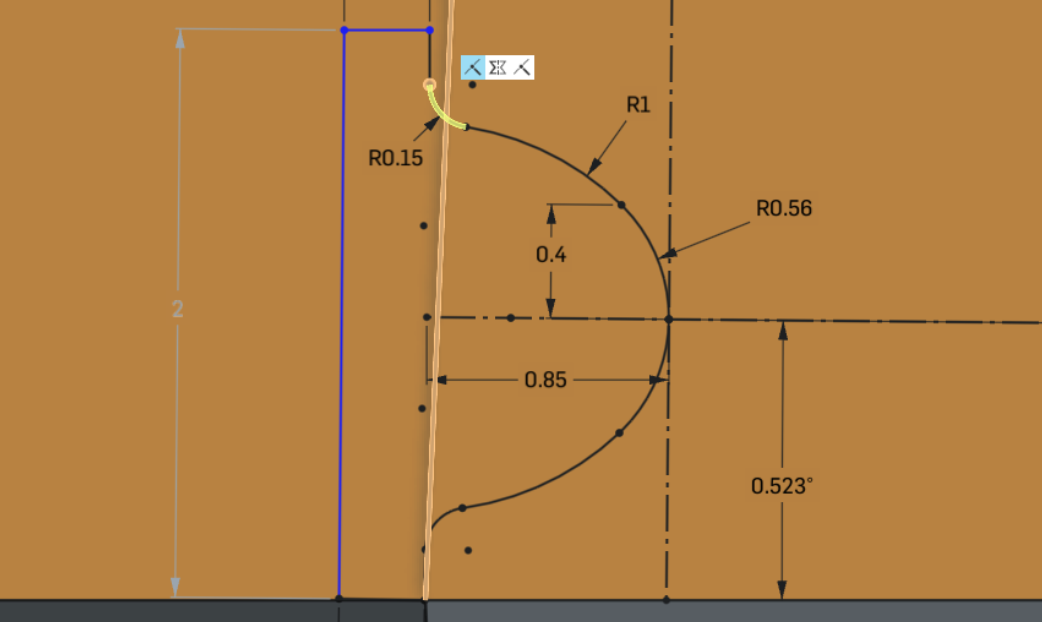
&lt;p&gt;First I tried to copy the tooth profile from the altitude axis pulley model &lt;a href="https://blog.jklr.org/2020/08/02/diy-goto-1-alt-setup.html"&gt;(previous post)&lt;/a&gt;, but it did not work, because it is not strictly defined, so I made a new new drawing, based on the parameters:&lt;/p&gt;
&lt;p&gt;&lt;img src="https://blog.jklr.org/assets/goto-telescope/gt2tooth.jpg" alt="gt2 belt tooth profile"&gt;&lt;/p&gt;
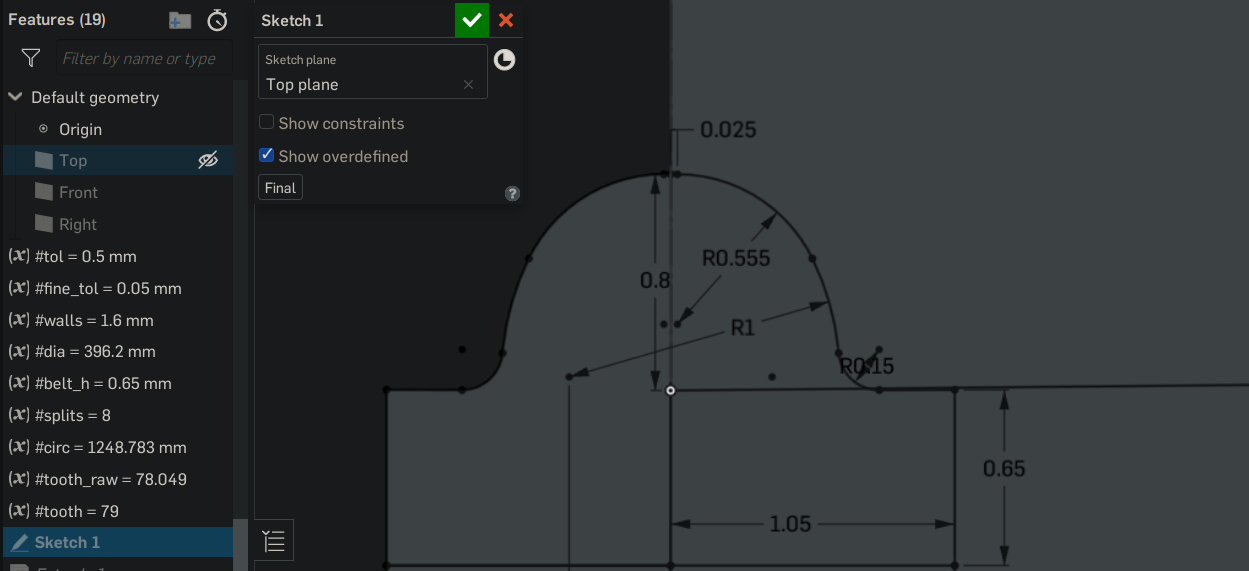
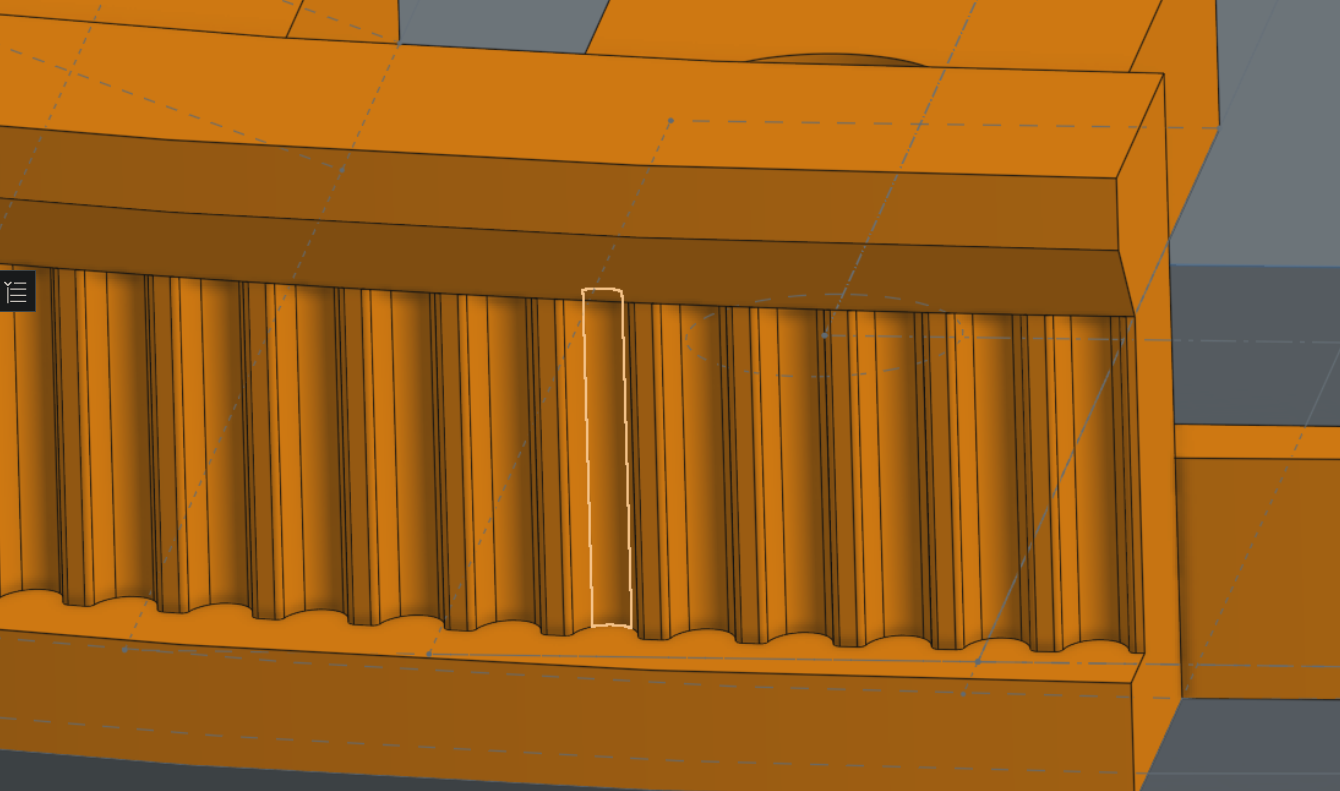
&lt;p&gt;Now fully constrained, with the exact measurements. Still with some tolerance for the 3D printing, implemented through a variable &lt;code&gt;#fine_tol&lt;/code&gt; that intentionally makes the teeth a bit wider, here set to 0.05 mm.&lt;/p&gt;</description></item><item><title>DIY GoTo Telescope Mount [1] = Altitude Axis</title><link>https://blog.jklr.org/2020/08/02/diy-goto-1-alt-setup.html</link><pubDate>Sun, 02 Aug 2020 00:00:00 +0000</pubDate><guid>https://blog.jklr.org/2020/08/02/diy-goto-1-alt-setup.html</guid><description>&lt;p&gt;This post is the first real part of my self made GoTo mount series.&lt;/p&gt;
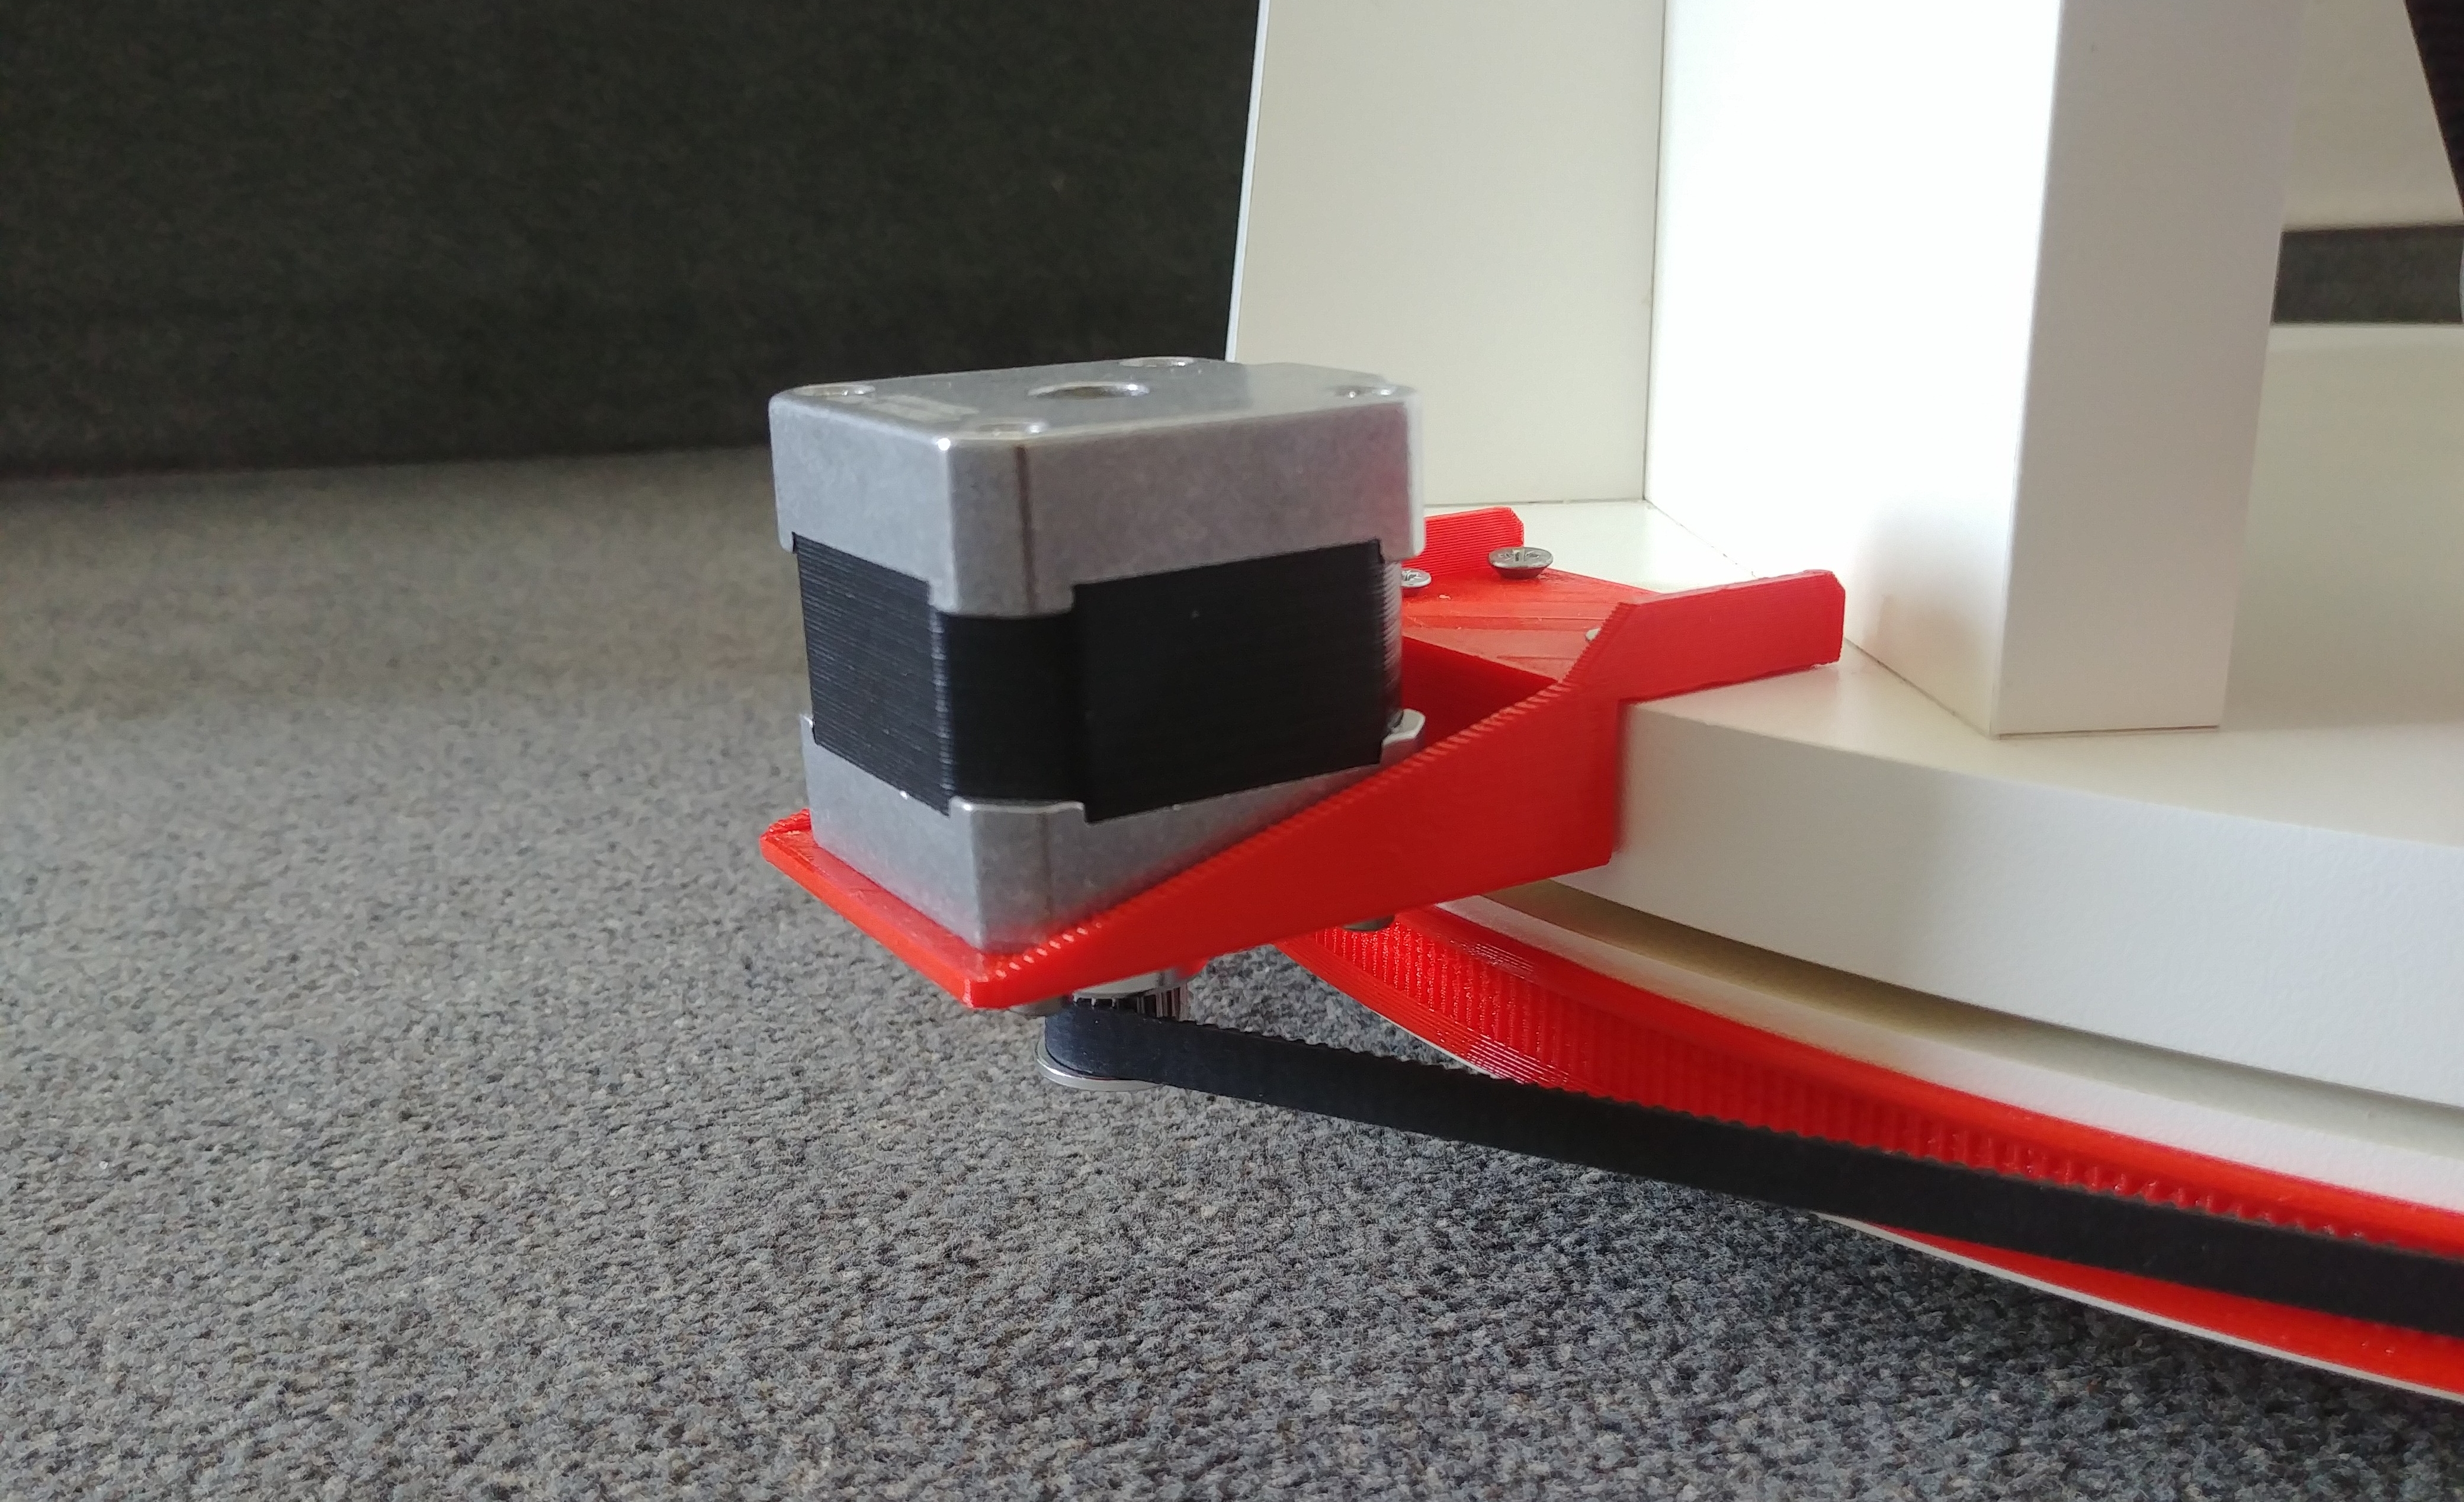
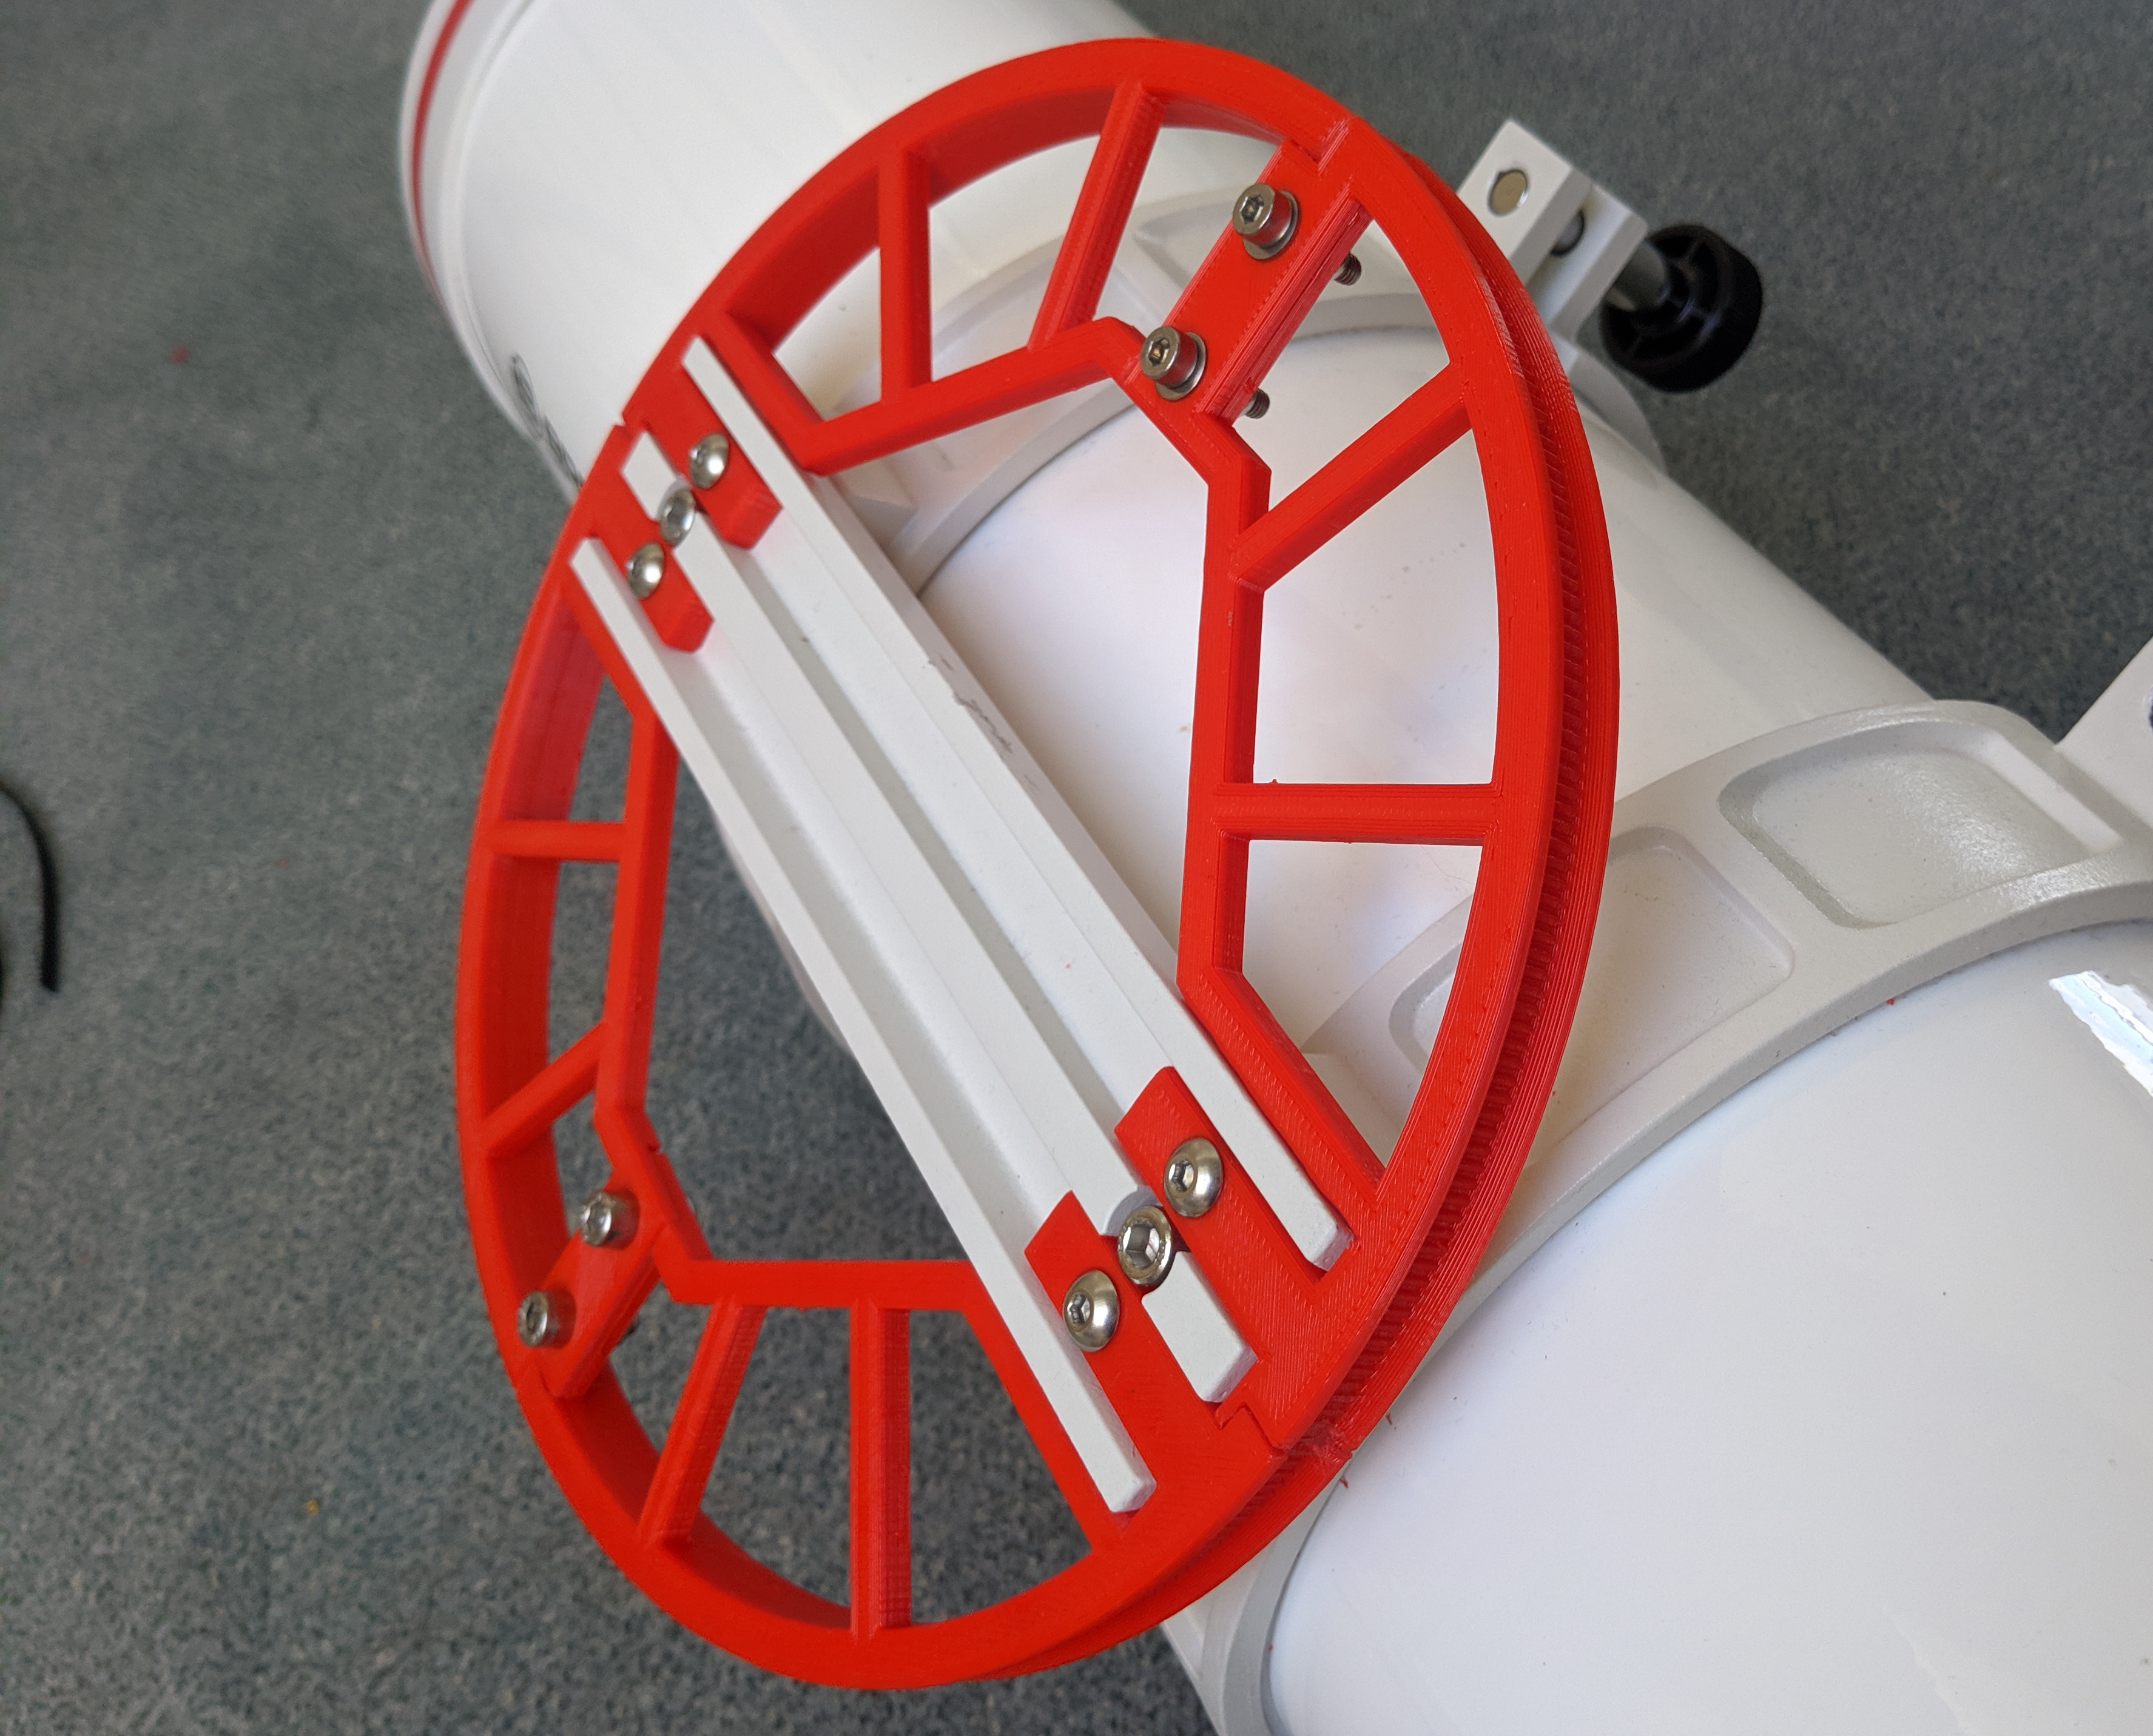
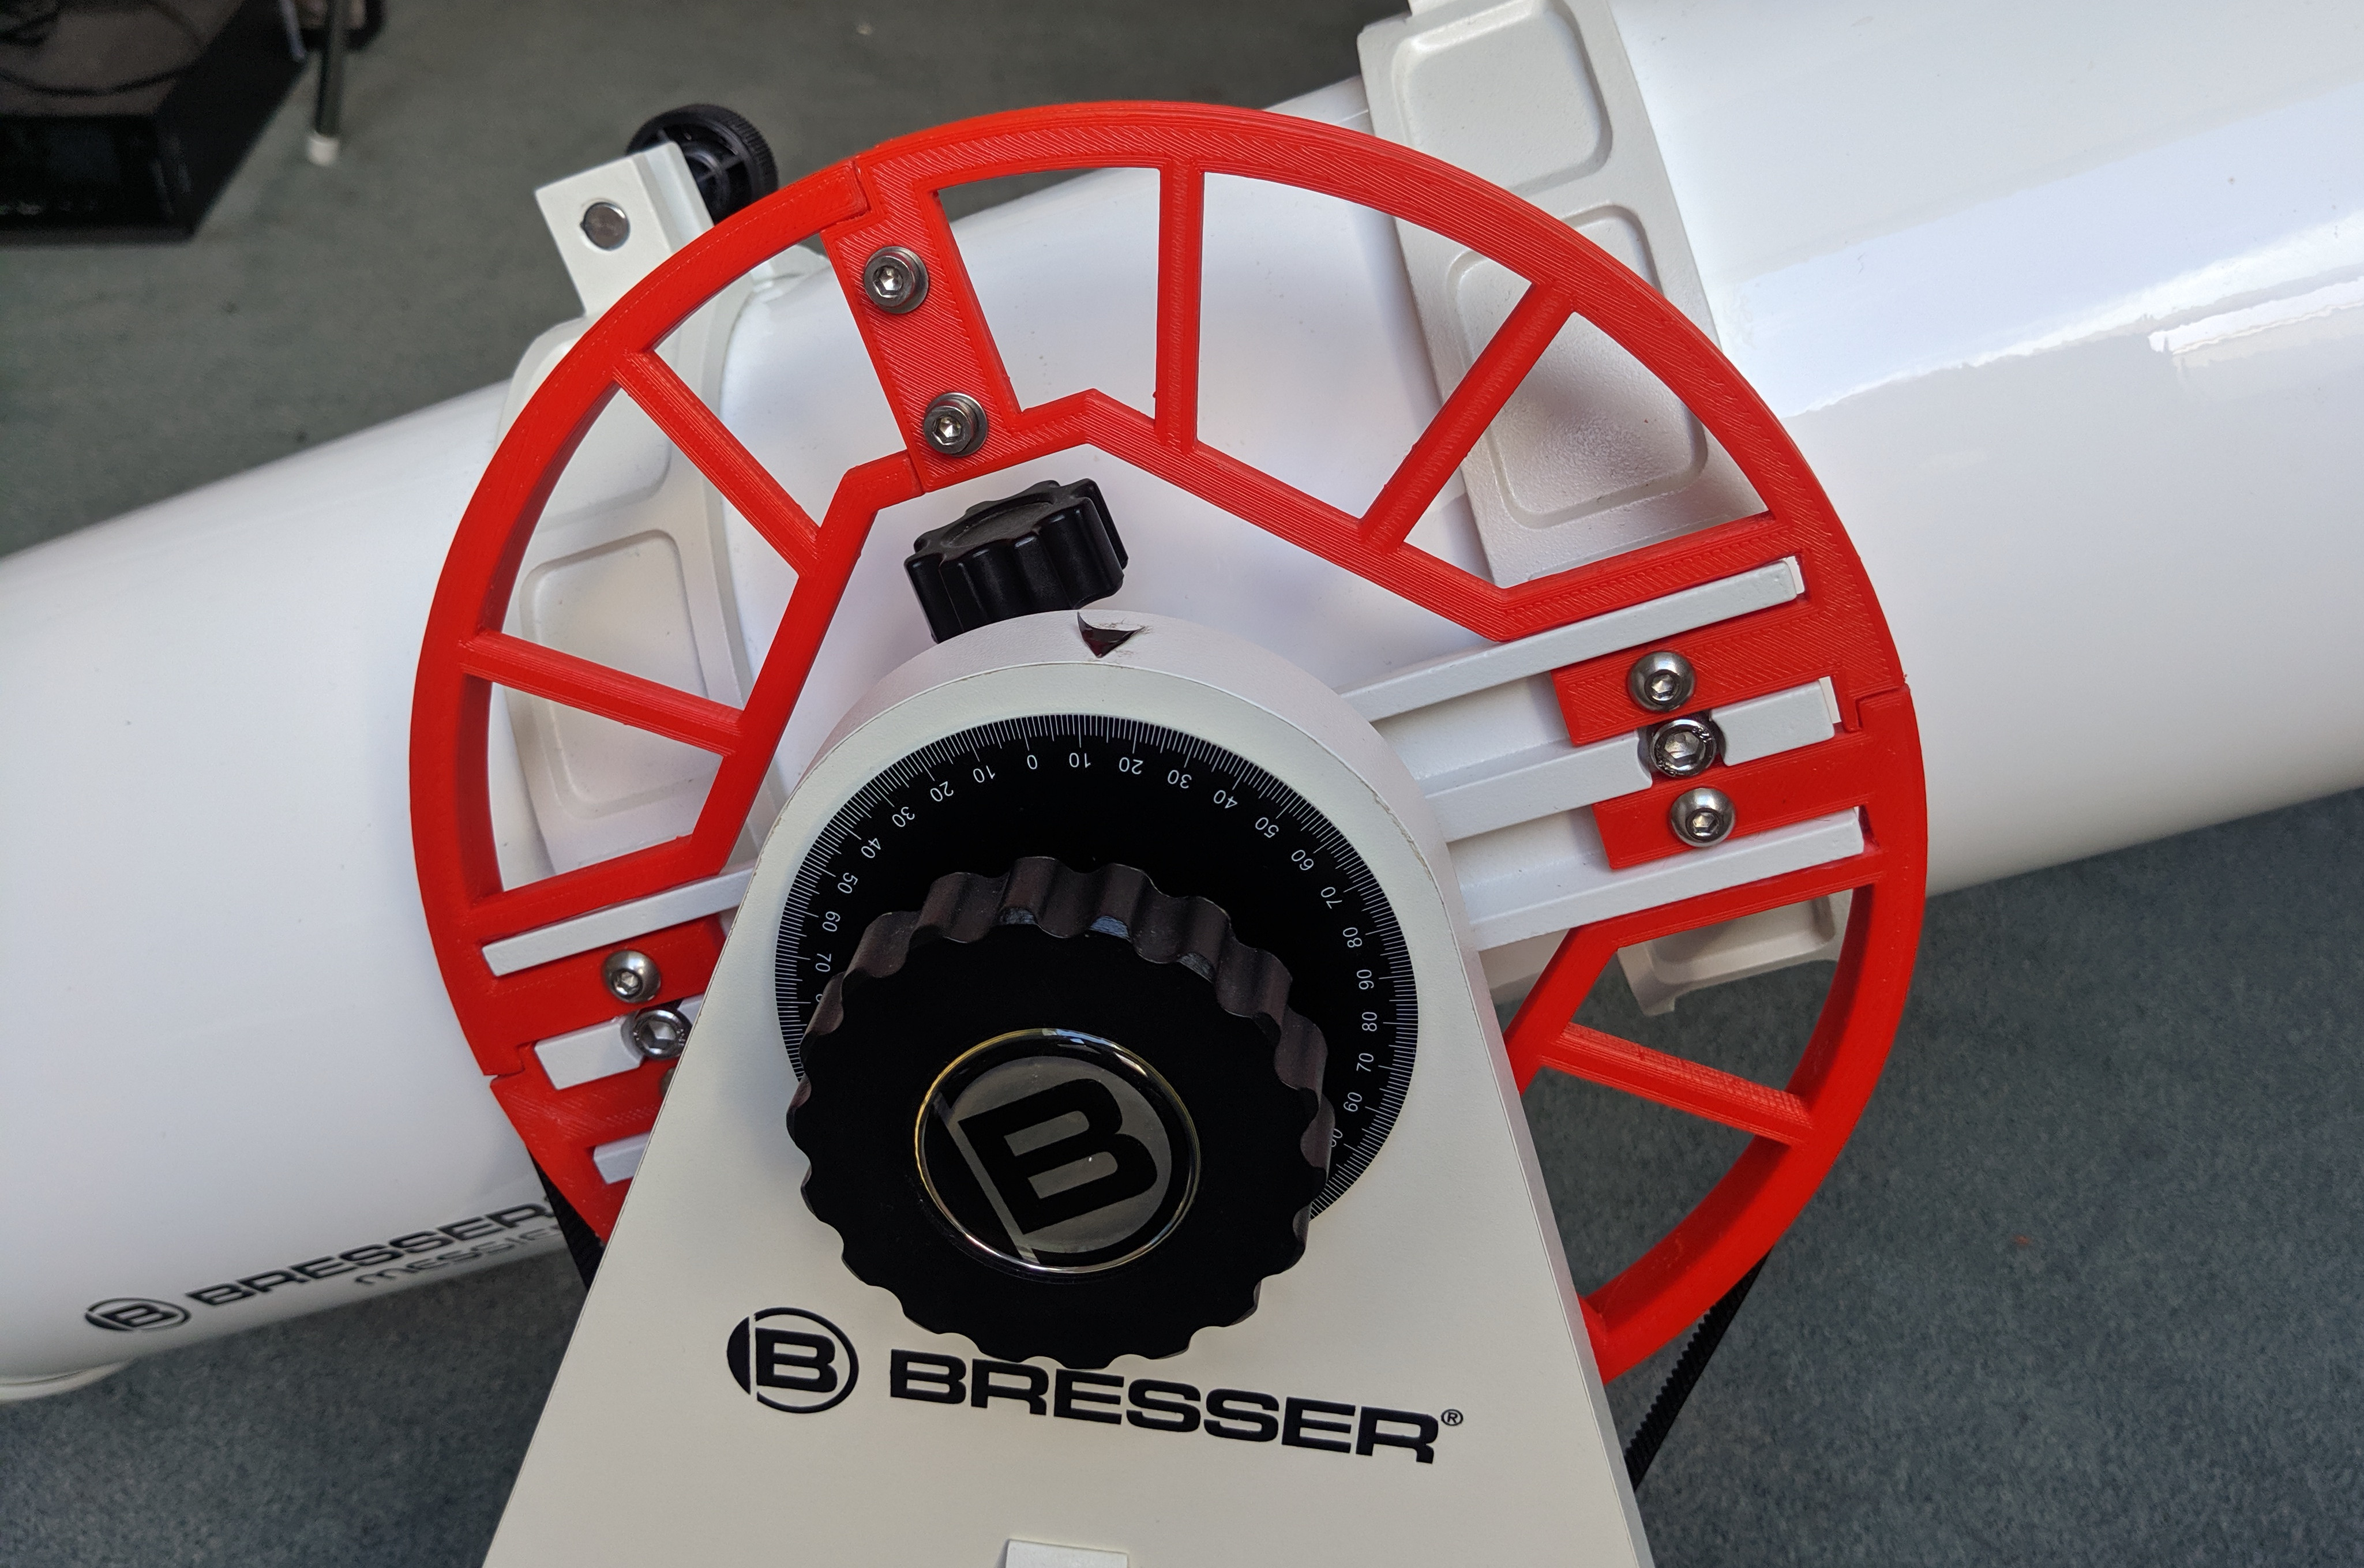
&lt;p&gt;It explains the CAD design, 3D print and assembly of the motorized drive on the altitude (vertical) axis.&lt;/p&gt;
&lt;h2 id="main-pulley"&gt;Main Pulley&lt;/h2&gt;
&lt;h3 id="cad-design"&gt;CAD Design&lt;/h3&gt;
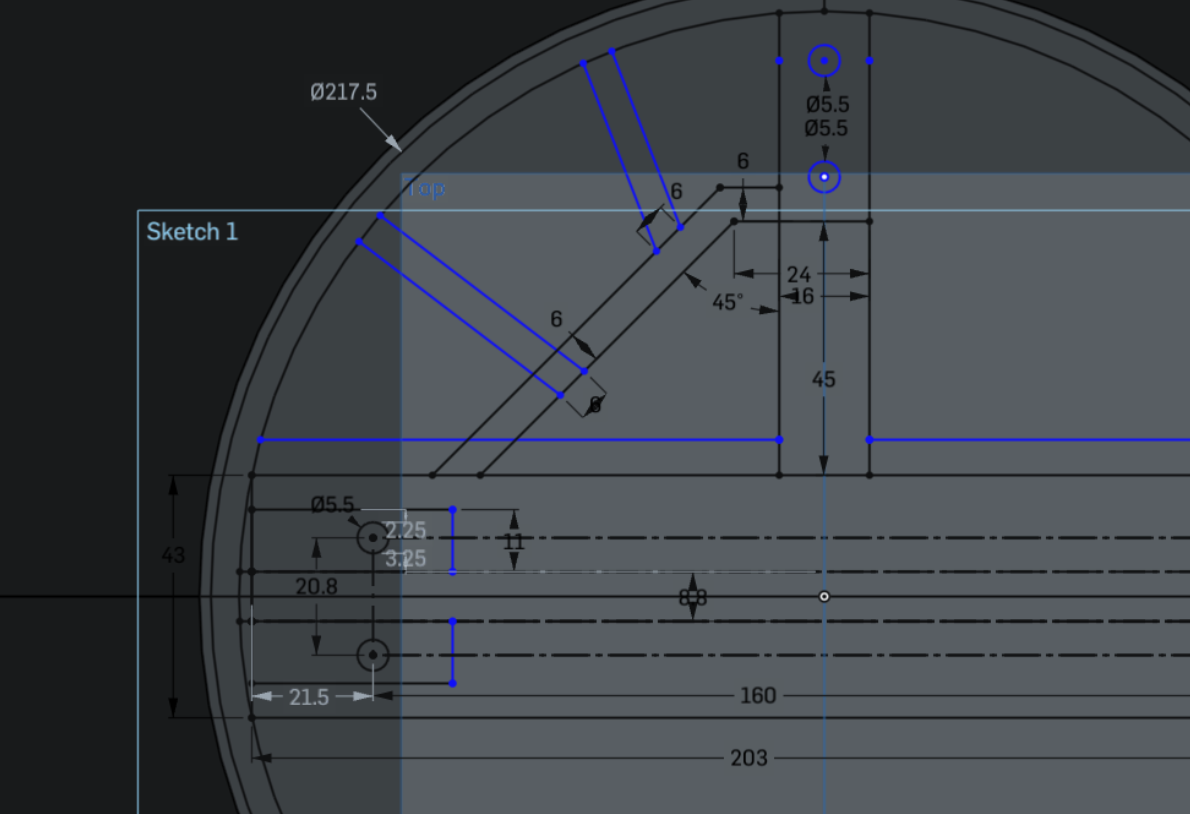
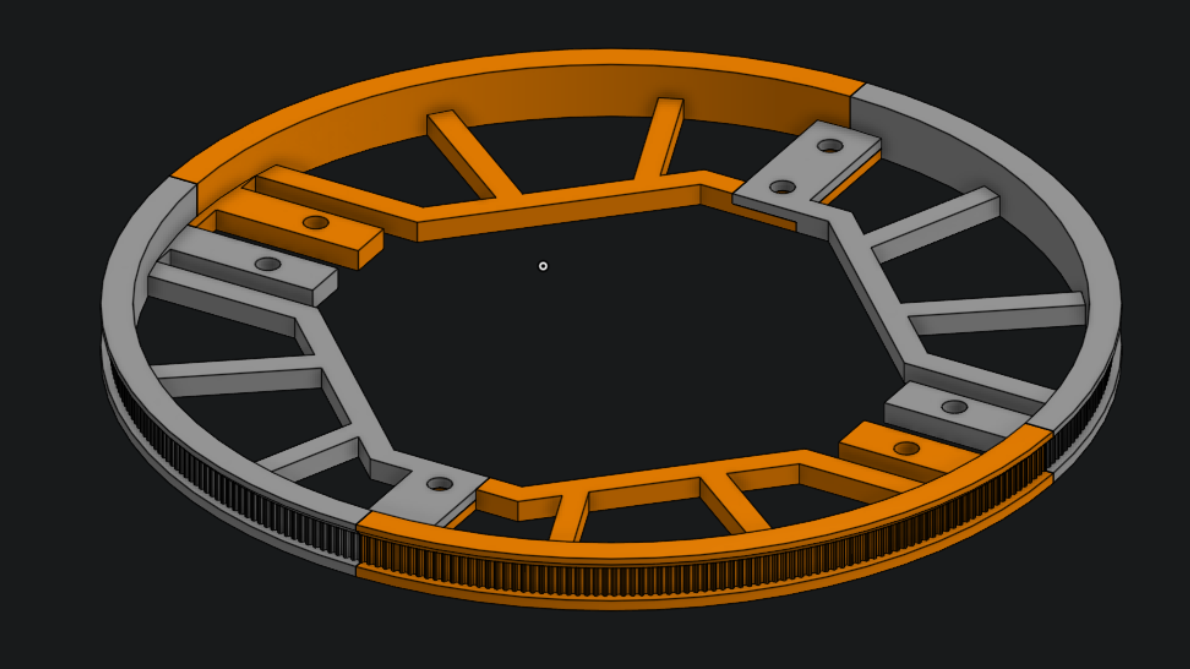
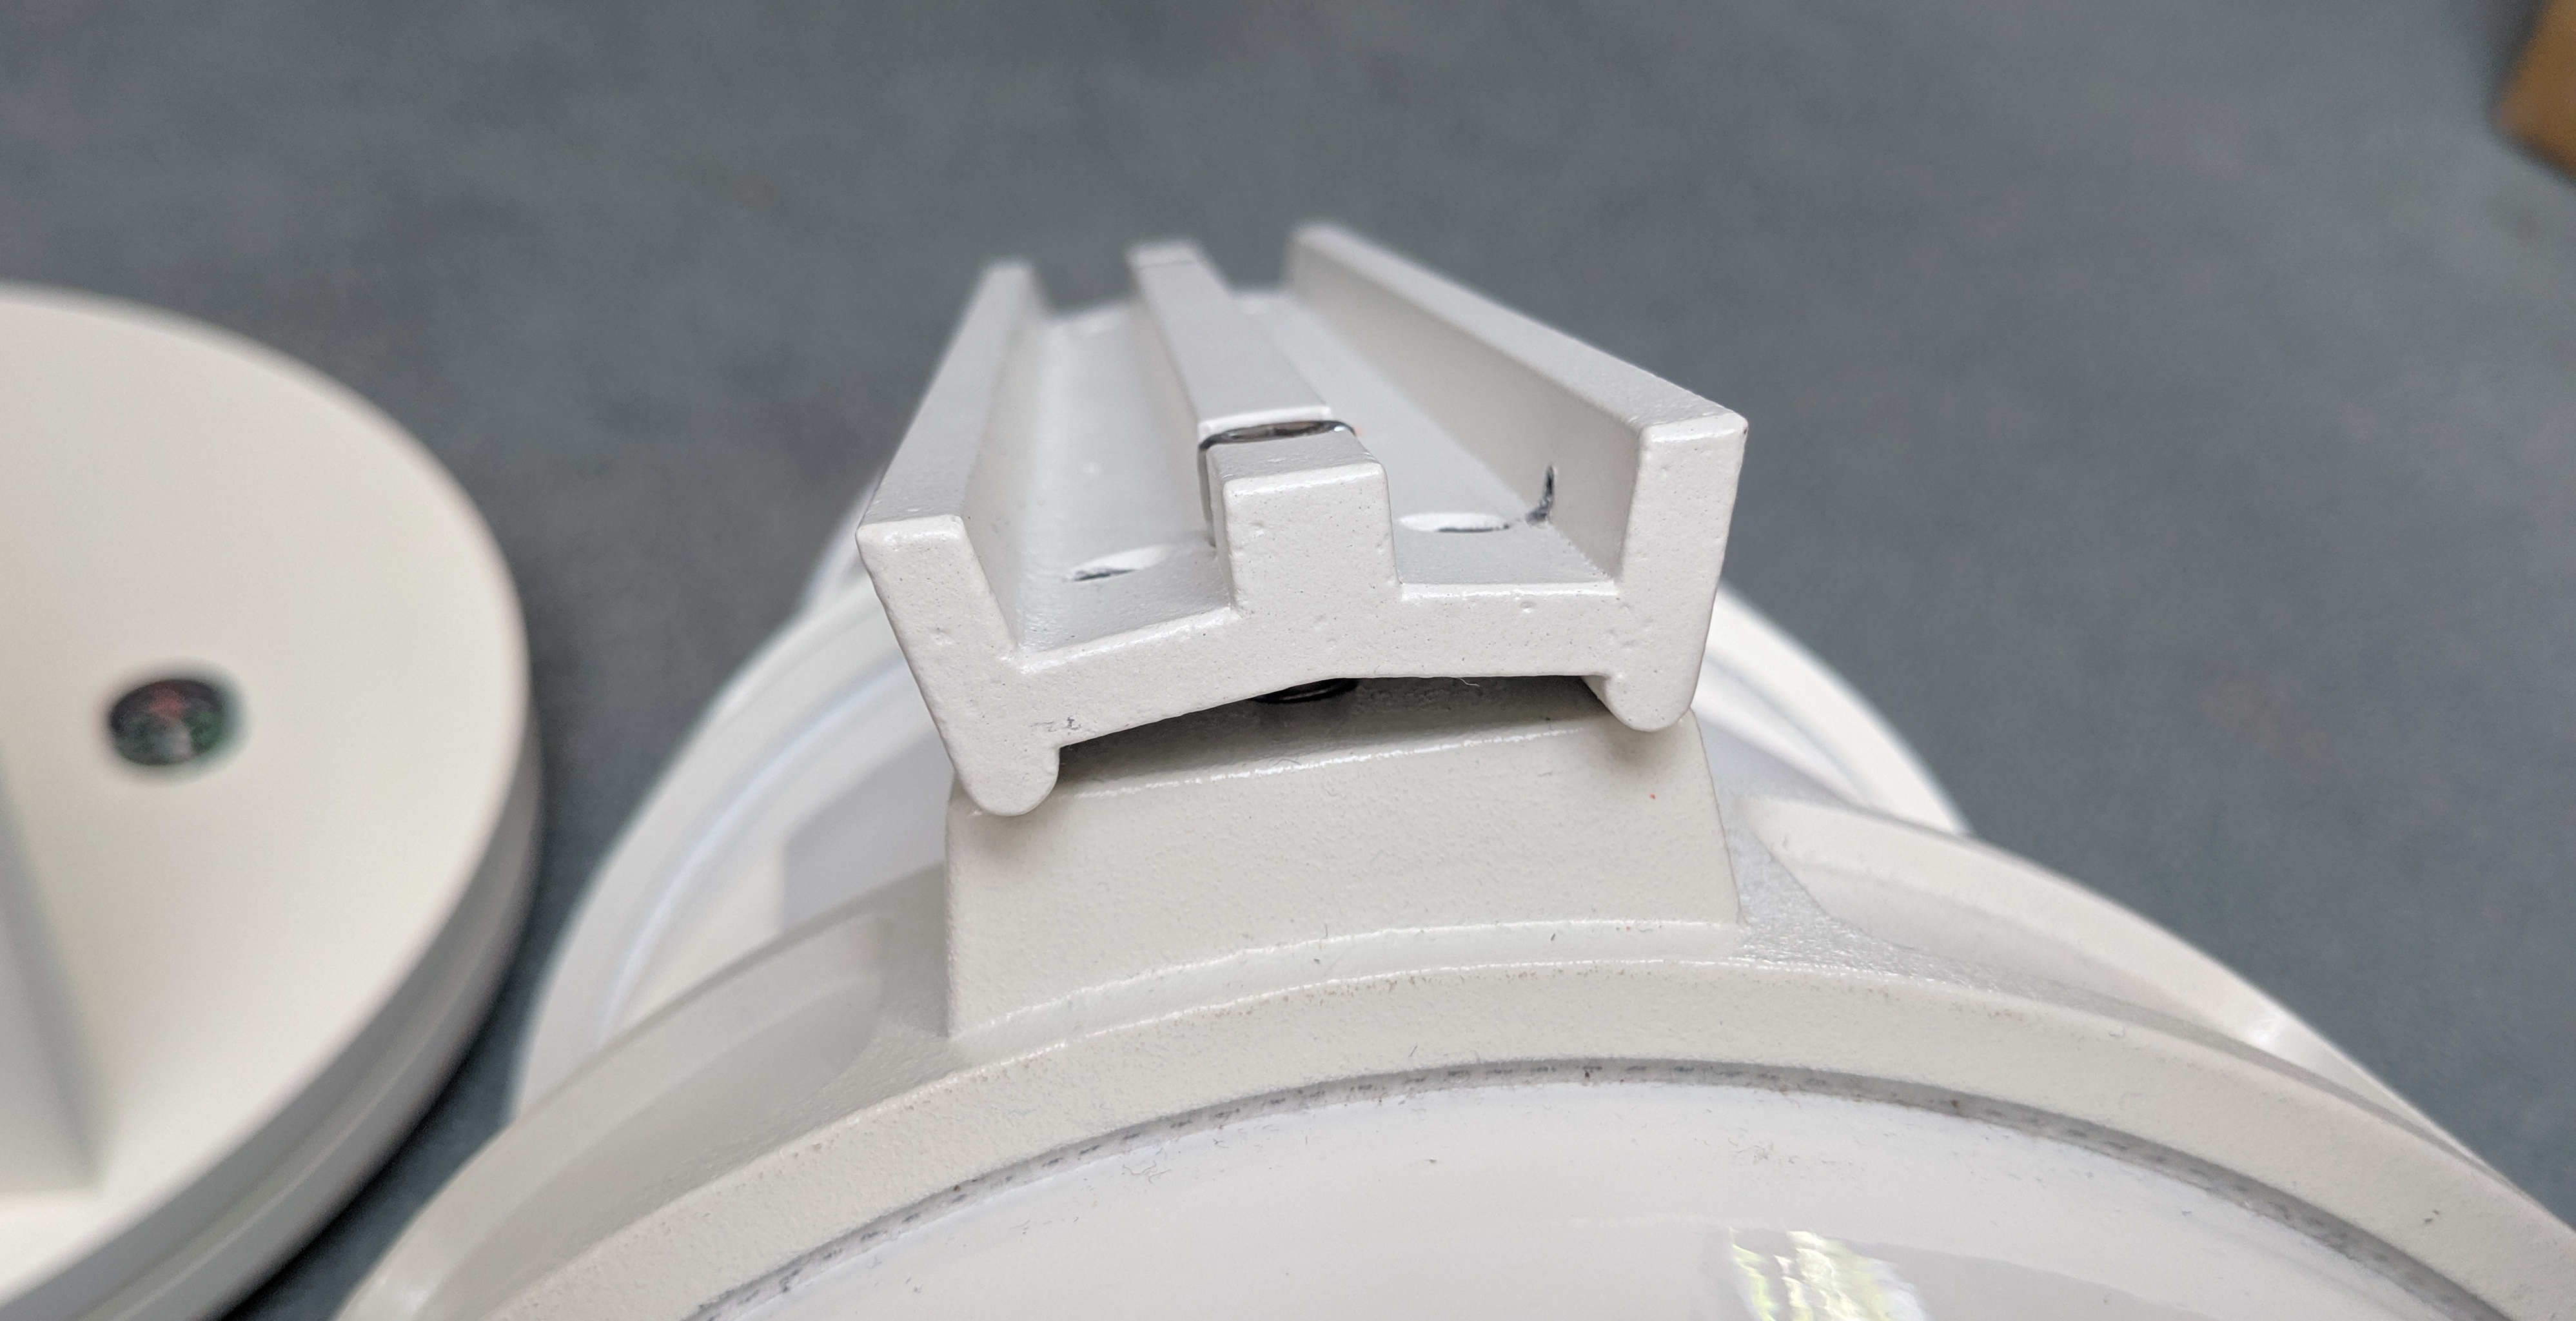
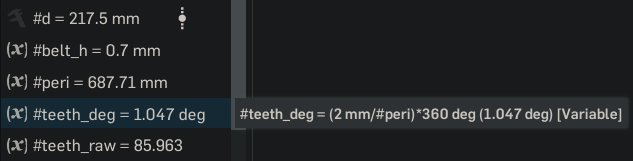
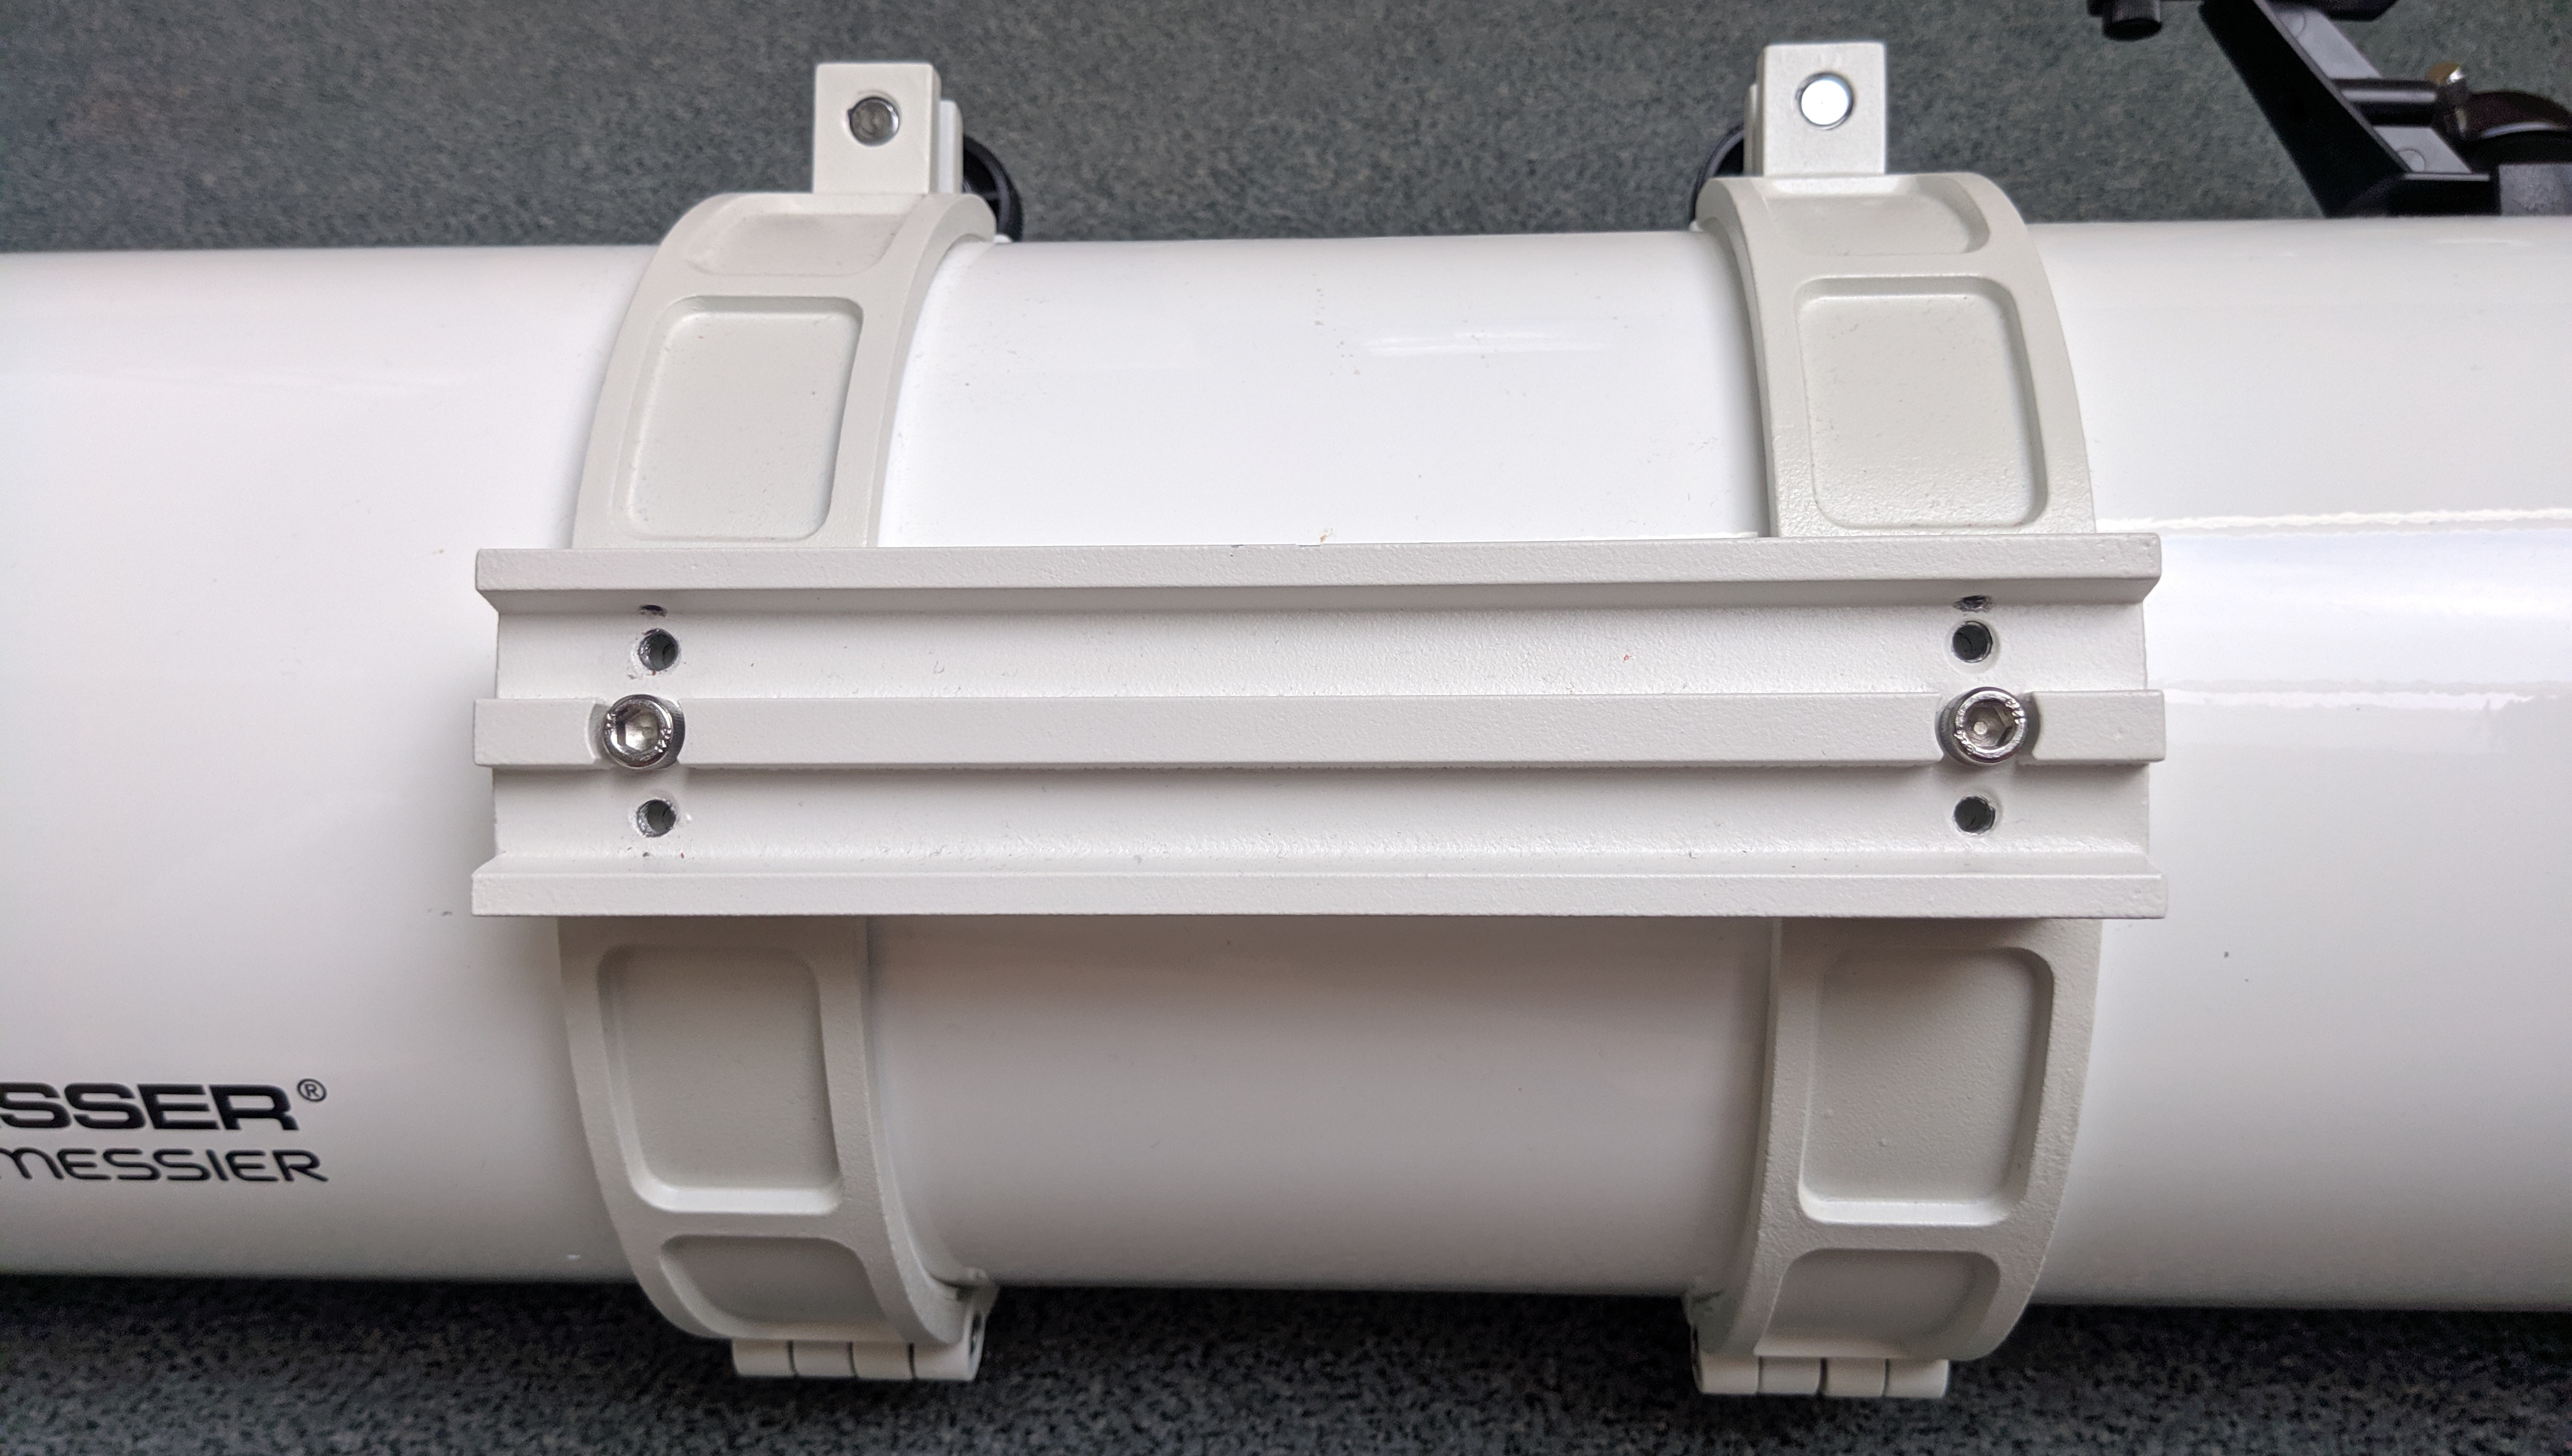
&lt;p&gt;I used Onshape to create a custom 3D model of the pulley. First I measured the length, hole spacing, diameter etc&amp;hellip; of the existing tubus mounting rail and saved the values in variables. Then a sketch was built based on them:
&lt;img src="https://blog.jklr.org/assets/goto-telescope/cad-alt-pulley-sketch.png" alt="cad-alt-pulley"&gt;
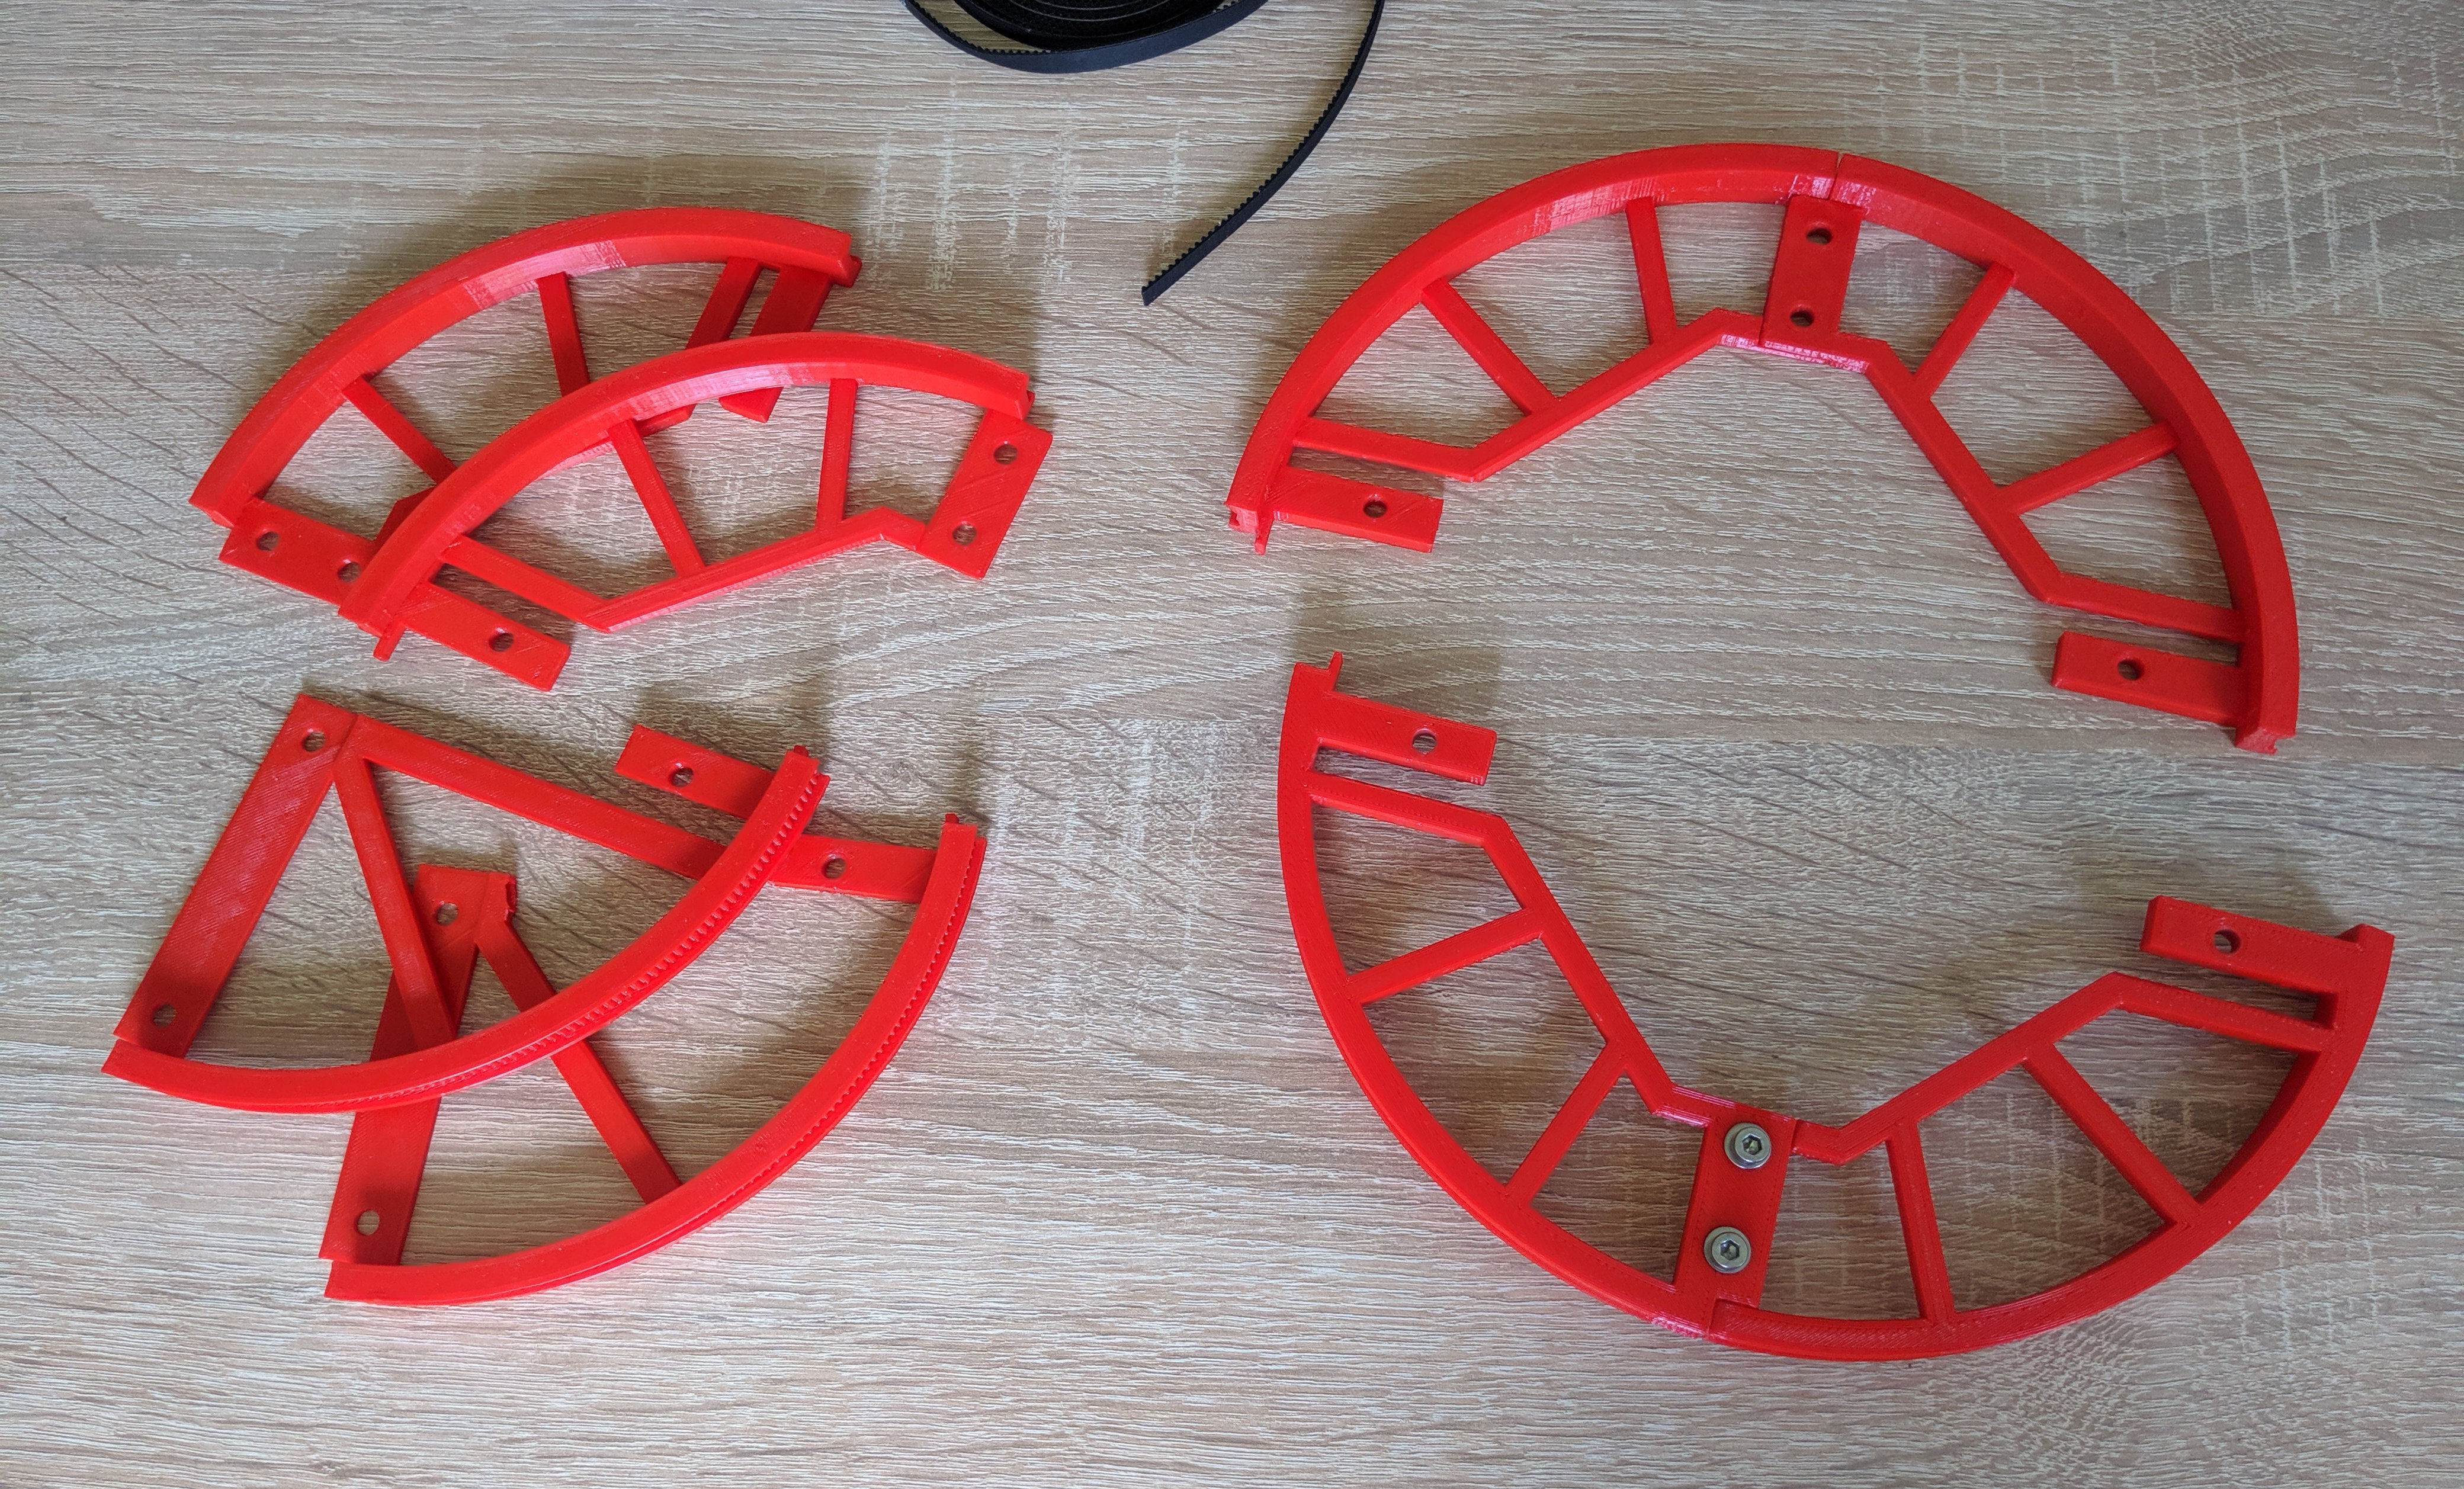
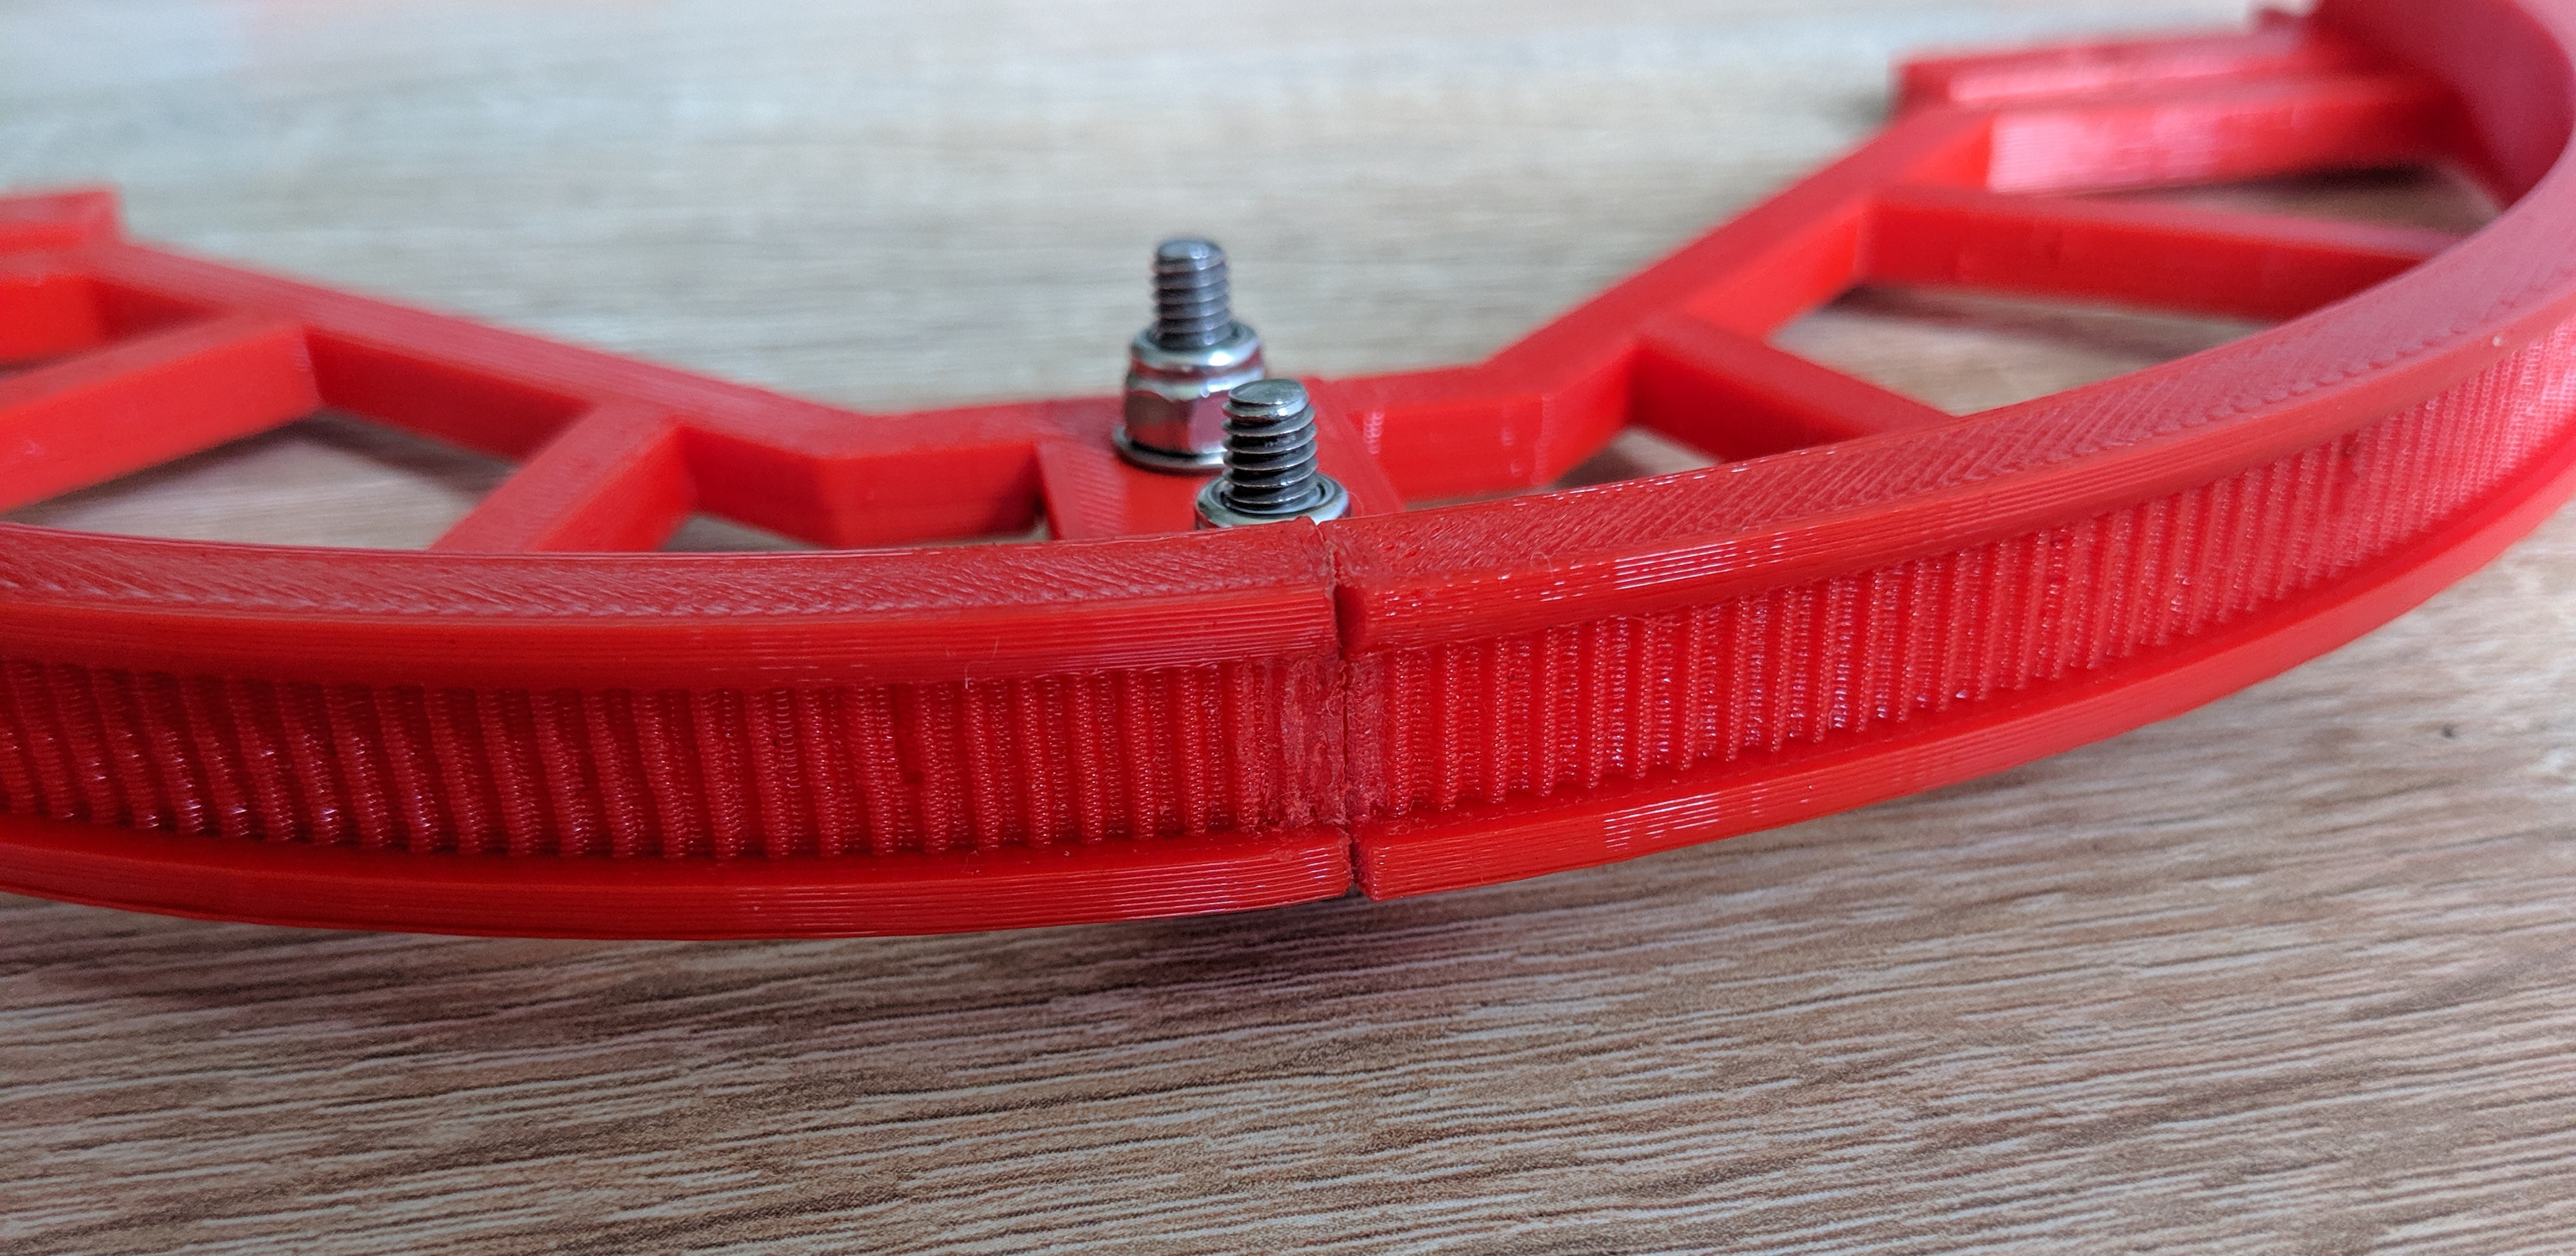
Because of the slightly smaller than 200x200 mm effective build area from my old Prusa i3 printer it was not possible to make the whole pulley in one piece, so I split it into four pieces and added holes to join them with screws afterwards.&lt;/p&gt;</description></item><item><title>DIY GoTo Telescope Mount [0] = Introduction and Concept</title><link>https://blog.jklr.org/2020/07/09/diy-goto-0-intro.html</link><pubDate>Thu, 09 Jul 2020 00:00:00 +0000</pubDate><guid>https://blog.jklr.org/2020/07/09/diy-goto-0-intro.html</guid><description>&lt;p&gt;This is the introduction to a multi part series about building a GoTo system for a Dobson style telescope mount. It should be computer controlled and be able to move to a selected target and also automatically track it. I want to use popular and inexpensive parts known from 3D printing for the mechanical setup, mostly leftovers from upgrade of my Prusa i3 printer.&lt;/p&gt;
&lt;h3 id="links-to-other-parts"&gt;Links to other Parts&lt;/h3&gt;
&lt;ul&gt;
&lt;li&gt;&lt;a href="https://blog.jklr.org/2020/08/02/diy-goto-1-alt-setup.html"&gt;DIY GoTo Telescope Mount [1] = Altitude Axis&lt;/a&gt;&lt;/li&gt;
&lt;li&gt;&lt;a href="https://blog.jklr.org/2020/09/21/diy-goto-2-az-setup.html"&gt;DIY GoTo Telescope Mount [2] = Azimuth Axis&lt;/a&gt;&lt;/li&gt;
&lt;li&gt;&lt;a href="https://blog.jklr.org/2020/11/02/diy-goto-3-stepper-test.html"&gt;DIY GoTo Telescope Mount [3] = Electronics for first Stepper Test&lt;/a&gt;&lt;/li&gt;
&lt;/ul&gt;
&lt;h3 id="starting-point"&gt;Starting Point&lt;/h3&gt;
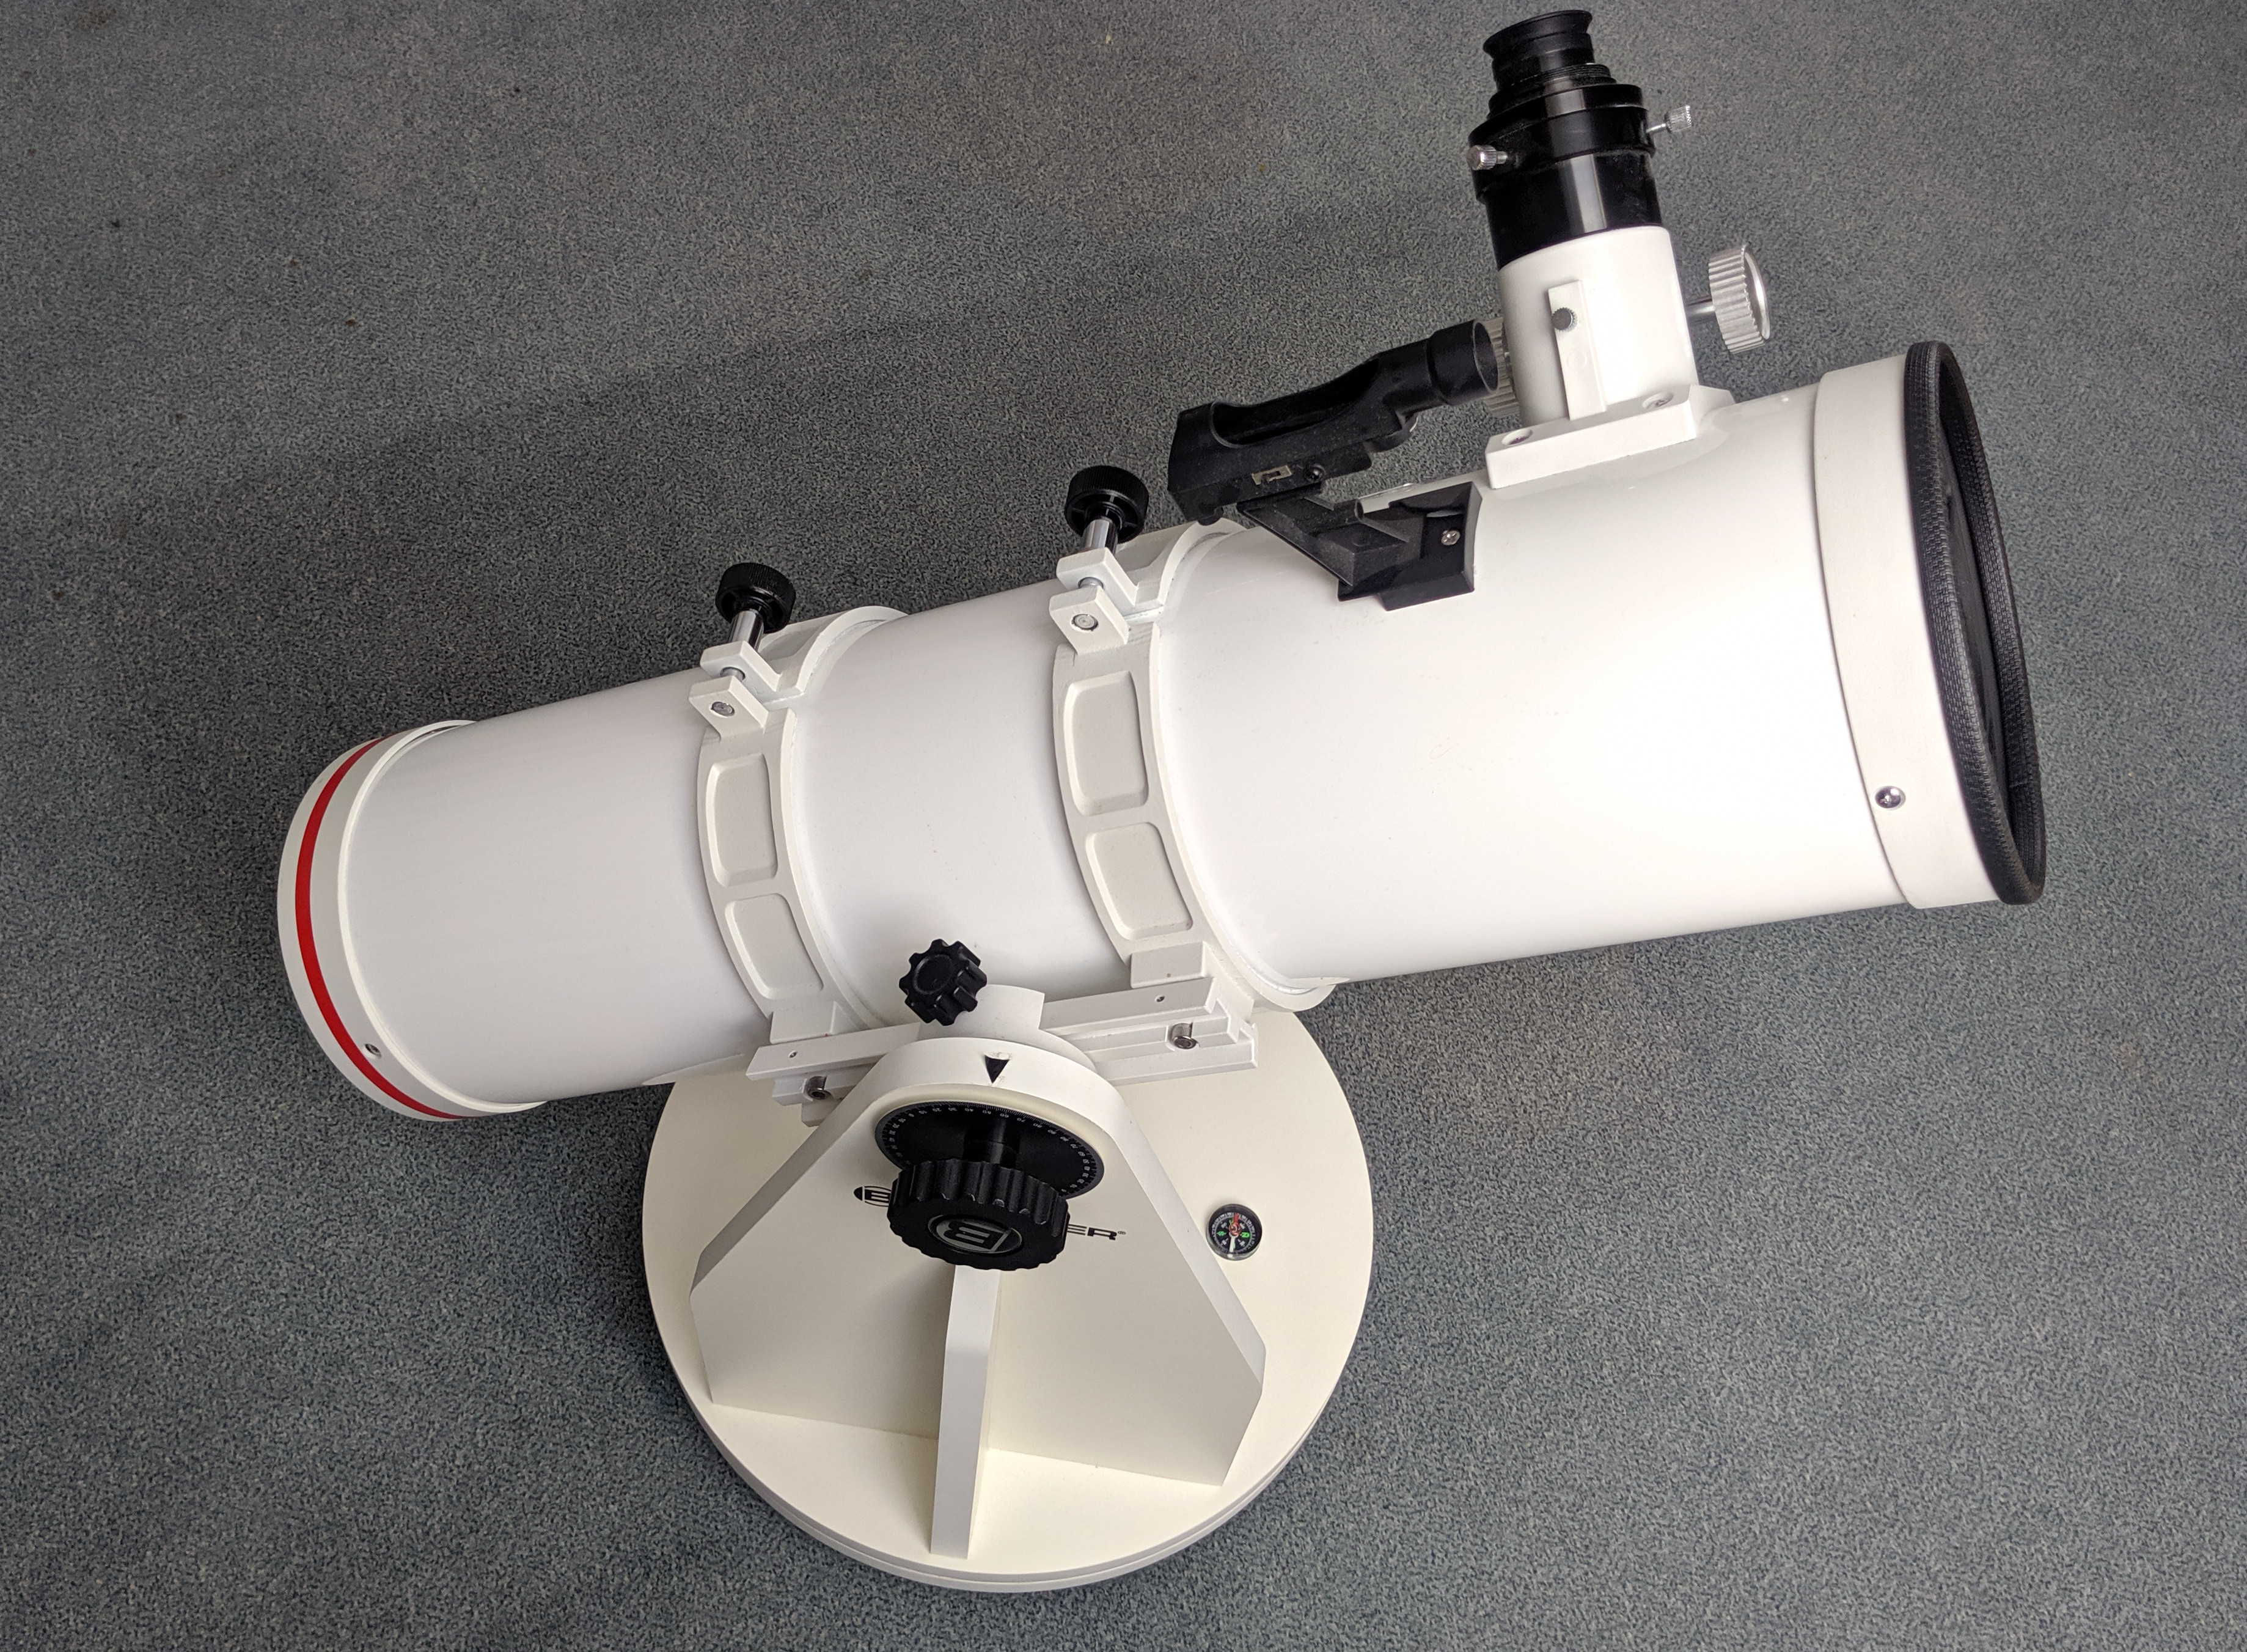
&lt;p&gt;My telescope for this project is a Bresser Messier DOB 150/750, this is a Newtonian reflector with a 150 mm (6 inch) parabolic mirror and 750 mm focal length:
&lt;img src="https://blog.jklr.org/assets/goto-telescope/start.jpg" alt="base telescope photo"&gt;
It includes a simple alt-azimuth &amp;ldquo;Dobson&amp;rdquo; mount, made out of wood. For the azimuth (horizontal) axis are two circular sheets of wood stacked in the base one above the other, separated with some sliding pads that allows the whole top to rotate.&lt;/p&gt;</description></item><item><title>NAS with Autosuspend, WakeOnLAN and SSHFS Automount</title><link>https://blog.jklr.org/2020/05/30/nas-automation.html</link><pubDate>Sat, 30 May 2020 00:00:00 +0000</pubDate><guid>https://blog.jklr.org/2020/05/30/nas-automation.html</guid><description>&lt;p&gt;This post describes the setup of some convenient features that I deployed for the NAS, to automatically save power, make it wake up and mount it on the client only when needed.&lt;/p&gt;
&lt;h3 id="autosuspend"&gt;Autosuspend&lt;/h3&gt;
&lt;p&gt;Autosuspend is a nice tool to let a server suspend if it is idle (with configurable conditions).
For Fedora there is no official package available, so I installed it from source:&lt;/p&gt;
&lt;div class="highlight"&gt;&lt;pre tabindex="0" class="chroma"&gt;&lt;code class="language-sh" data-lang="sh"&gt;&lt;span class="line"&gt;&lt;span class="cl"&gt;git clone https://github.com/languitar/autosuspend.git&lt;span class="p"&gt;;&lt;/span&gt; &lt;span class="nb"&gt;cd&lt;/span&gt; autosuspend
&lt;/span&gt;&lt;/span&gt;&lt;span class="line"&gt;&lt;span class="cl"&gt;python3 setup.py install --prefix&lt;span class="o"&gt;=&lt;/span&gt;/usr
&lt;/span&gt;&lt;/span&gt;&lt;span class="line"&gt;&lt;span class="cl"&gt;mv /usr/local/lib/python3.7/site-packages/autosuspend-3.0.0.dev0-py3.7.egg/etc/* /etc
&lt;/span&gt;&lt;/span&gt;&lt;span class="line"&gt;&lt;span class="cl"&gt;mv /usr/local/lib/python3.7/site-packages/autosuspend-3.0.0.dev0-py3.7.egg/lib/systemd/system/* /usr/local/lib/systemd/system/
&lt;/span&gt;&lt;/span&gt;&lt;/code&gt;&lt;/pre&gt;&lt;/div&gt;&lt;p&gt;Starting with usual git clone and python module install, unfortunately the setup does not install the config and service files, so I had to move them manually afterwards.&lt;/p&gt;</description></item><item><title>Remelting PLA Scrap</title><link>https://blog.jklr.org/2020/05/25/pla-print-remelt.html</link><pubDate>Mon, 25 May 2020 00:00:00 +0000</pubDate><guid>https://blog.jklr.org/2020/05/25/pla-print-remelt.html</guid><description>&lt;p&gt;Over the years I collected a box full of failed prints, skirts and filament pieces from empty spools. So I thought about ways to recycle it and decided to melt it into a solid plate. This post describes the process and results.&lt;/p&gt;
&lt;h3 id="preparation"&gt;Preparation&lt;/h3&gt;
&lt;p&gt;First I sorted out different materials and got more than 400g of PLA pieces. Then from multiple sheets I formed a rectangular mold and put about half of the PLA scrap into it:
&lt;img src="https://blog.jklr.org/assets/pla-remelt/prep.jpg" alt="tray top"&gt;
&lt;img src="https://blog.jklr.org/assets/pla-remelt/prep2.jpg" alt="tray side"&gt;
It is on a baking tray, because I used a normal oven to heat it up.&lt;/p&gt;</description></item><item><title>Scripts for efficient AUR PKGBUILD updating</title><link>https://blog.jklr.org/2020/04/29/aur-pkgbuild-update.html</link><pubDate>Wed, 29 Apr 2020 00:00:00 +0000</pubDate><guid>https://blog.jklr.org/2020/04/29/aur-pkgbuild-update.html</guid><description>&lt;p&gt;The most frequent task for maintaining packages in the Arch User Repository (AUR) is updating. Often this is a simple version bump, which can be a quite repetitive process, so i made some simple scripts to optimize it.&lt;/p&gt;
&lt;p&gt;The following is organized in fish functions, but the bare commands and idea should also work if you use any other shell.&lt;/p&gt;
&lt;h2 id="cloning"&gt;Cloning&lt;/h2&gt;
&lt;p&gt;First to obtain the git repo with the packaging files, create &lt;code&gt;~/.config/fish/functions/clone-aur.fish&lt;/code&gt;:&lt;/p&gt;</description></item><item><title>LUKS2 Encrypted Container on Android</title><link>https://blog.jklr.org/2020/04/04/android-luks2.html</link><pubDate>Sat, 04 Apr 2020 00:00:00 +0000</pubDate><guid>https://blog.jklr.org/2020/04/04/android-luks2.html</guid><description>&lt;p&gt;This post describes how dm-crypt / LUKS container files can be mounted on Android, completely with the standard command line open source tools. It is written for Android 10, but should also work on older versions. Root permissions are required.&lt;/p&gt;
&lt;h2 id="setup"&gt;Setup&lt;/h2&gt;
&lt;p&gt;The builtin android &lt;code&gt;toybox&lt;/code&gt; does not include the required tools. Instead I recommend using &lt;a href="https://f-droid.org/en/packages/com.termux/"&gt;Termux&lt;/a&gt;, a Terminal emulator app with an extensive package collection. So open Termux and execute:&lt;/p&gt;
&lt;div class="highlight"&gt;&lt;pre tabindex="0" class="chroma"&gt;&lt;code class="language-sh" data-lang="sh"&gt;&lt;span class="line"&gt;&lt;span class="cl"&gt;pkg install root-repo
&lt;/span&gt;&lt;/span&gt;&lt;span class="line"&gt;&lt;span class="cl"&gt;pkg install cryptsetup tsu
&lt;/span&gt;&lt;/span&gt;&lt;/code&gt;&lt;/pre&gt;&lt;/div&gt;&lt;p&gt;This enables the repository containing root packages and installs the most important tools. Especially &lt;code&gt;cryptsetup&lt;/code&gt; for handling the LUKS headers, &lt;code&gt;tsu&lt;/code&gt; to run commands/shell as root while keeping the correct PATH to access the termux programs from &lt;code&gt;/data/data/com.termux/files/usr/bin/&lt;/code&gt; easily.&lt;/p&gt;</description></item><item><title>New Blog Features and Design</title><link>https://blog.jklr.org/2020/03/11/blog-redesign.html</link><pubDate>Wed, 11 Mar 2020 00:00:00 +0000</pubDate><guid>https://blog.jklr.org/2020/03/11/blog-redesign.html</guid><description>&lt;p&gt;This is somewhat unusual post topic: about this blog itself. In the last few days i completely rewrote this website basically from scratch, with many more features and improved design.&lt;/p&gt;
&lt;h3 id="introduction"&gt;Introduction&lt;/h3&gt;
&lt;p&gt;My blog is a completely static website, built with jekyll and hosted on Github pages, it gets updated automatically after every commit/push into &lt;a href="https://github.com/Jakeler/Jakeler.github.io"&gt;the git repo&lt;/a&gt;. It all started in May 2018, now about 2 years ago. I wanted to get it quickly up and release content, so i used the public minima theme, with almost no modifications. Only changed later the background from white to grey, to make it a bit darker.&lt;/p&gt;</description></item><item><title>Decoding the Smart BMS Protocol</title><link>https://blog.jklr.org/2020/02/07/ltt-power-bms-chinese-protocol.html</link><pubDate>Fri, 07 Feb 2020 00:00:00 +0000</pubDate><guid>https://blog.jklr.org/2020/02/07/ltt-power-bms-chinese-protocol.html</guid><description>&lt;p&gt;Smart (meaning with UART / Bluetooth interface) battery management systems are widely available from china now. Almost all of them use a generic protocol for the communication. They also provide a (Windows) PC Software and Android App, which works fine, but I like to add more features and make it open source. So I wrote the protocol definition in &lt;a href="https://kaitai.io/"&gt;Kaitai Struct&lt;/a&gt;, a specific parsing language with YAML syntax, which can be compiled to parsers in many different languages like Java, C++, Python etc&amp;hellip;&lt;/p&gt;</description></item><item><title>BLE Serial: Binding Bluetooth 4.0 modules to virtual serial ports</title><link>https://blog.jklr.org/2019/12/18/ble-serial.html</link><pubDate>Wed, 18 Dec 2019 00:00:00 +0000</pubDate><guid>https://blog.jklr.org/2019/12/18/ble-serial.html</guid><description>&lt;p&gt;The Bluetooth 4+ (low energy) to UART modules are getting increasingly popular, but there was still no proper tool to use them with normal Linux e.g. desktop or RaspberryPi, like &lt;code&gt;rfcomm bind&lt;/code&gt; on the old 2.0 bluetooth.
So I finally wrote &lt;a href="https://github.com/Jakeler/ble-serial"&gt;BLE Serial&lt;/a&gt; and this post is a introduction. I will go over the installation, usage and slightly into to differences from the newer Bluetooth protocol.&lt;/p&gt;
&lt;p&gt;Update 2021: The following instructions are a bit outdated after the 2.0 update, check out the &lt;a href="https://blog.jklr.org/2021/04/22/ble-serial-2.html"&gt;update post&lt;/a&gt; as well or just go to the &lt;a href="https://github.com/Jakeler/ble-serial"&gt;readme in the repo&lt;/a&gt;.&lt;/p&gt;</description></item><item><title>NAS Performance: NFS vs. SMB vs. SSHFS</title><link>https://blog.jklr.org/2019/08/27/nas-performance-sshfs-nfs-smb.html</link><pubDate>Tue, 27 Aug 2019 00:00:00 +0000</pubDate><guid>https://blog.jklr.org/2019/08/27/nas-performance-sshfs-nfs-smb.html</guid><description>&lt;p&gt;This is a performance comparison of the the three most useful protocols for networks file shares on Linux with the latest software. I have run sequential and random benchmarks and tests with rsync. The main reason for this post is that i could not find a proper test that includes SSHFS.&lt;/p&gt;
&lt;h2 id="nas-setup"&gt;NAS Setup&lt;/h2&gt;
&lt;p&gt;The hardware side of the server is based on an Dell mainboard with an Intel i3-3220, so a fairly old 2 core / 4 threads CPU. It also does &lt;strong&gt;not&lt;/strong&gt; support the AES-NI extensions (which would increase the AES performance &lt;a href="https://turecki.net/content/getting-most-out-ssh-hardware-acceleration-tuning-aes-ni"&gt;noticeably&lt;/a&gt;) the encryption happens completely in software.&lt;/p&gt;</description></item><item><title>Custom Controller for Coolmoon RGB Fans</title><link>https://blog.jklr.org/2019/06/11/re-coolmoon-rgb-controller.html</link><pubDate>Tue, 11 Jun 2019 00:00:00 +0000</pubDate><guid>https://blog.jklr.org/2019/06/11/re-coolmoon-rgb-controller.html</guid><description>&lt;p&gt;Recently i bought some really cheap (about 7€ per piece!) RGB fans:
&lt;img src="https://blog.jklr.org/assets/coolmoon-rgb-controller/fans.jpg" alt="fans running in the dark"&gt;
They look pretty nice and come with a controller/hub and wireless remote, but it has a few issues. It includes many animations, but selecting them with one button is cumbersome. Also they are all fairly fast and flashy, too distracting for my taste.
In addition the included controller can control the fan speed, but it makes a very annoying clicking noise, when a lower level is selected. I hooked up my oscilloscope and found that it does PWM with only 25 Hz (yes NOT kHz, just Hz). At full 12V they run with 1400 rpm, wich is too loud for case fans in my opinion.&lt;/p&gt;</description></item><item><title>ESP32: FastLED vs. NeoPixelBus vs. NeoPixel Library</title><link>https://blog.jklr.org/2019/06/02/neopixel-performance.html</link><pubDate>Sun, 02 Jun 2019 00:00:00 +0000</pubDate><guid>https://blog.jklr.org/2019/06/02/neopixel-performance.html</guid><description>&lt;p&gt;A performance comparison of the three most popular libraries for driving WS2812B addressable RGB LEDs. Everything was measured with a logic analyzer, to circumvent deviations in &lt;code&gt;millis()&lt;/code&gt; (because some libraries disable interrupts).&lt;/p&gt;
&lt;h2 id="introduction"&gt;Introduction&lt;/h2&gt;
&lt;h3 id="ws2812b-protocol"&gt;WS2812B Protocol&lt;/h3&gt;
&lt;p&gt;&lt;img src="https://blog.jklr.org/assets/neopixel-perf/protocol.png" alt="protocol logic"&gt;
The logic 0/1 is represented by a specific pattern, 0 is a short high pulse and a long low, 1 is long high pulse and short low. The protocol is just a continuous stream of these bits. A normal RGB LED needs 24 bits, so the first chip in the chain will cut 24 off and passtrough the rest. At the end a longer period of low signals a reset:&lt;/p&gt;</description></item><item><title>Happybrush Sonic Toothbrush Analysis and Repair</title><link>https://blog.jklr.org/2019/04/19/happybrush-repair.html</link><pubDate>Fri, 19 Apr 2019 00:00:00 +0000</pubDate><guid>https://blog.jklr.org/2019/04/19/happybrush-repair.html</guid><description>&lt;p&gt;Recently my electric toothbrush stopped working, it showed always the red battery empty indicator, even after leaving it charging overnight. This post shows how it can be opened and possibly fixed. For example a battery replacement is done in the same way.&lt;/p&gt;
&lt;h3 id="disassembly"&gt;Disassembly&lt;/h3&gt;
&lt;p&gt;Preparing for dissasembly the brush head should be removed. Then gently pry up the bottom cover. It has a teeth on both sides, so pushing a flat tool in helps. There is a rubber seal deeper in, try staying above this with sharp tools.
&lt;img src="https://blog.jklr.org/assets/happybrush/open-bottom.jpg" alt="bottom cover removal"&gt;&lt;/p&gt;</description></item><item><title>ESP32 Bitcoin Mining</title><link>https://blog.jklr.org/2019/03/16/esp32-bitcoin.html</link><pubDate>Sat, 16 Mar 2019 00:00:00 +0000</pubDate><guid>https://blog.jklr.org/2019/03/16/esp32-bitcoin.html</guid><description>&lt;p&gt;&lt;img src="https://blog.jklr.org/assets/esp32-bitcoin/header.png" alt="esp32 bitcoin mining"&gt;&lt;/p&gt;
&lt;p&gt;Inspired by the &lt;a href="https://www.instructables.com/id/ESP8266-Bitcoin-Miner/"&gt;ESP8266 Bitcoin miner&lt;/a&gt; i was curious how much better a ESP32 would perform. So i implemented the mining algorithm on it.&lt;/p&gt;
&lt;h3 id="bitcoin-mining-in-a-nutshell"&gt;Bitcoin mining in a nutshell&lt;/h3&gt;
&lt;p&gt;It is simply a double SHA256 hash (hashing the output again) over the block header, a 80 byte sequence containing the version, previous block hash, merkle root (verifies the transactions), time, current difficulty and nonce.&lt;/p&gt;
&lt;p&gt;The miner searches for a hash that is smaller than the difficulty value, that is why you can see that all all block hashes in the chain start with multiple zero bytes. To generate different inputs they vary the nonce value (and maybe time).&lt;/p&gt;</description></item><item><title>OpenWRT Traffic Monitor with collectd and InfluxDB</title><link>https://blog.jklr.org/2019/02/24/openwrt-collectd-influx.html</link><pubDate>Sun, 24 Feb 2019 00:00:00 +0000</pubDate><guid>https://blog.jklr.org/2019/02/24/openwrt-collectd-influx.html</guid><description>&lt;p&gt;This post shows how to log traffic (and other router health metrics) to a remote InfluxDB over the collectd protocol.&lt;/p&gt;
&lt;h3 id="prerequisites"&gt;Prerequisites&lt;/h3&gt;
&lt;ul&gt;
&lt;li&gt;
&lt;p&gt;OpenWRT router&lt;/p&gt;
&lt;ul&gt;
&lt;li&gt;SSH access&lt;/li&gt;
&lt;li&gt;about 200 KB free flash&lt;/li&gt;
&lt;/ul&gt;
&lt;/li&gt;
&lt;li&gt;
&lt;p&gt;InfluxDB Server (runs on x86/64, ARM for example RaspberryPi)&lt;/p&gt;
&lt;/li&gt;
&lt;li&gt;
&lt;p&gt;Optional/Recommended: Grafana Installation for Visualization&lt;/p&gt;
&lt;/li&gt;
&lt;/ul&gt;
&lt;p&gt;I used the latest openWRT snapshot as time of writing, collectd 5.8.1-3 and influxDB 1.7.4.&lt;/p&gt;
&lt;p&gt;Following i cover the direct setup from command line, alternatively it is also possible to install the luci-app-statistics package and then configure it over the WebUI, this pulls RRDtool as dependency though, which is actually not required for this purpose.
Overall this would require about double of the flash space, so i would not recommend it.&lt;/p&gt;</description></item><item><title>Save DS18B20 Measurements to InfluxDB with Python</title><link>https://blog.jklr.org/2019/02/16/python-ds18b20-influx.html</link><pubDate>Sat, 16 Feb 2019 00:00:00 +0000</pubDate><guid>https://blog.jklr.org/2019/02/16/python-ds18b20-influx.html</guid><description>&lt;p&gt;In &lt;a href="https://blog.jklr.org/2019/01/21/DS18B20-armbian.html"&gt;this post&lt;/a&gt; i showed the basic setup of the DS18B20 sensor on Linux. Now lets do something with the data!&lt;/p&gt;
&lt;p&gt;I decided to save it to InfluxDB, a database optimized for time series data, so perfect for saving temperature measurements. Compared to for example MySQL significantly faster. Also it does not require a static schema, this makes changing sensors and locations pretty easy.
The installation is documented &lt;a href="https://docs.influxdata.com/influxdb/v1.7/introduction/installation/"&gt;here&lt;/a&gt;, default config is fine for running it in the local network, it directly provides a nice HTTP API.&lt;/p&gt;</description></item><item><title>DS18B20 on OrangePi with Armbian</title><link>https://blog.jklr.org/2019/01/21/DS18B20-armbian.html</link><pubDate>Mon, 21 Jan 2019 00:00:00 +0000</pubDate><guid>https://blog.jklr.org/2019/01/21/DS18B20-armbian.html</guid><description>&lt;p&gt;This post shows the basic setup of a DS18B20 digital temperature sensor on an OrangePi One running Armbian. The steps should be also similar on other SBCs running Armbian.&lt;/p&gt;
&lt;p&gt;Armbian uses device tree overlys to enable additional hardware. For the general concepts take a look at the &lt;a href="https://docs.armbian.com/Hardware_Allwinner_overlays/"&gt;official docs&lt;/a&gt;. The available overlays reside in &lt;code&gt;/boot/dtb/overlay/&lt;/code&gt;.&lt;/p&gt;
&lt;p&gt;The DS18B20 communicates over OneWire, so we need the &lt;code&gt;w1-gpio&lt;/code&gt; overlay. To enable it add to &lt;code&gt;/boot/armbianEnv.txt&lt;/code&gt;:&lt;/p&gt;</description></item><item><title>JupyterLab Keyboard Shortcut Cheat Sheet</title><link>https://blog.jklr.org/2019/01/20/jupyterlab-shortcuts.html</link><pubDate>Sun, 20 Jan 2019 00:00:00 +0000</pubDate><guid>https://blog.jklr.org/2019/01/20/jupyterlab-shortcuts.html</guid><description>&lt;p&gt;A complete overview of the current JupyterLab keyboard shortcuts:&lt;br&gt;&lt;/p&gt;
&lt;a href="https://blog.jklr.org/assets/jupyterlab-shortcuts/Shortcuts.png"&gt;
![shortcut cheat sheet](/assets/jupyterlab-shortcuts/Shortcuts.png#large)
&lt;/a&gt;
&lt;p&gt;(click on the picture to view it in full size or download the PDF below)&lt;/p&gt;
&lt;p&gt;Notes: The key combinations generally have to be be pressed simultaneously, but a &lt;code&gt;-&lt;/code&gt; between one or more keys means that it is a sequence (press them one after another). The &lt;code&gt;Accel&lt;/code&gt;erator key is usually mapped to &lt;code&gt;Ctrl&lt;/code&gt;.&lt;/p&gt;
&lt;p&gt;It is generated directly from the config file, so all combinations are included. Since JupyterLab is still under development some could not yet work. I only changed the order a bit, put related groups close to each other and to make it fit better on the page.
You can also download it as &lt;a href="https://blog.jklr.org/assets/jupyterlab-shortcuts/Shortcuts.pdf"&gt;PDF here&lt;/a&gt;.&lt;/p&gt;</description></item><item><title>ADB push and pull as root</title><link>https://blog.jklr.org/2018/09/20/adb-root.html</link><pubDate>Thu, 20 Sep 2018 00:00:00 +0000</pubDate><guid>https://blog.jklr.org/2018/09/20/adb-root.html</guid><description>&lt;p&gt;The Android Debug Bridge (ADB) got more secure in the evolution of Android, but that makes it unfortunately less useful, now it is almost impossible to push/pull system files or application data.
Trying to run &lt;code&gt;adb root&lt;/code&gt; results usually just in:&lt;/p&gt;
&lt;pre tabindex="0"&gt;&lt;code&gt;adbd cannot run as root in production builds
&lt;/code&gt;&lt;/pre&gt;&lt;p&gt;Pre Android 4.0 setting the property &lt;code&gt;ro.secure=0&lt;/code&gt; allowed to run adbd as root, but that is usually contained in /default.prop and that gets overwritten at every boot (to the default values from the boot.img). So you would have to modify the boot.img, like decribed on the linked xda thread on the bottom.&lt;/p&gt;</description></item><item><title>Trying to Engrave PLA with a 3W Laser</title><link>https://blog.jklr.org/2018/08/10/laser-engrave-pla.html</link><pubDate>Fri, 10 Aug 2018 00:00:00 +0000</pubDate><guid>https://blog.jklr.org/2018/08/10/laser-engrave-pla.html</guid><description>&lt;p&gt;A few months ago i bought a diy laser cutter/engraver kit, including a 3W laser module, which works good for wood, foam, arcyl, etc&amp;hellip; You might have already read my previous post about the software i use for it.
This post is about the idea to also engrave 3D printed PLA parts. In short: it doesn&amp;rsquo;t work properly. Following my tests and the longer explanation.&lt;/p&gt;
&lt;p&gt;&lt;img src="https://blog.jklr.org/assets/laser-pla/500.jpg" alt="500 mm/min speed"&gt;{:height=&amp;ldquo;50%&amp;rdquo; width=&amp;ldquo;50%&amp;rdquo;}&lt;/p&gt;
&lt;p&gt;I started slow with 500 mm/min and max. laser power and the laser cut right through the 1mm thick PLA test piece, this was surprising, because it does not even do that on thick cardboard with these parameters.&lt;/p&gt;</description></item><item><title>A look into the DScope USB oscilloscope</title><link>https://blog.jklr.org/2018/06/23/dscope-teardown.html</link><pubDate>Sat, 23 Jun 2018 00:00:00 +0000</pubDate><guid>https://blog.jklr.org/2018/06/23/dscope-teardown.html</guid><description>&lt;p&gt;The DScope from Dreamsourcelabs is a 2 channel oscilloscope with 50 MHz analag bandwidth and up to 200 MSPS (100 MSPS dual channel) for about 100$ now. The reason i bought it was that the DSView software is open source and runs on Linux (C++/QT5 based), unfortunately the development and the company seems pretty much dead now. It started with a kickstarter campain in 2013/2014 and the DSLogic 400 MHz Logic analyzer, this device is also based on that. Following a quick hardware overview.&lt;/p&gt;</description></item><item><title>Beware of fake ELM327 without monitor mode!</title><link>https://blog.jklr.org/2018/05/26/fake-elm327-monitor.html</link><pubDate>Sat, 26 May 2018 00:00:00 +0000</pubDate><guid>https://blog.jklr.org/2018/05/26/fake-elm327-monitor.html</guid><description>&lt;p&gt;Inspired by &lt;a href="https://media.ccc.de/v/34c3-8758-how_to_drift_with_any_car"&gt;this 34C3 talk&lt;/a&gt; i wanted to analyze what is possible over the CAN bus on the OBD connector on my car.
Instead of the more expensive options, that allow proper sniffing with socketcan, i tried the cheapest solution: an &amp;ldquo;ELM327&amp;rdquo; bluetooth adapter from ebay and thought it would be enough to do a first check. Short answer: No, it&amp;rsquo;s not.&lt;/p&gt;
&lt;p&gt;Long answer: The ELM327 was originally developed and produced by Elm Electronics and got Firmware versions from 1.0 to 1.4b. These are pretty nice chips with various AT commands that allow for configuration of the adapters. The only real downside is the relatively low serial bandwidth and small buffer, which could cause dropped packets. Now just the IC cost about 20$ (depending on quantity) and therefore complete adapters already about 100$.
The device i bought costed only 7$ and cause i know these fakes exist, it was completely expected to receive a fake. There are relatively good fakes (noadays hard to find) that implement most of the commands and then the bad ones.&lt;/p&gt;</description></item><item><title>Laser Cutting: Inkscape -&gt; CNCjs -&gt; GRBL</title><link>https://blog.jklr.org/2018/05/22/laser-cut-foss.html</link><pubDate>Tue, 22 May 2018 00:00:00 +0000</pubDate><guid>https://blog.jklr.org/2018/05/22/laser-cut-foss.html</guid><description>&lt;p&gt;For DIY laser cutters exists good open source software, this posts shows my workflow from Inscape, to creating the GCODE and finally streaming it to the machine.&lt;/p&gt;
&lt;p&gt;Inkscape is a vector graphics program, so it works normally with .svg, but it can also import various other formats like pdf or dxf. I use for gcode gerneration a small plugin (python script after all) from J Tech photonics, you can get the download and tutorial &lt;a href="https://jtechphotonics.com/?page_id=2012"&gt;here&lt;/a&gt;. It will output gcode that is compatible with GRBL.&lt;/p&gt;</description></item><item><title>Setting RD DPS power supply with Node-RED Modbus</title><link>https://blog.jklr.org/modbus/dps/2018/05/20/nodered-modbus-write-dps.html</link><pubDate>Sun, 20 May 2018 00:00:00 +0000</pubDate><guid>https://blog.jklr.org/modbus/dps/2018/05/20/nodered-modbus-write-dps.html</guid><description>&lt;p&gt;In &lt;a href="https://blog.jklr.org/modbus/dps/2018/05/19/nodered-modbus-read-dps.html"&gt;this post&lt;/a&gt; i showed how how it is possible to read from the DPS power supplys with the Node-RED modbus module. Now also to setting/writing the parameters.&lt;/p&gt;
&lt;p&gt;Function code 6 writes to a single registers 2 bytes, see my full flow:
&lt;img src="https://blog.jklr.org/assets/dps-modbus-nodered/write-single.png" alt="node red flow screenshot"&gt;
You can also download it &lt;a href="https://blog.jklr.org/assets/dps-modbus-nodered/write.json"&gt;here&lt;/a&gt; and import it directly onto your instance to play around.&lt;/p&gt;
&lt;p&gt;For voltage or current the inject nodes output a floating point number, which then gets scaled and limted to the allowed integer range (&lt;code&gt;0-5000&lt;/code&gt; on the DPS5005) before the modbus node sends it to the power supply.&lt;/p&gt;</description></item><item><title>Reading RD DPS power supply Modbus with Node-RED</title><link>https://blog.jklr.org/modbus/dps/2018/05/19/nodered-modbus-read-dps.html</link><pubDate>Sat, 19 May 2018 00:00:00 +0000</pubDate><guid>https://blog.jklr.org/modbus/dps/2018/05/19/nodered-modbus-read-dps.html</guid><description>&lt;p&gt;This post shows how Node-RED (a Node.js browser based interface to build data flows) can be used to read the current measurements from the DPS power supply series from RD over USB serial or Bluetooth. Then it can log the values as CSV and provide a web server, which makes it convenient for monitoring the output from remote locations. I used a DPS5005 communication version here, the same applies to the DPS5015, DPS5020, DPS8005 and DPH5005.&lt;/p&gt;</description></item><item><title>UT61E Toolkit: Update 1.2</title><link>https://blog.jklr.org/ut61e/android/2018/05/12/UT61E-toolkit-update1_2.html</link><pubDate>Sat, 12 May 2018 00:00:00 +0000</pubDate><guid>https://blog.jklr.org/ut61e/android/2018/05/12/UT61E-toolkit-update1_2.html</guid><description>&lt;p&gt;Now quickly follows the &lt;a href="https://github.com/Jakeler/UT61E-Toolkit/releases/tag/v1.2"&gt;1.2 release&lt;/a&gt; of my Android app for multimeter logging over bluetooth.
It includes a few optional features, that can be enabled in the settings.&lt;/p&gt;
&lt;p&gt;First the new data processing category.
It is now possible to ignore the value if the range is overloaded (instead of showing 225.8000), this is especially useful in modes where the meter regularly goes int OL, like resistance measurment.&lt;/p&gt;
&lt;p&gt;&lt;img src="https://blog.jklr.org/assets/ut61e-android/1_2/ignore_ol_shunt.png" alt="App start menu screenshot"&gt;&lt;/p&gt;</description></item><item><title>UT61E Toolkit: Update 1.1</title><link>https://blog.jklr.org/ut61e/android/2018/05/11/UT61E-toolkit-update1_1.html</link><pubDate>Fri, 11 May 2018 00:00:00 +0000</pubDate><guid>https://blog.jklr.org/ut61e/android/2018/05/11/UT61E-toolkit-update1_1.html</guid><description>&lt;p&gt;Today i have published the &lt;a href="https://github.com/Jakeler/UT61E-Toolkit/releases/tag/v1.1"&gt;1.1 release&lt;/a&gt; of my Android app for multimeter logging over bluetooth. It finally includes the feature to view alredy recorded log CSV files directly.&lt;/p&gt;
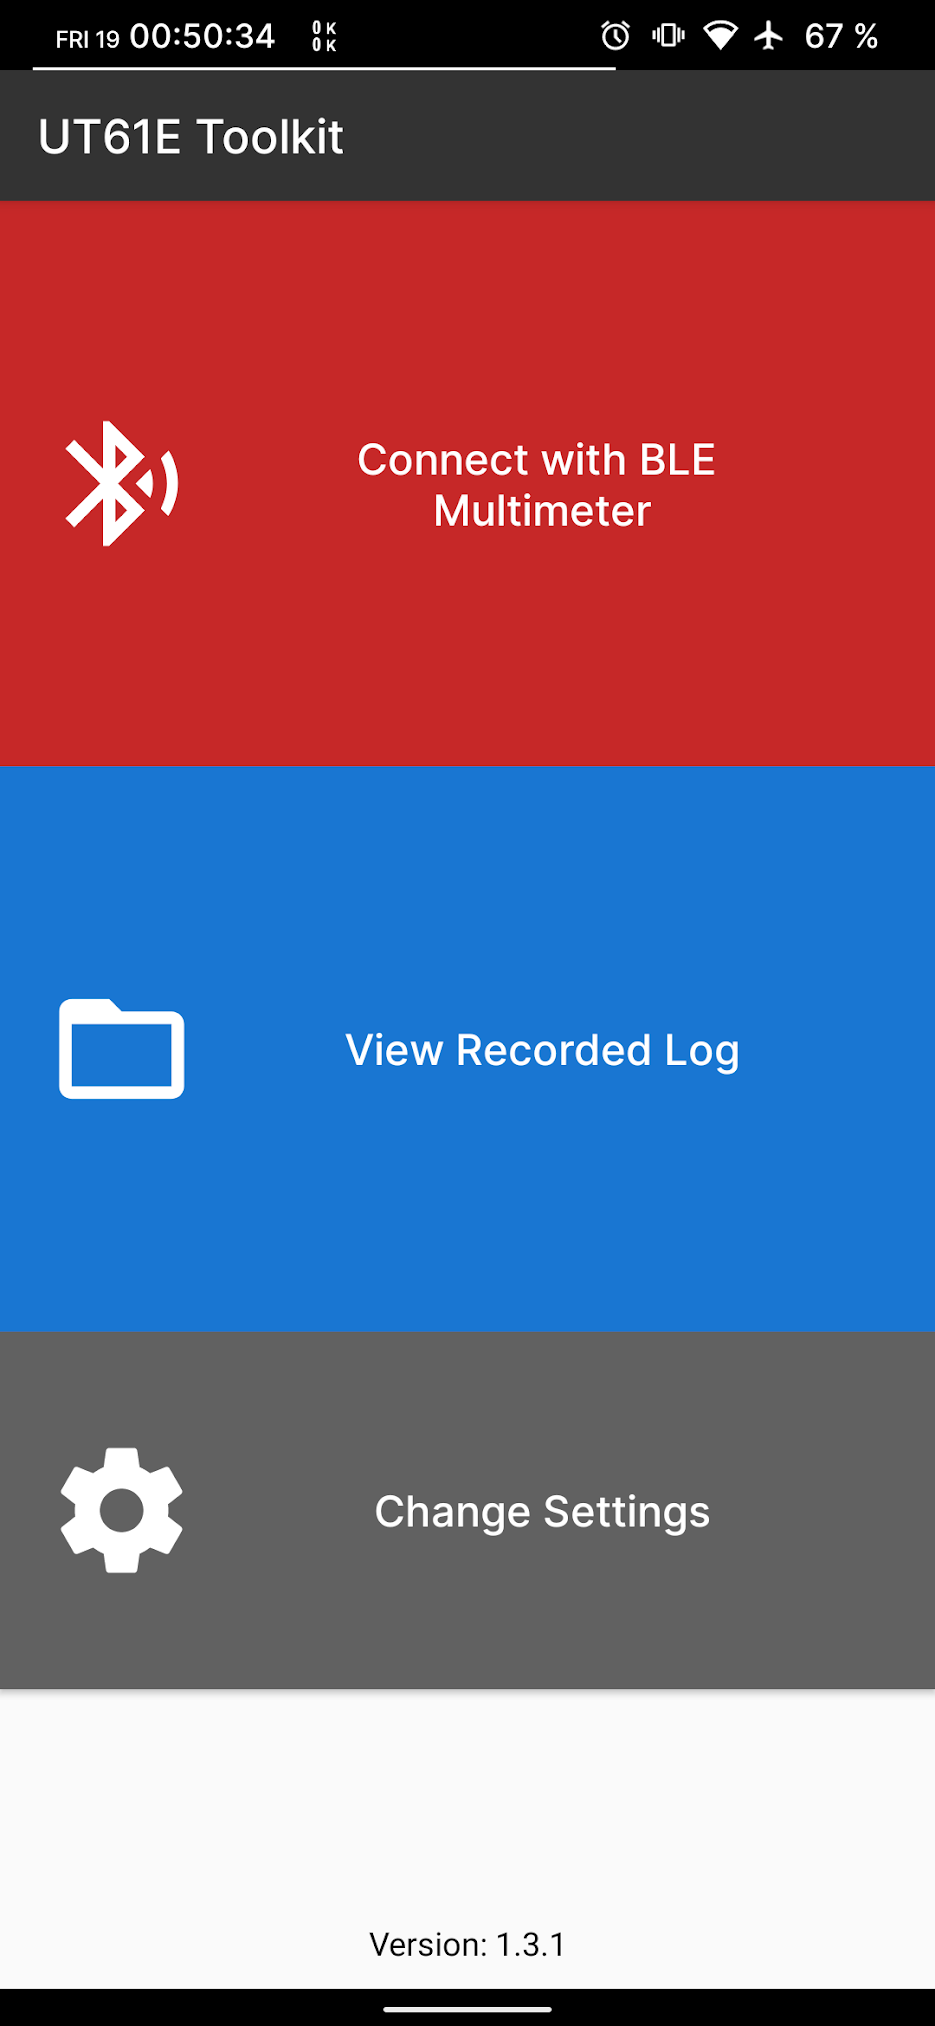
&lt;p&gt;After opening &amp;ldquo;VIEW RECORDED LOG&amp;rdquo; from the start menu, the file selector shows the files in the logfile directory:&lt;/p&gt;
&lt;p&gt;&lt;img src="https://blog.jklr.org/assets/ut61e-android/1_1/select-logfile.png" alt="App start menu screenshot"&gt;&lt;/p&gt;
&lt;p&gt;The selected file gets parsed as CSV an the measurments displayed in a bargraph.&lt;/p&gt;
&lt;p&gt;All lines starting with an &lt;code&gt;#&lt;/code&gt; are interpreted as comment and mark the start/end of a series. They can then be chosen in the drop down menu a the top, only the selected series is shown in the graph. Normally this are the timestamps, when the log was started. It is also possible to manually add comments, to split the logs even more to show only a specific event.&lt;/p&gt;</description></item><item><title>KeePassXC-Browser with beta/snapshot browser versions</title><link>https://blog.jklr.org/kepassxc/browser/2018/04/10/keepassxc-browser-snapshot.html</link><pubDate>Tue, 10 Apr 2018 00:00:00 +0000</pubDate><guid>https://blog.jklr.org/kepassxc/browser/2018/04/10/keepassxc-browser-snapshot.html</guid><description>&lt;p&gt;This is just just a quick tipp about the relatively new KeePassXC-Browser extension that (as the name implies) allows to connect to the KeePassXC programm from various browsers.&lt;/p&gt;
&lt;p&gt;Normally a browser can be enabled from the KeePassXC settings checkboxes, but this does not work with non standard browser config paths from &amp;ldquo;unstable&amp;rdquo; editions or even other chromium engine based browsers (that also support the extension). There are just these 4 paths hardcoded (on linux for example):&lt;/p&gt;</description></item><item><title>UT61E Bluetooth: my Android App</title><link>https://blog.jklr.org/ut61e/android/2018/04/02/UT61E-android-logging.html</link><pubDate>Mon, 02 Apr 2018 00:00:00 +0000</pubDate><guid>https://blog.jklr.org/ut61e/android/2018/04/02/UT61E-android-logging.html</guid><description>&lt;p&gt;In &lt;a href="https://blog.jklr.org/multimeter/2018/03/09/UT61E-ble.html"&gt;this previous post&lt;/a&gt; i showed a hardware mod that adds Bluetooth low energy connectivity to the Uni-T UT61E multimeter. Then i wrote some python scripts to receive and decode the data on Linux, more on that &lt;a href="https://blog.jklr.org/linux/multimeter/2018/03/11/linux-ble.html"&gt;here&lt;/a&gt;.&lt;/p&gt;
&lt;p&gt;Because a laptop or even desktop PC is not really convenient in the field, i have now developed an Android app to display, analyze and save the data! This post describes the features and how to use it.&lt;/p&gt;</description></item><item><title>Let's Encrypt Wildcard Certificates with Certbot manual mode</title><link>https://blog.jklr.org/certbot/tls/wildcard/2018/03/31/lets-encrypt-wildcard-certbot.html</link><pubDate>Sat, 31 Mar 2018 00:00:00 +0000</pubDate><guid>https://blog.jklr.org/certbot/tls/wildcard/2018/03/31/lets-encrypt-wildcard-certbot.html</guid><description>&lt;p&gt;This post shall describe how to obtain a free wildcard TLS cert for your domain from Let&amp;rsquo;s Encrypt with the recommended &lt;code&gt;certbot&lt;/code&gt; python based utility. Of course there are few &lt;a href="https://letsencrypt.org/docs/client-options/#acme-v2-compatible-clients"&gt;other clients&lt;/a&gt; that already support the ACME v2 protocol, which is required for wildcards, i will only show certbot command here, but the procedure with other clients should be pretty similar.&lt;/p&gt;
&lt;p&gt;So let&amp;rsquo;s get started. Certbot version 0.22.0 or higher is required. Look at the &lt;a href="https://certbot.eff.org/"&gt;instructions&lt;/a&gt; and make sure it is properly installed on the server. Wildcard certificates can only be issued with the DNS challenge, so you must be able to add a TXT record to the domain, the typical &lt;code&gt;http-01&lt;/code&gt;(port 80) or &lt;code&gt;tls-sni-01&lt;/code&gt;(port 443) challenge will &lt;strong&gt;not&lt;/strong&gt; do it.&lt;/p&gt;</description></item><item><title>UT61E Bluetooth: HM-11 Receiving and Decoding on Linux</title><link>https://blog.jklr.org/linux/multimeter/2018/03/11/linux-ble.html</link><pubDate>Sun, 11 Mar 2018 00:00:00 +0000</pubDate><guid>https://blog.jklr.org/linux/multimeter/2018/03/11/linux-ble.html</guid><description>&lt;p&gt;The HM-11 Module implements a Bluetooth 4.0 (BLE) notification characteristic, this means after subscription to this characteristic the other side will automatically receive the serial data packets without explicitly asking. In the case of the UT61E this happens every 0.5s (2Hz sample rate).&lt;/p&gt;
&lt;p&gt;&lt;strong&gt;Important note (2019/2020): This post is outdated, i built a better solution in the meantime: &lt;a href="https://blog.jklr.org/2019/12/18/ble-serial.html"&gt;BLE Serial&lt;/a&gt;&lt;/strong&gt;&lt;/p&gt;
&lt;p&gt;Utilizing the the BlueZ bluetooth stack on Linux and the included gatttool, it is possible to set up the connection/subscription in an interactive terminal session. I am not going to show here how this works though, since doing it programatically makes more sense.
The &lt;a href="https://github.com/peplin/pygatt"&gt;pygatt&lt;/a&gt; module does exactly this, makes the gatttool interface usable in python scripts.
I had to modify it a bit to get the data out, also i have written a script that opens the device and prints the raw data as ASCII to stdout. To use it clone or download &lt;a href="https://github.com/Jakeler/ut61e-pygatt"&gt;my repo&lt;/a&gt;, make sure you have installed the &lt;code&gt;pexpect&lt;/code&gt; python2 module and then execute &lt;code&gt;bt4-reader.py&lt;/code&gt; with python2. It will be very likely that it will not connect, because the MAC is not matching (line 30):&lt;/p&gt;</description></item><item><title>UT61E Bluetooth 4.0 Mod (HM-11)</title><link>https://blog.jklr.org/multimeter/2018/03/09/UT61E-ble.html</link><pubDate>Fri, 09 Mar 2018 00:00:00 +0000</pubDate><guid>https://blog.jklr.org/multimeter/2018/03/09/UT61E-ble.html</guid><description>&lt;p&gt;This post shows how the Uni-T UT61E multimeter can be modded to use the integrated data logging port over Bluetooth 4.0 (low energy), for example in the field with a laptop or smartphone!&lt;/p&gt;
&lt;p&gt;I used the HM-11 module, but this also works with the HM-10 and should also work with almost all other modules. At least Bluetooth 4.0 standard is highly recommended, because of the lower power consumption.
The HM-11 draws about 9 mA from the 3.3V rail, the UT61 uses linear regulators so that is the same on the 9V level (directly from the battery), which gives with a typical 200mAh battery about 20h runtime.&lt;/p&gt;</description></item><item><title>Grafana 5.0 with Volkszaehler MySQL data source</title><link>https://blog.jklr.org/grafana/visualization/2018/03/07/grafana-volkszaehler.html</link><pubDate>Wed, 07 Mar 2018 00:00:00 +0000</pubDate><guid>https://blog.jklr.org/grafana/visualization/2018/03/07/grafana-volkszaehler.html</guid><description>&lt;h3 id="add-the-mysql-datasource"&gt;Add the MySQL datasource&lt;/h3&gt;
&lt;p&gt;Grafana supports in the standard installation already MySQL so just go to &lt;code&gt;Configuration - Data Sources - Add data source&lt;/code&gt; and fill in the login information.
Note: It makes sense to create an additional database user with limited privileges, only &lt;code&gt;SELECT&lt;/code&gt; on the Volkszaehler database is usually required. This can be done through phpMyAdmin (logged in as root).&lt;/p&gt;
&lt;h3 id="quick-overview-of-the-volkszaehler-database-structure"&gt;Quick overview of the Volkszaehler database structure&lt;/h3&gt;
&lt;p&gt;There are only 2 tables really necessary for reading, &lt;code&gt;data&lt;/code&gt; and &lt;code&gt;properties&lt;/code&gt;:&lt;/p&gt;</description></item><item><title>About</title><link>https://blog.jklr.org/about/</link><pubDate>Mon, 01 Jan 0001 00:00:00 +0000</pubDate><guid>https://blog.jklr.org/about/</guid><description>&lt;p&gt;This is my personal blog about various tech projects. I am a currently 23 years old guy living in germany, playing with everything from Linux servers, software development, IoT to electronics, rc models and 3D printing parts ;)&lt;/p&gt;
&lt;p&gt;The blog is built with &lt;a href="https://gohugo.io/"&gt;Hugo&lt;/a&gt; (github-pages) and the the website/css is completely self made. I used parts from following awesome open source projects:&lt;/p&gt;
&lt;p&gt;Basic structure Minima (MIT): &lt;a href="https://github.com/jekyll/minima"&gt;https://github.com/jekyll/minima&lt;/a&gt;&lt;/p&gt;
&lt;p&gt;Code background (MIT): &lt;a href="https://github.com/influxdata/docs.influxdata.com/blob/influxdb-1.6.4-oss/static/img/pre-background.svg"&gt;https://github.com/influxdata/docs.influxdata.com/blob/influxdb-1.6.4-oss/static/img/pre-background.svg&lt;/a&gt;&lt;/p&gt;
&lt;p&gt;Font = Open Sans (Apache2): &lt;a href="https://www.opensans.com/"&gt;https://www.opensans.com/&lt;/a&gt;&lt;/p&gt;</description></item><item><title>Projects Overview</title><link>https://blog.jklr.org/projects/</link><pubDate>Mon, 01 Jan 0001 00:00:00 +0000</pubDate><guid>https://blog.jklr.org/projects/</guid><description>&lt;p&gt;A list of my projects with a short description.&lt;/p&gt;</description></item></channel></rss>